


How to use
Server:
Currently, the simpler svn server solution under Windows is to use VisualSVN Server, and the installation is very simple.
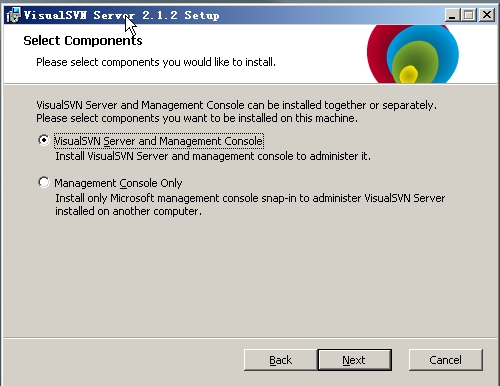
There is a step to select components during the installation process, select VisualSVN Server and Management Console. As shown below:
Click Next to enter the configuration interface, as shown below:
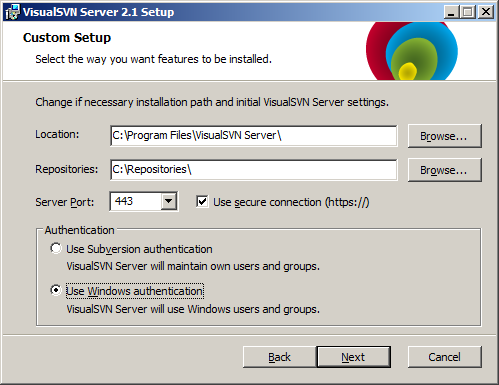
Location is the installation directory, and Repositories refers to the library directory. Future projects will be archived in this directory. Check Use secure connection (https://) at the back, the Server Port should be 8443.
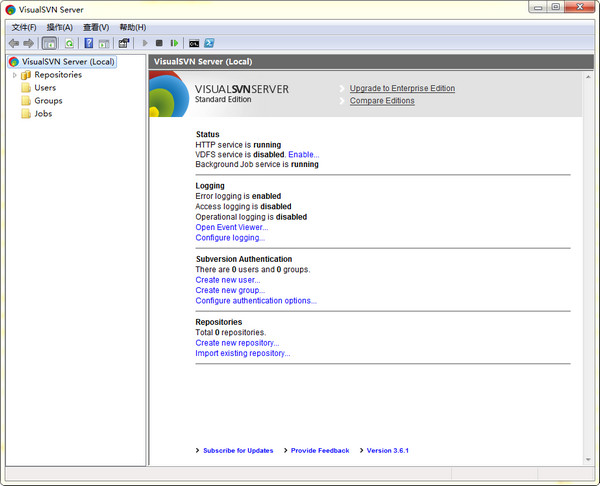
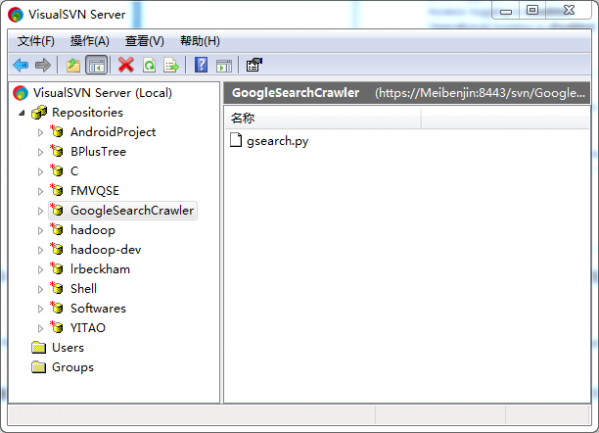
Select Use Subversion authentication so that you can create new users or user groups under VisualSVN. Click Next and leave it as default. After the installation is complete, open it and you will see the following interface:
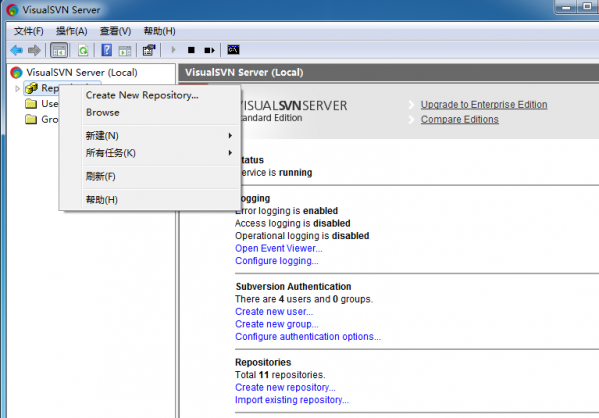
Right-click Repository and select Create New Repository. This will create a new code base. In addition to creating new projects, you can also create new users and user groups to facilitate permission management between various projects.
Client version:
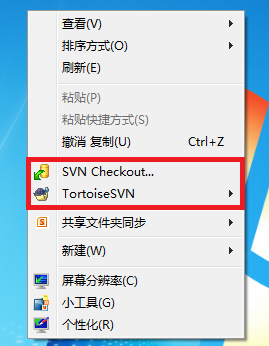
In this way, a simple SVN server is set up. Next, we will introduce the client. The most commonly used svn client under Windows is probablyTortoiseSVNYes, the download address is: http://www.pc6.com/softview/SoftView_41157.html. The installation is extremely simple, so I won’t go into details here.
After the installation is complete, right-click the menu anywhere and you will see the newly added svn menu item. Let's take checking out an existing project GoogleSearchCrawler from VisualSVN as an example to briefly introduce the usage of svn. The project in VisualSVN is as shown below:
Then on the desktop (it can be in other folders), we right-click and select the menu SVN Checkout... to open a dialog box and fill in the address of svn in the format of https://xxx.xxx.xxx.xxx:8443/svn/GoogleSearchCrawler (the x part is the IP address of the computer where the VisualSVN Server is located), as shown in the figure below:

Click OK, and then you will see a Google Search Crawler folder on the desktop. There is a green check mark under the folder. If not, please refresh it a few times. Now we can modify, add, delete files, etc. under this project. I won’t introduce the specific operations one by one here. After modifying, right-click on the folder, and there will be a commit menu item. This is to submit your modified content to the code base of the svn server. TortoiseSV also has many functions, and you will become familiar with it as you use it.


Useful
Useful
Useful