


- Green versionView
- Green versionView
- Green versionView
- Green versionView
How to use
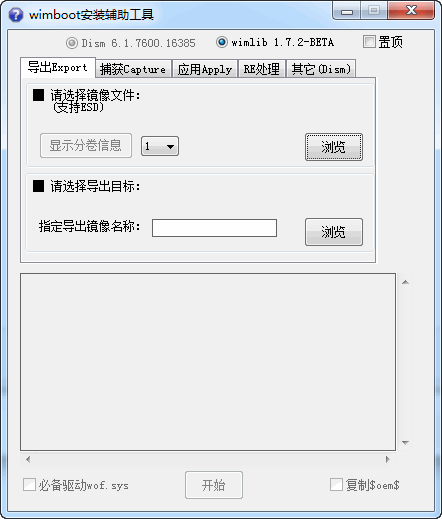
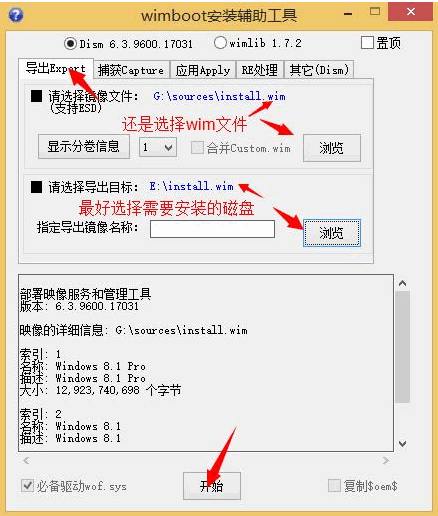
1. First, process the wim file first
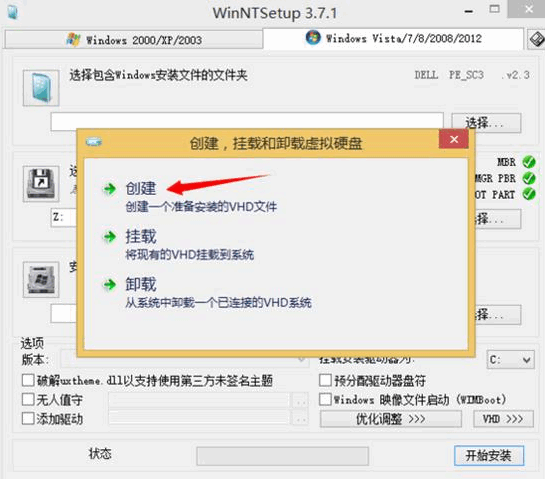
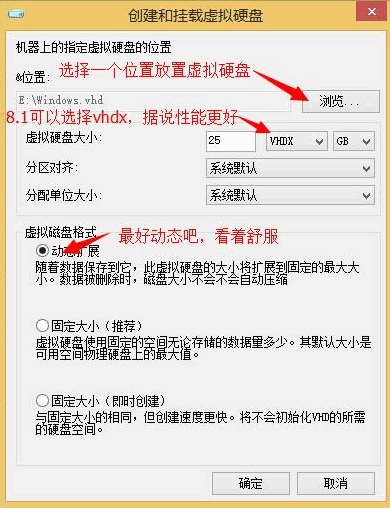
2. Then create a new vhd file
3. Mount the hard disk
4. The next step is to combine them
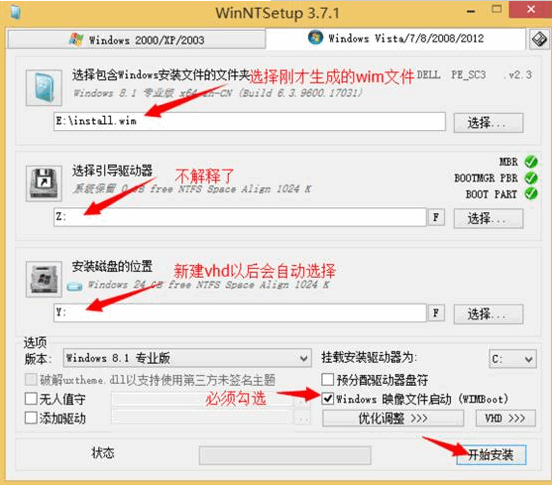
5. After putting it all together, you can update the boot program. After updating, click OK to restart.
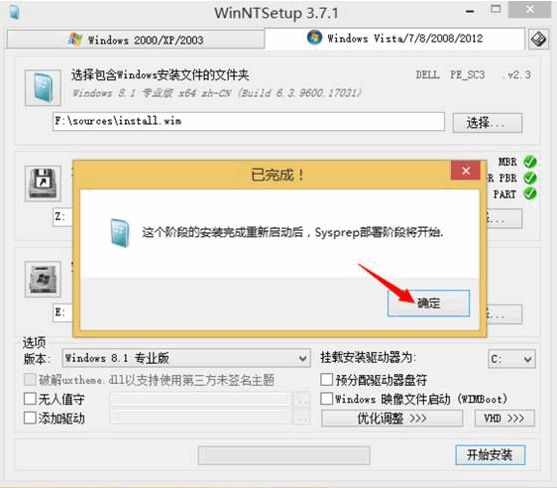
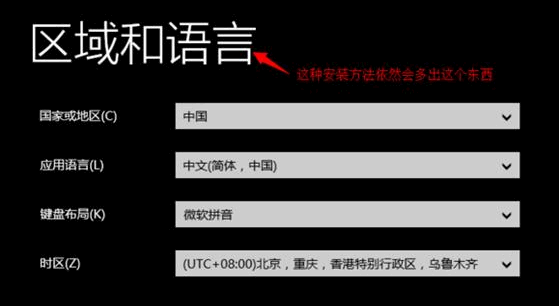
6. After restarting, you will come to the system installation interface. You can follow the system prompts to install the system step by step.
Things to note
1. The pointer file can be started in VHD/VHDX;
2. When deploying the pointer file, the format of the drive letter where the pointer file and wimboot.wim are located must be an NTFS partition;
3. Changes to the wim system pointer partition can be saved as a new incremental wim file (custom.wim in the same folder, the change command can only be used once), and at the same time clear the space occupied by the pointer file, execute under winpe:
DISM /Capture-CustomImage /CaptureDir:C:


Useful
Useful
Useful