nero9 burning software features
Integrate TV, DVD, image and sound content
Easier installation and user interface
Supports all popular filesFormat
Organizational contentdatabasemore efficient
nero9 burning software installation steps
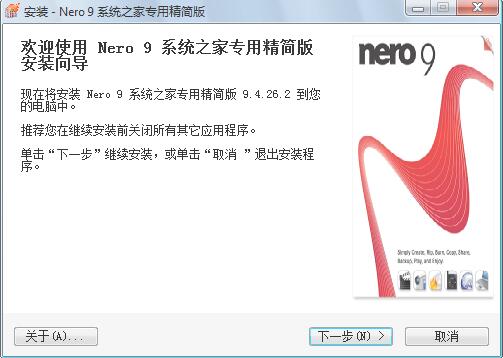
1. Download the nero9 installation package from this site, and then double-click to run it. Open the installation wizard and click Next.
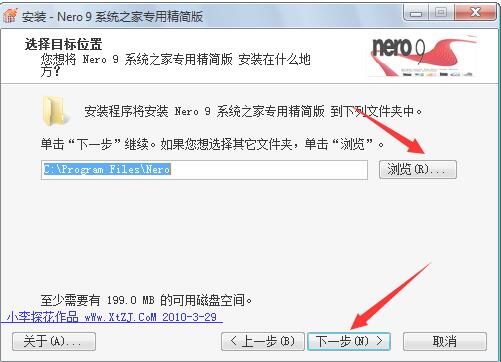
2. Select the installation location: By default, it is installed in the C drive directory. You can click to browse to customize the installation location. Click Next.
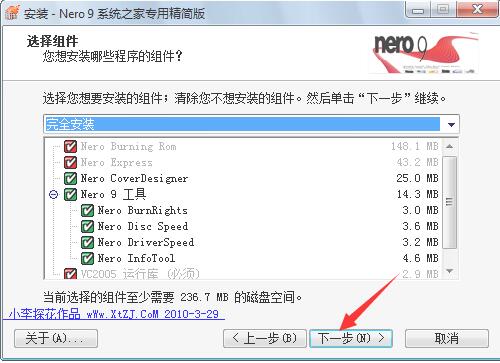
3. Select components: You can check the required components according to your own needs. For the convenience of future use, the editor will choose to install them by default, click Next.
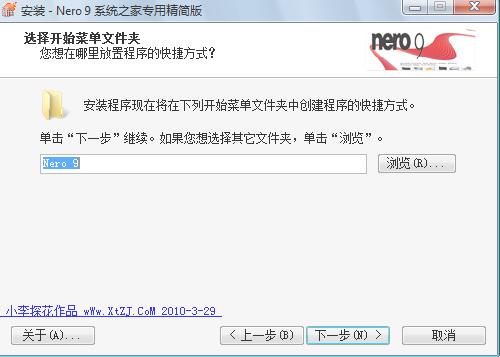
4. Select the Start Menu folder: You can click Next directly, or click Browse to select other folders.
5. Select attachment tasks: Whether to create desktop shortcuts or quick launch bar shortcuts, it is recommended to check. Click Next.
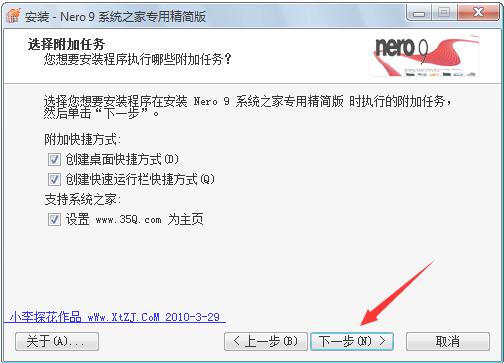
6. Enter the installation preparation interface and click Install.
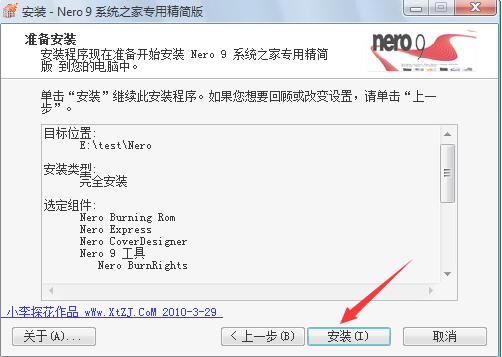
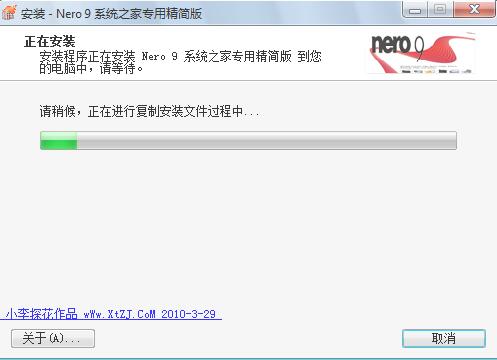
7. Installation is in progress, please wait patiently.
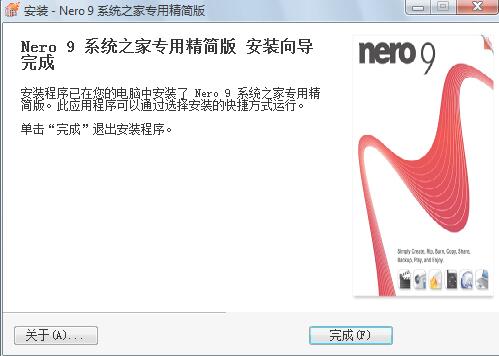
8. When the installation is completed, you will see the following interface. Click Finish to exit the installation wizard.
How to use nero9 burning software
1. First insert the CD into the computer, then start the Nero 9 burning software and enter the main interface.
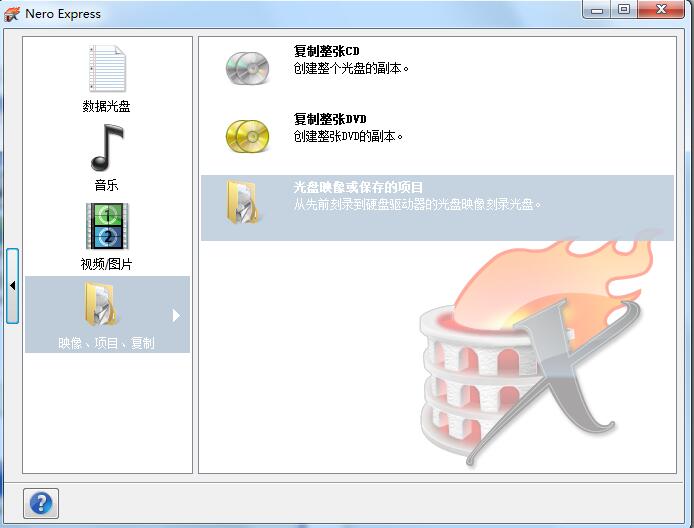
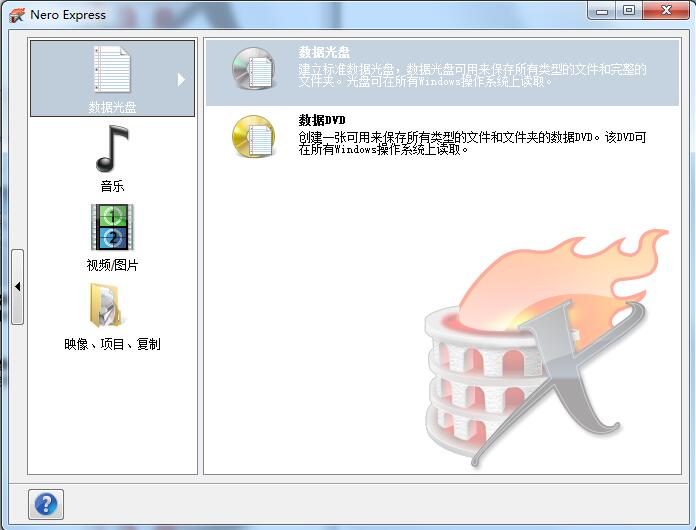
2. Here we can see multiple options such as data disc, music, video/picture, image project copy, etc. You can choose the appropriate option according to your needs for burning. The editor will choose the data disc option here to continue explaining it to you.
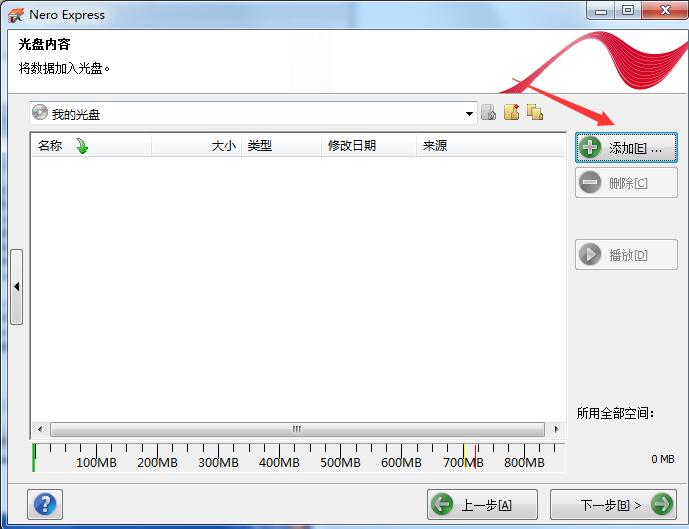
3. The Open dialog box will pop up, here click the Add button on the right to add the data file to be burned to nero.
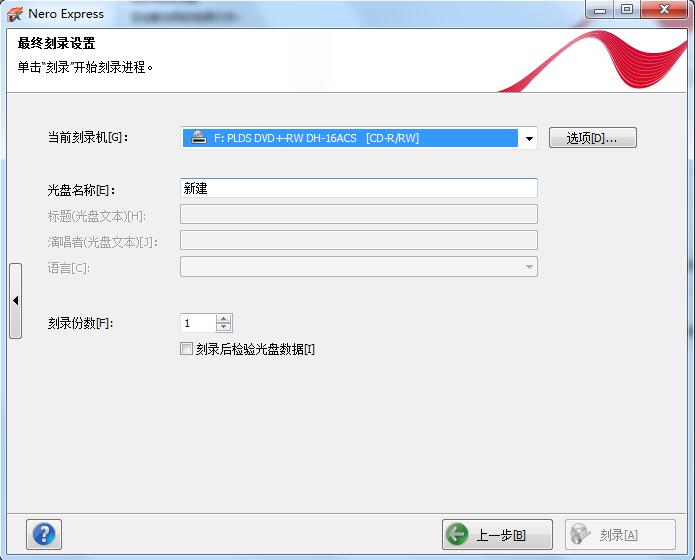
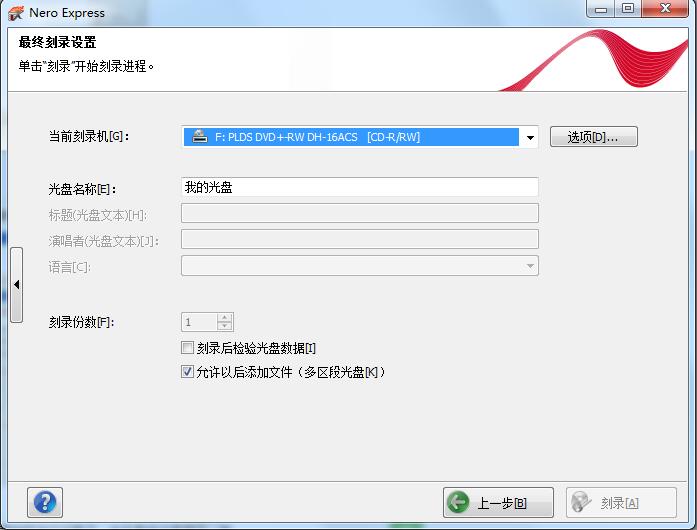
4. When the addition is complete, click Next to continue at the bottom of the interface. Enter the final burning setting interface, where you can set the disc parameters.
5. After the settings are completed, click Burn. Then you need to perform "data verification" and wait for burning.
6. The system disk will automatically pop up after the burning is successful.
nero9 burning software FAQ
How to use Nero9 to burn DVD video disc?
1. Start the Nero 9 burning software.

2. Click the video/picture option, and then select the preferences on the right.
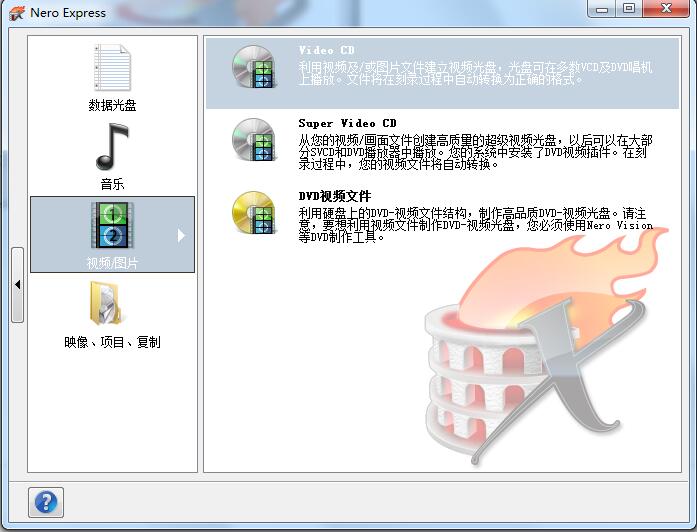
3. Add video files. (The formats supported by DVD burning are .vob.bup, etc.)
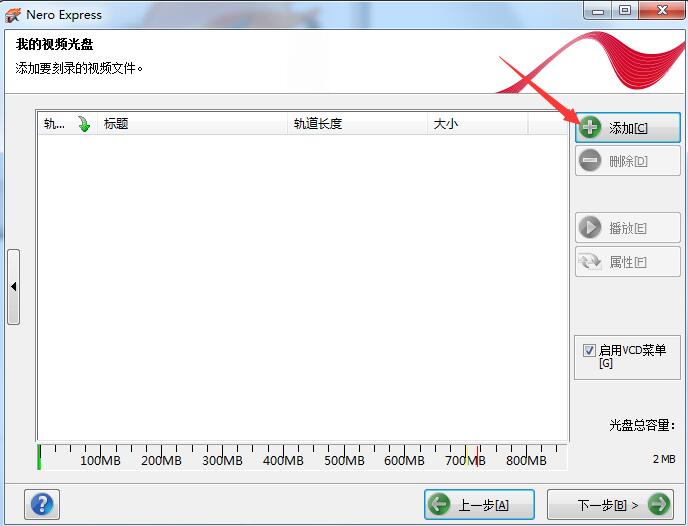
4. Of course, it can also automatically convert some video formats.
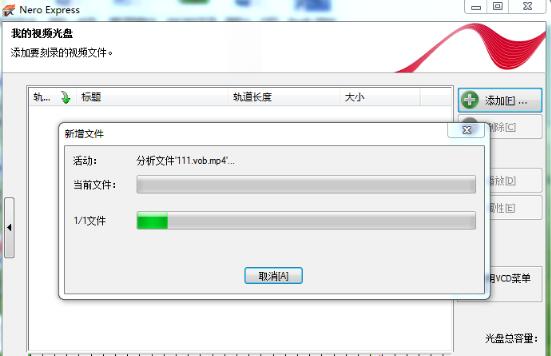
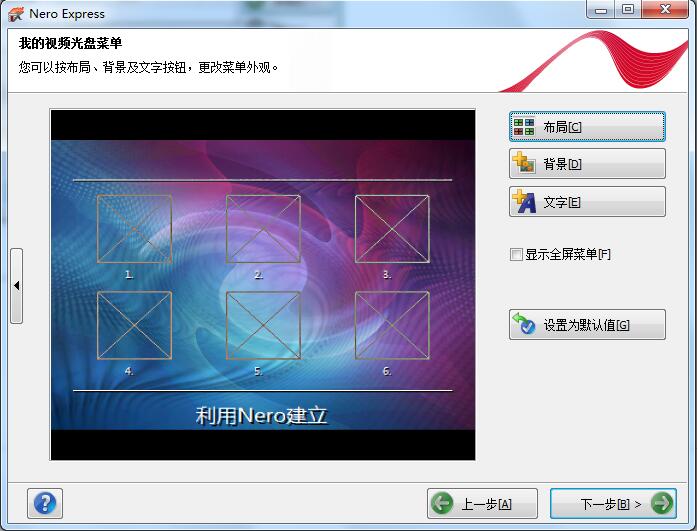
5. Enter the My Video Disc menu, where you can modify the layout, background, and text content. Of course, you can also press the default settings and click Next directly.
6. Click Next to enter the final burning settings interface. Set the disc name, select the recorder and other contents, and finally click Burn.
nero9 burning software update log:
1. The details are more outstanding!
2.BUG gone without a trace
Huajun editor recommends:
After continuous official updates and iterations, the nero9 Chinese free version has become very stable and powerful, meeting all your needs. The editor has also prepared for youDisc Burning Master,Disc Burning Master Free Edition,Nero BurnLite,Disc Burning Wizard,Nero8




Useful
Useful
Useful