


Graduation easy thesis document typesetting software software features
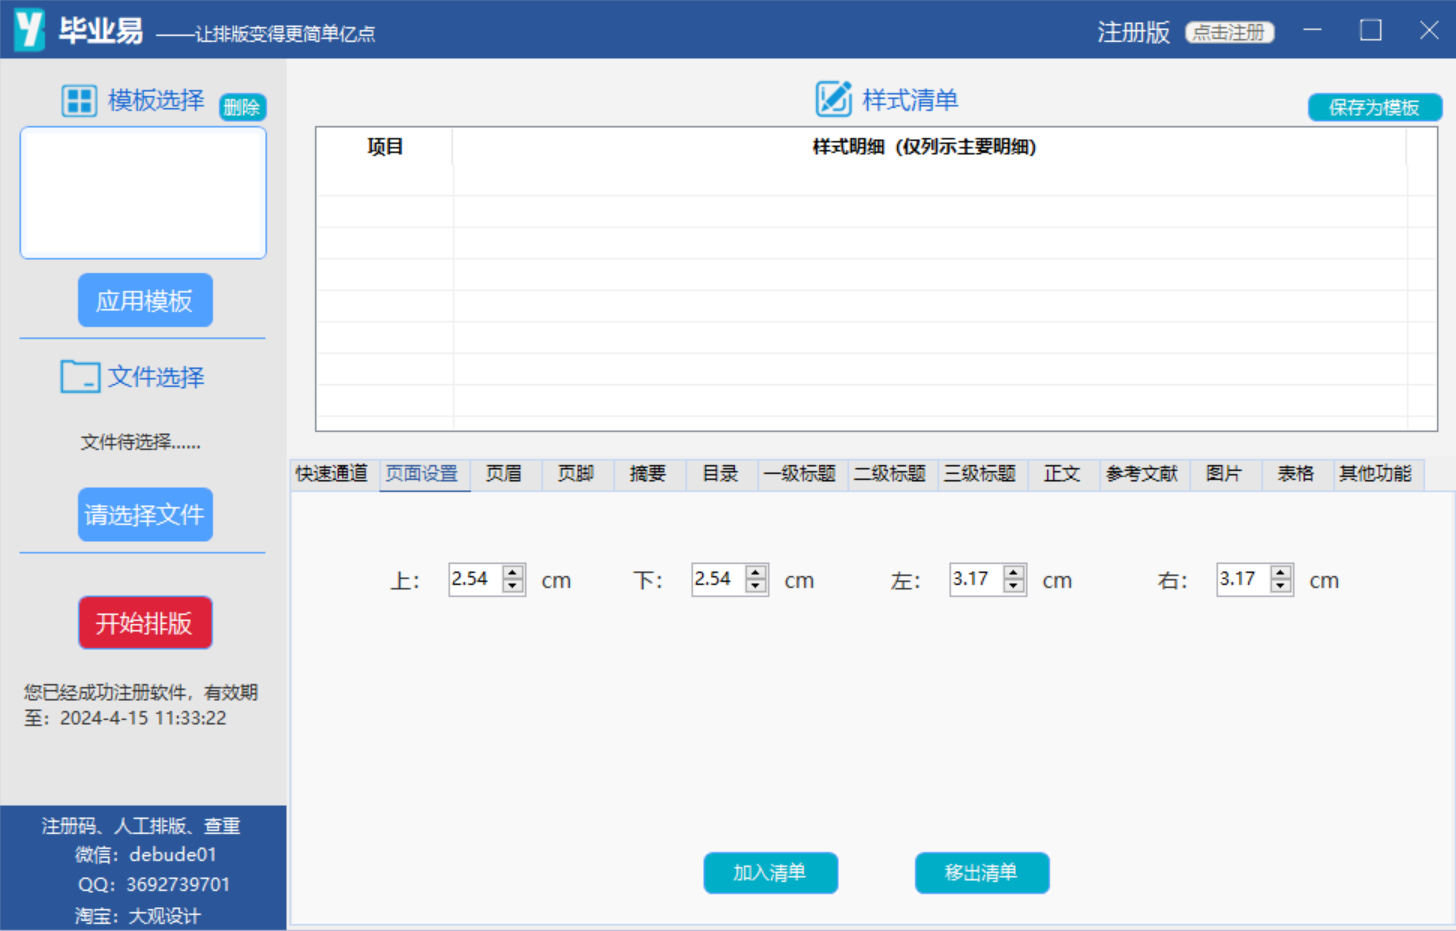
1. Page settings
Page settings are settings for the top, bottom, left, and right margins of the document. The user needs to fill in the specific margin values, and then click the "Add to List" button to add the header settings to the list of styles to be typeset. The specific interface is as shown in the figure:
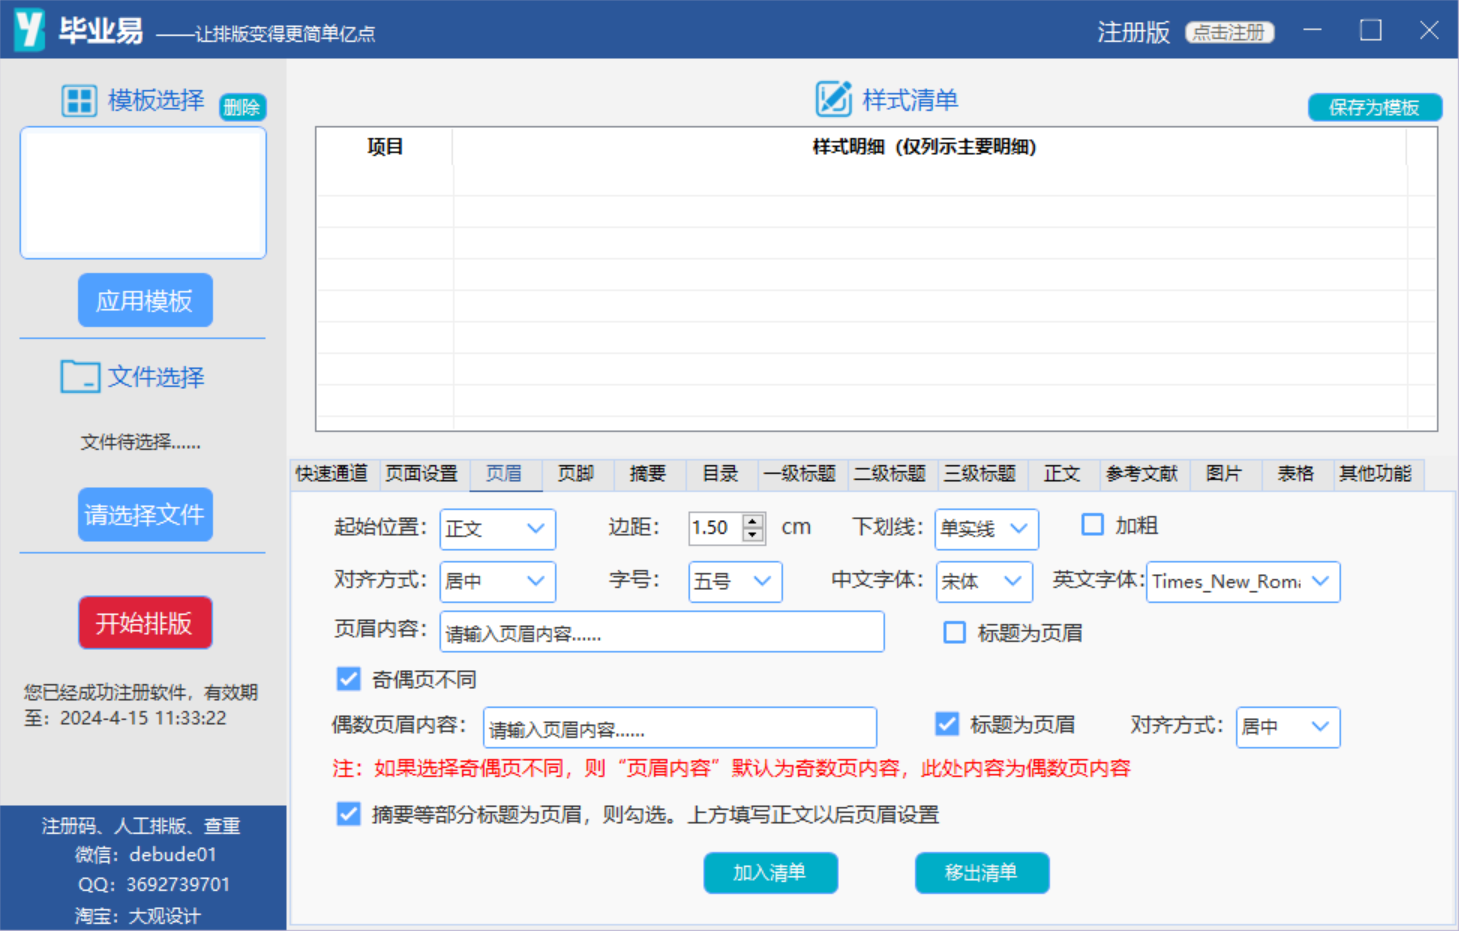
2. Header settings
The header options can set the starting position of the header, the distance between the header and the border, the header underline type, whether to bold, alignment, font size, Chinese and English fonts, header content, whether to use the title as the header, etc. And some users need to set the headers of odd and even pages to be different, so they need to check "Different odd and even pages" and then fill in the header content of odd and even pages respectively. There are also some users whose headers before the main text are the chapter titles and the beginning of the main text is another header. You need to check "The abstract and other partial titles are the headers, then check, fill in the main text above and then set the header".
After completing the filling, the user clicks the "Add to List" button to add the header settings to the list of styles to be typeset. The specific interface is as shown in the figure:
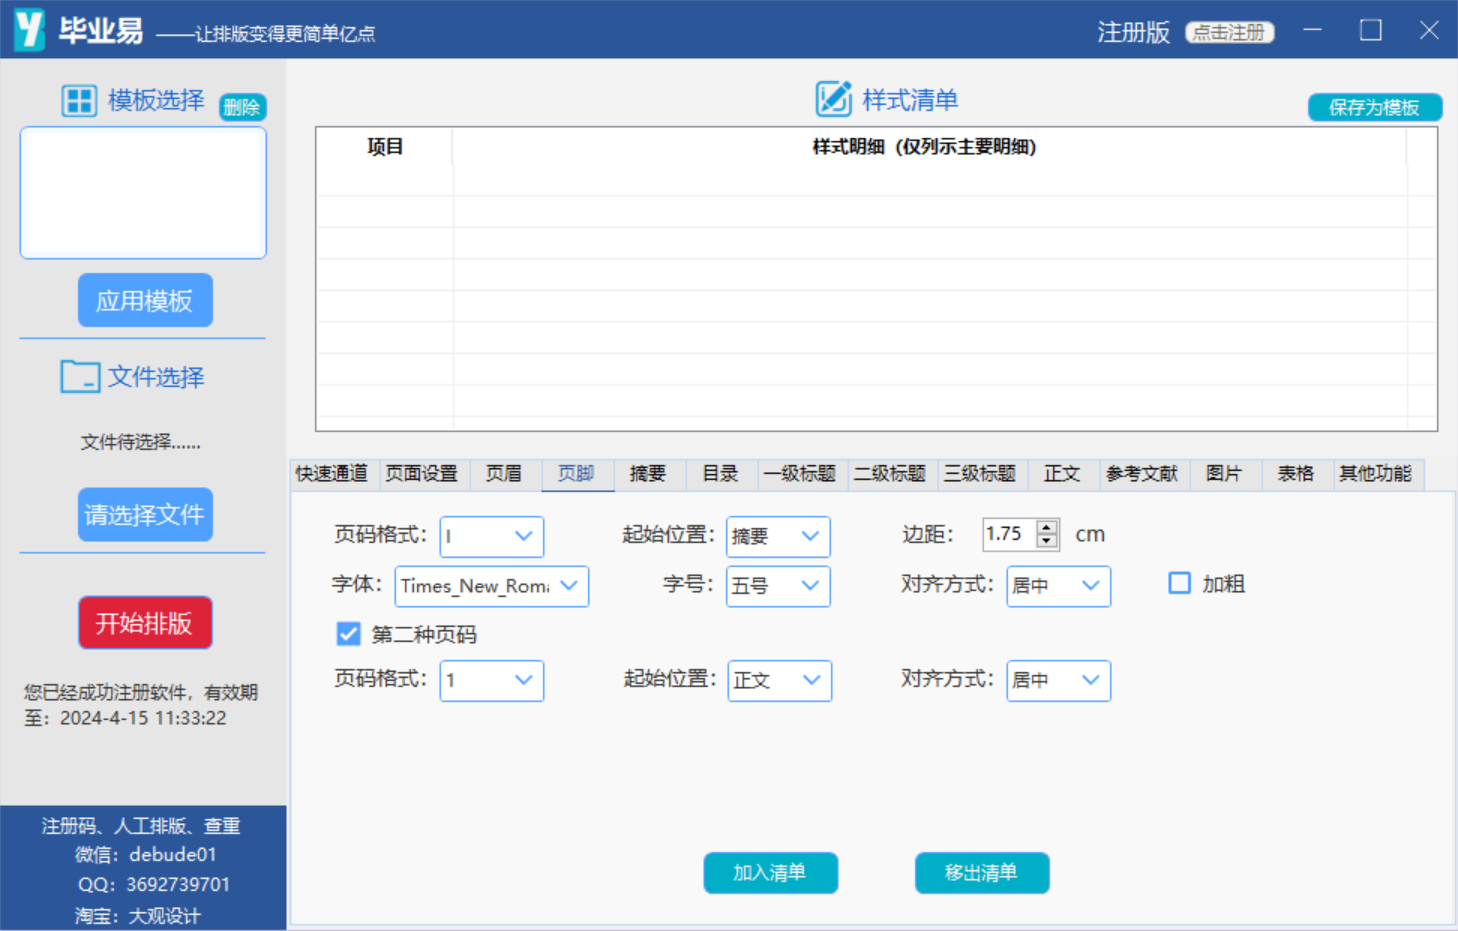
3. Footer (page number)
Footer options can set the page number type, distance between the footer and the border, starting page of the page number, whether the page number is bold, alignment, font size, Chinese and English fonts. If you need to set two different page numbers, you need to check "Second page number" and fill in the relevant information.
After completing the filling, the user clicks the "Add to List" button to add the footer settings to the list of styles to be typeset. The specific interface is as shown in the figure:
4. Abstract
The abstract option can set the format of the abstract title, abstract body, and keywords. Each part of the format includes font, font size, whether to bold, indentation, before and after paragraphs, line spacing, etc.
After completing the filling, the user clicks the "Add to List" button to add the summary settings to the list of styles to be typeset. The specific interface is as shown in the figure:
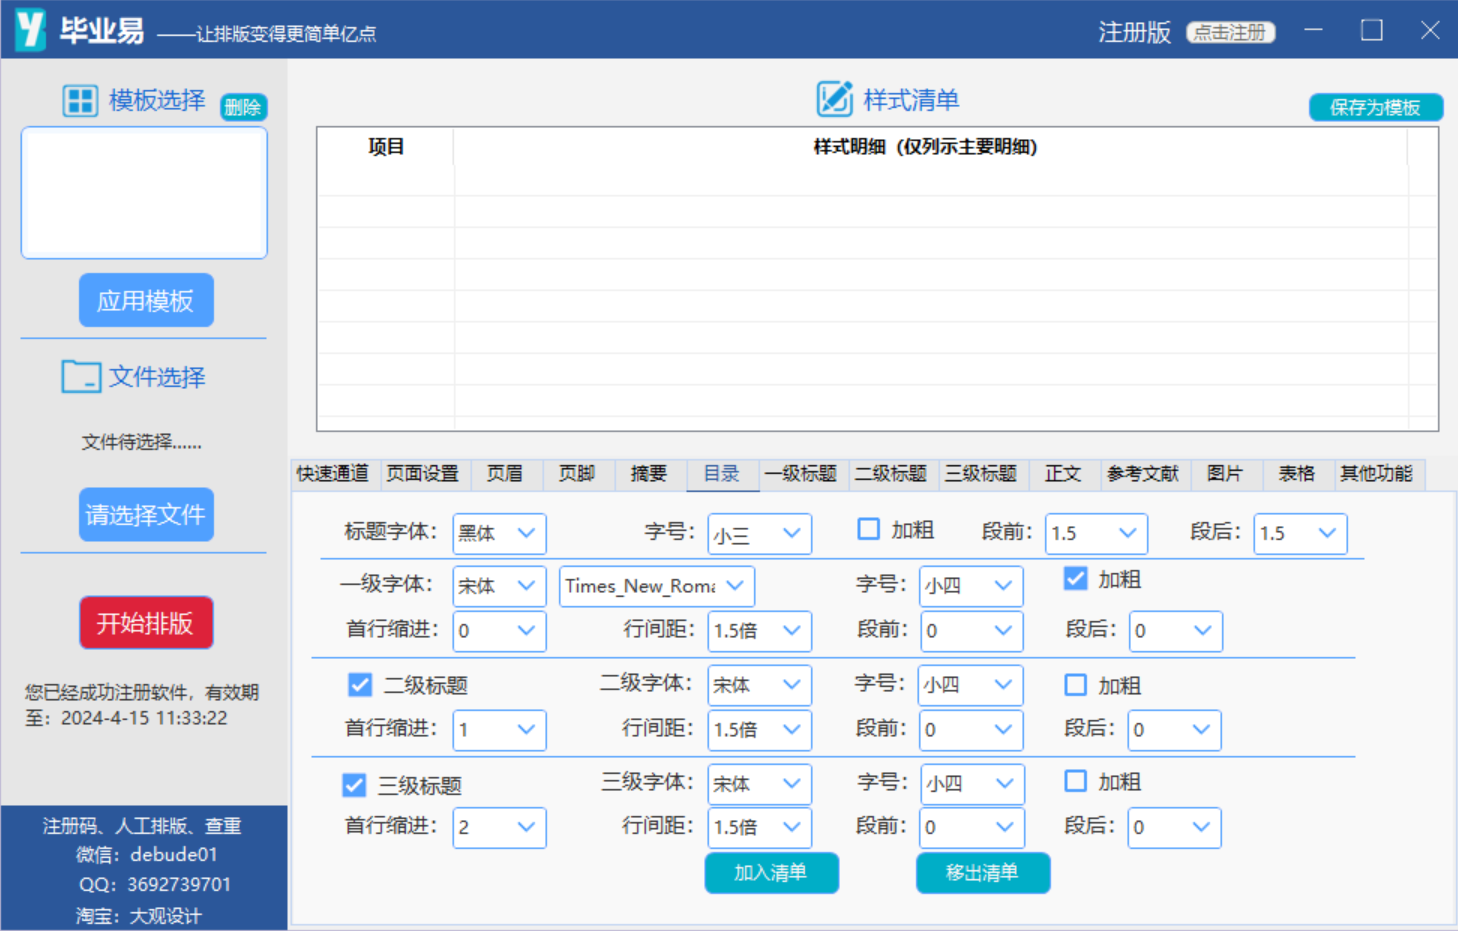
5. Directory
The catalog option can set the format of the catalog title and the catalog content. The catalog content can include first-level titles, second-level titles and third-level titles. The user can check the corresponding hierarchical catalog according to the desired catalog level and set it. Each part of the format includes font, font size, whether to bold, indentation, before and after paragraphs, line spacing, etc.
After completing the filling, the user clicks the "Add to List" button to add the directory settings to the list of styles to be typeset. The specific interface is as shown in the figure:
6. First-level headings, second-level headings, third-level headings, text, references
The settings for the four options of first-level title, second-level title, third-level title, text, and references are basically the same, including font, font size, whether to bold, alignment, indentation, before and after paragraphs, line spacing, etc.
After completing the filling, the user clicks the "Add to List" button to add the corresponding option settings to the list of styles to be typeset. The specific interface is as shown in the figure:
(1) First-level title

(2) Second-level title

(3) Third-level title
(4)Text
(5) References
7. Pictures
The image options allow you to set the image alignment, distance before and after the paragraph. You can also set the figure title format.
After completing the filling, the user clicks the "Add to List" button to add the image option settings to the list of styles to be typeset. The specific interface is as shown in the figure:
8. Form
The table options allow you to set the table style, table text alignment, font, font size, and whether the first line should be bold. At the same time, you can set the table title format.
After completing the filling, the user clicks the "Add to List" button to add the table option settings to the list of styles to be typeset. The specific interface is as shown in the figure:
9. Other functions
.
10. Intelligent recognition
Because there are many typeset items, users can modify the specific style content one by one according to the above method, which is inefficient. Therefore, this software has developed an intelligent recognition function. Users need to paste the relevant format requirement text into the intelligent recognition text box and click the corresponding option button. The software system will automatically identify the text content and modify the corresponding option style details, thereby achieving the purpose of quickly modifying the style. The details are shown in the figure below:
11. Style list management
On the left side of the quick channel page, there is a project list management function. Users only need to check the options that need to be typeset on this page, and then they can add related items to the list to be typeset. There is no need to click the "Add to List" button on each detail page, which can quickly add and delete style details. The details are shown in the figure below:
12. Save as template
In the upper left corner of the software interface, there is a style template list. All style templates can be added through "Save as Template" on the right side of the style list. After the user selects the saved template and clicks Apply Template, the specific style of the saved template will be automatically filled in to the style details page, thereby reducing the user's workload of setting style details when typesetting multiple times according to the same typesetting requirements. The specific display of this function is as follows:
After the user sets the style details through one of the above methods, click the "Please select a file" button on the left side of the page to select the word document that needs to be typeset. The software has set the available file types to be limited to "docx" and "doc" type files.
After the user sets the style details and uploads the document to be typeset, he only needs to click to start typesetting. The software will immediately typeset the uploaded file according to the set style. The typesetting time varies according to the file size and the items to be typeset. Generally speaking, the time for a single modification does not exceed 5 minutes. After typesetting is completed, the software will pop up a message box to prompt that typesetting is complete. Users can go to the folder where the source file is located to view the typeset file.
The screenshot after completion of typesetting is as follows
Graduation easy thesis document typesetting software update log:
Updated on February 5, 2024. Fixed error reporting issues in three-line tables and directory formatting.
Huajun editor recommends:
GraduationEasy Thesis Document Typesetting Software is very simple to install, powerful, and has no installation garbage. It is specially recommended to everyone, and everyone is welcome to download it! This site also hasFoxit PDF Suite Advanced Editor,GWD Text Editor,Lizard Safeguard Secure PDF Viewer,XML Explorer(XML Editor),Sante CT Viewer, available for you to download!


Useful
Useful
Useful