


- Green versionView
- Green versionView
- Green versionView
- Green versionView
SQL server 2008 r2 sp2 version introduction
SQL Server 2008 R2 Parallel Computing Edition (Parallel Computing)
SQL Server 2008 R2 Datacenter Edition (Datacenter)
SQL Server 2008 R2 Enterprise Edition (Enterprise) and Developer Edition (Developer)
SQL Server 2008 R2 Standard Edition (Standard)
SQL Server 2008 R2 Web Edition
SQL Server 2008 R2 Workgroup Edition (Workgroup)
SQL Server 2008 R2 Express Edition
sql server 2008 r2 sp2 system requirements
— Operating system: Windows 7, Windows Server 2003, Windows Server 2008, Windows Server 2008 R2, Windows Vista, Windows XP
— System memory: 1 GB minimum (4 GB or higher recommended)
— Hard drive: Minimum 1 GB of available hard drive space.
— Processor:
X86: Pentium III compatible processor or faster (processor speed - 1.0 GHz or faster)
X64: Minimum: AMD Opteron, AMD Athlon 64, Intel Xeon with Intel EM64T, Intel Pentium IV with EM64T (processor speed - 1.0 GHz or faster)
IA64: Itanium processor or faster (processor speed - 1.0 GHz or faster)
SQL server 2008 r2 sp2 installation tutorial
1. Double-click the downloaded installation file setup.exe.
2. The sql server installation center interface pops up, click "Install" in the left column
3. Click "New installation or add features to existing installation" in the right column
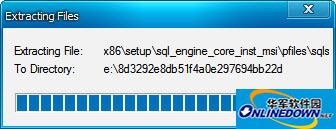
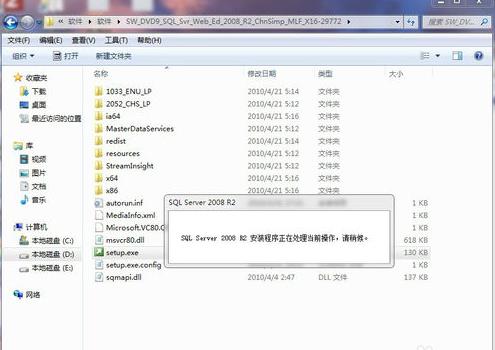
4. "The installation program is processing the current operation, please wait." Wait for a while. The main interface of the sql server installation center will pop up many times during the following installation process. You can ignore it.
5. Then a dialog box "Installer Support Rules" will pop up. Check if it is normal and click OK.

6. Select Enter Product Key, enter the key, and click Next
7. Check: I accept the license terms and click Next
8. Click to install
9. Click Next
10. Select Default: sql server function installation and click Next
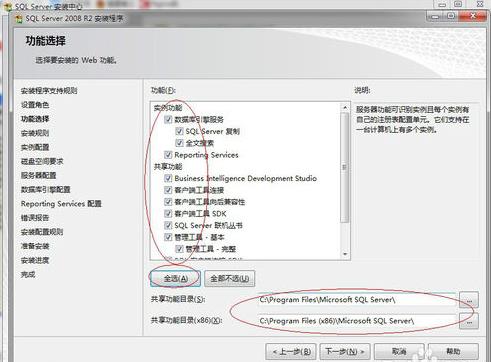
11. Function selection: Click the Select All button (share the function directory to see if your personal wishes need to be modified to other disks) and click Next
12. Wait for about 1 minute and click Next
14. Instance configuration, if the directory needs to be modified, you can change other paths, and then click Next
16. Modify the account name as shown in the picture, and then click Next

17. Account settings: Select mixed mode, enter password and confirm password, click below: Add current user
18. The data directory is saved in the c drive by default. It is recommended to modify the save destination path and click Next.
19. Click Next until you click Install
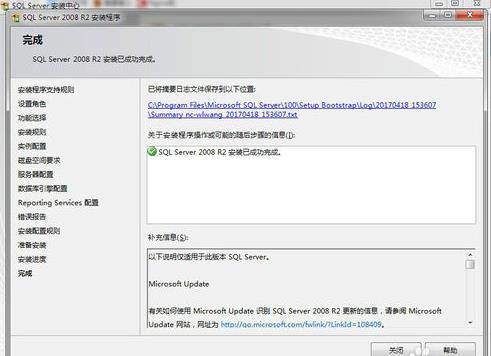
20. The installation is now complete. In the Windows Start menu, open the database management tool and you can use it.


Useful
Useful
Useful