


SmartSchedule software features
What you see is what you get and the operation is very simple.
There are only four main interfaces.
Main interface list library
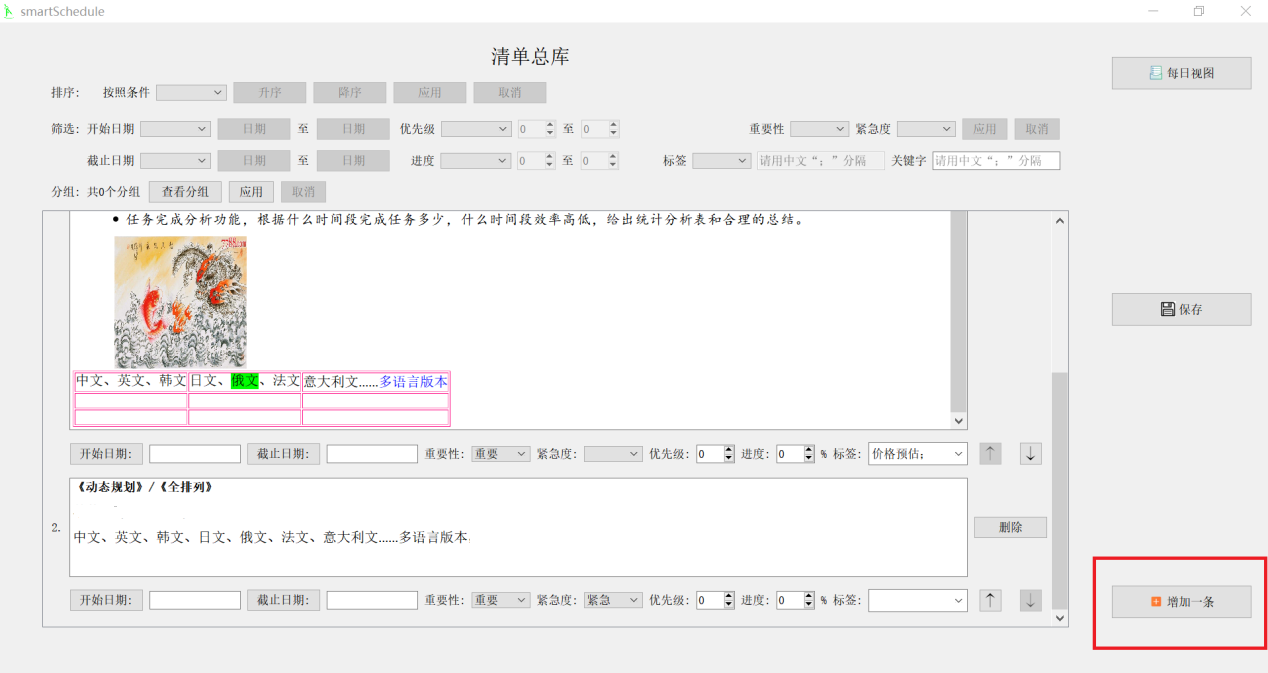
1. Click "Add one" and a blank task list will appear.
…
Set the "Start Date", "Deadline", "Importance", "Urgency", "Priority", "Progress", and "Label", or you can leave it unset.
When editing is complete, remember to “save”.
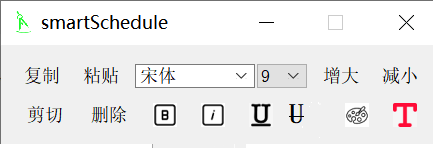
2. Select the text with the mouse and a dialog box will pop up.
Set rich text format (font style, size, background color, foreground color, bold, italic, underline, strikethrough).
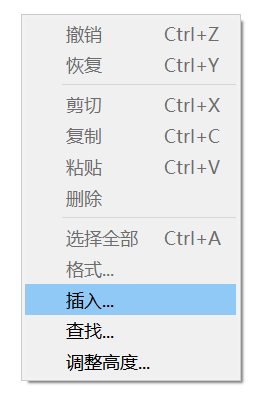
3. Right-click the mouse to insert pictures, lists, tables, and links.
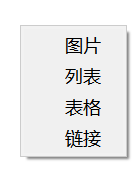
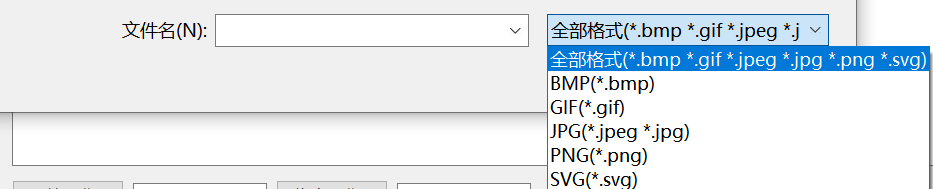
Formatting options for inserting images
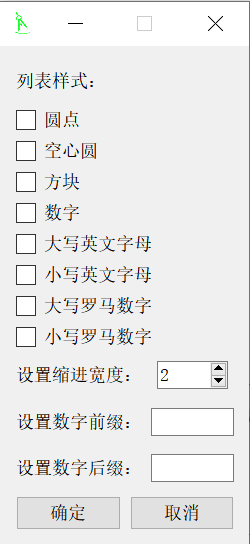
Insert list style settings
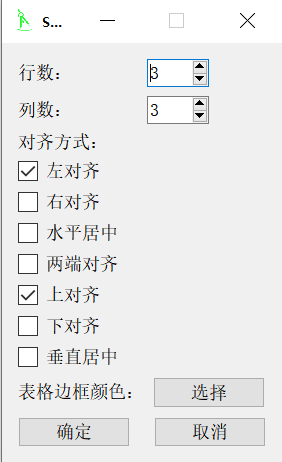
Format settings for inserting tables
Style after inserting lists, pictures, and tables
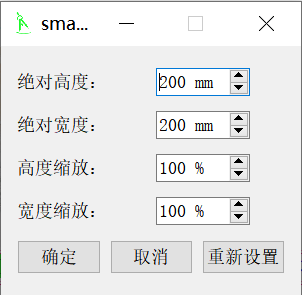
The inserted picture is the original size. If the picture is too big, you can use the scroll bar below the picture to drag it to the far right of the picture, double-click the picture, and reset the size and proportion.
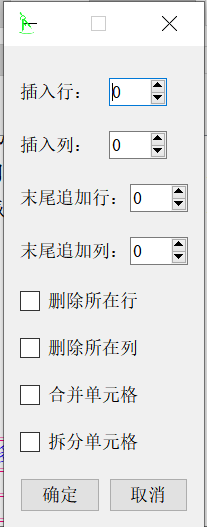
The table inserted by default is empty and has a small width. You can click on any cell with the mouse, and then use the up, down, left, and right arrows on the keyboard to jump between cells. Press the space bar to expand the width of the cell. Select multiple cells, and the following functional interface will pop up.
You can set multiple styles by selecting text in a cell, and by right-clicking the mouse, you can insert pictures, lists, tables, and links.
When you input a lot of text, you can right-click and "Search" to locate the text.

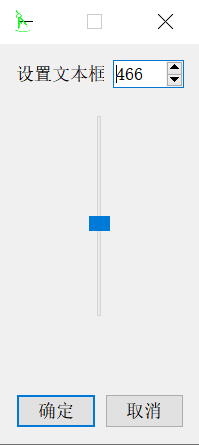
The height of the text box can be customized. Right-click "Adjust Height...", enter a number or drag the slider up and down.
Note: The current version must save the content before adjusting the height.
4. Task start date, deadline, priority, importance, urgency, progress, and label;
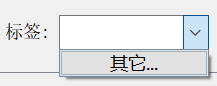
"Tag" is initially empty, drop down and click "Others...".
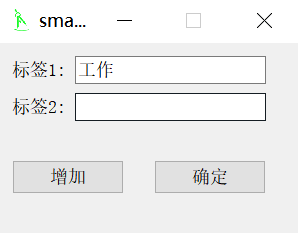
The label editing interface appears.
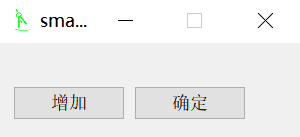
Click the "Add" button, enter the label text, and click the "OK" button.
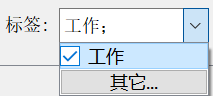
Check the label box.
5. The order of the list can be adjusted through the up and down arrows.
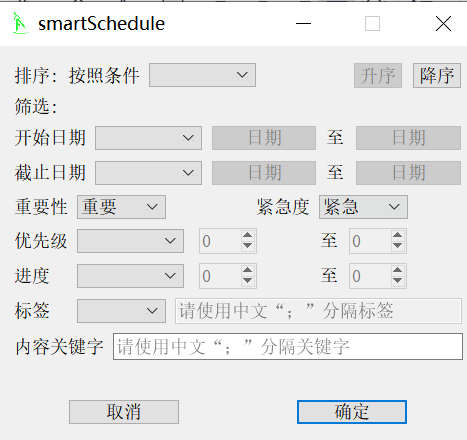
6. The list library can be sorted according to "start date", "deadline", "priority" and "progress".
7. You can also specify conditions to filter the list library.
8. You can group the list into categories.

Click "View Group" and click "Add Group".
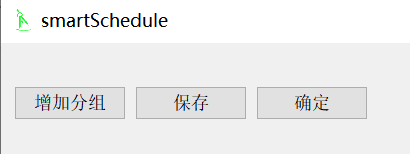
Enter the “Group Name”, such as “Important and Urgent”.
Click the "Edit" button, check the grouping conditions, and click "OK".
Click the "Apply" button.
Those who meet the conditions will be included in the corresponding group.
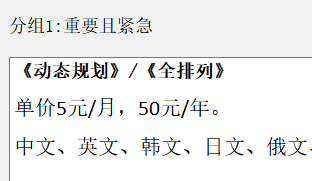
Those that do not meet the conditions are included in "Other: Ungrouped".
Second interface daily view
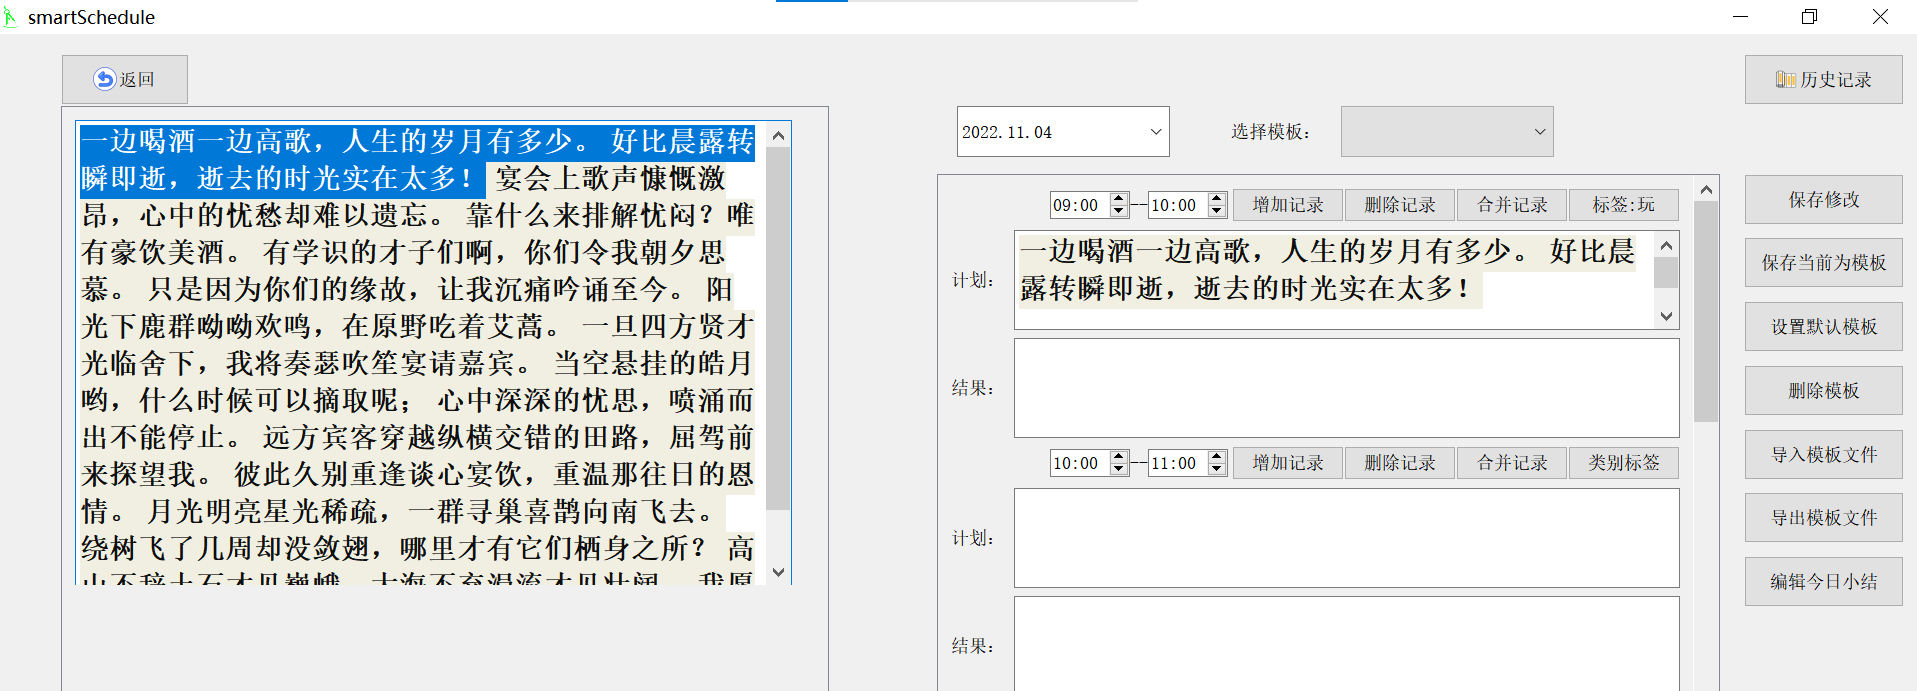
1. The left side is the content of the inventory library.
To facilitate editing, you can select the text on the left and drag it with the mouse to the text box on the right to place (copy) it.
The content to be displayed on the left can be controlled through the filtering function of the main interface.
2. Select the date from the calendar.
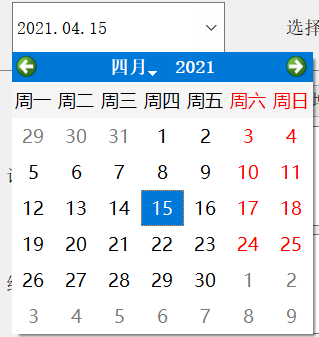
Note: After selecting the year and month, click the day of the month to hide the dialog box.
3. Select a template.
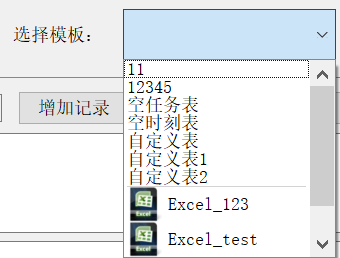
4. Save the current template, set the default template, delete the template, import the template file, and export the template file.
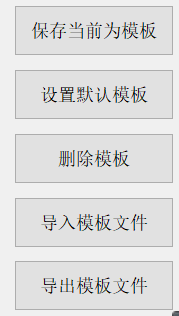
It imports and exports template files so that users can share templates.
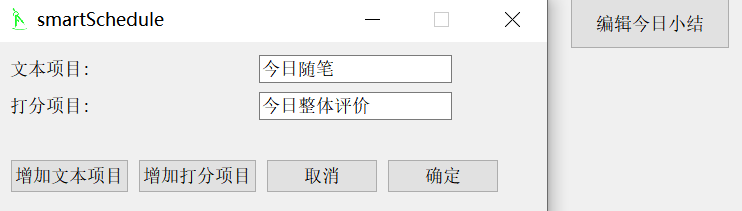
5. Add, delete and merge timetables.
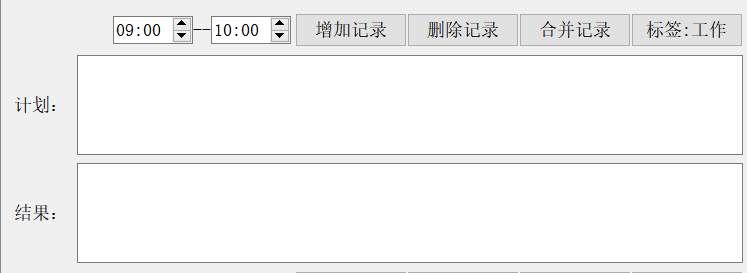
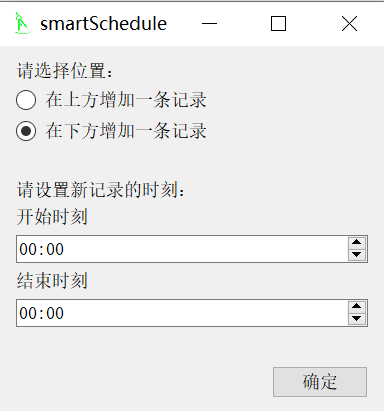
Add record
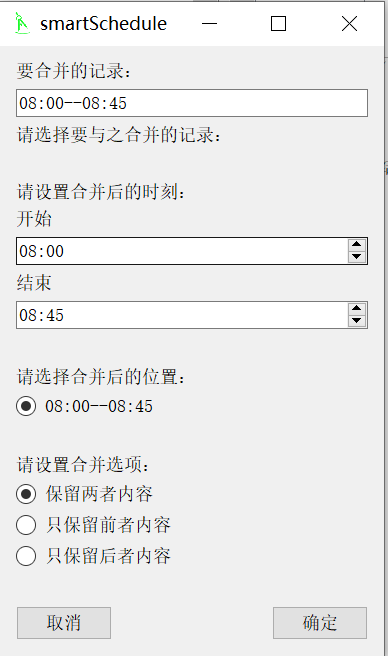
Merge records
6. Today’s summary
The third interface history record
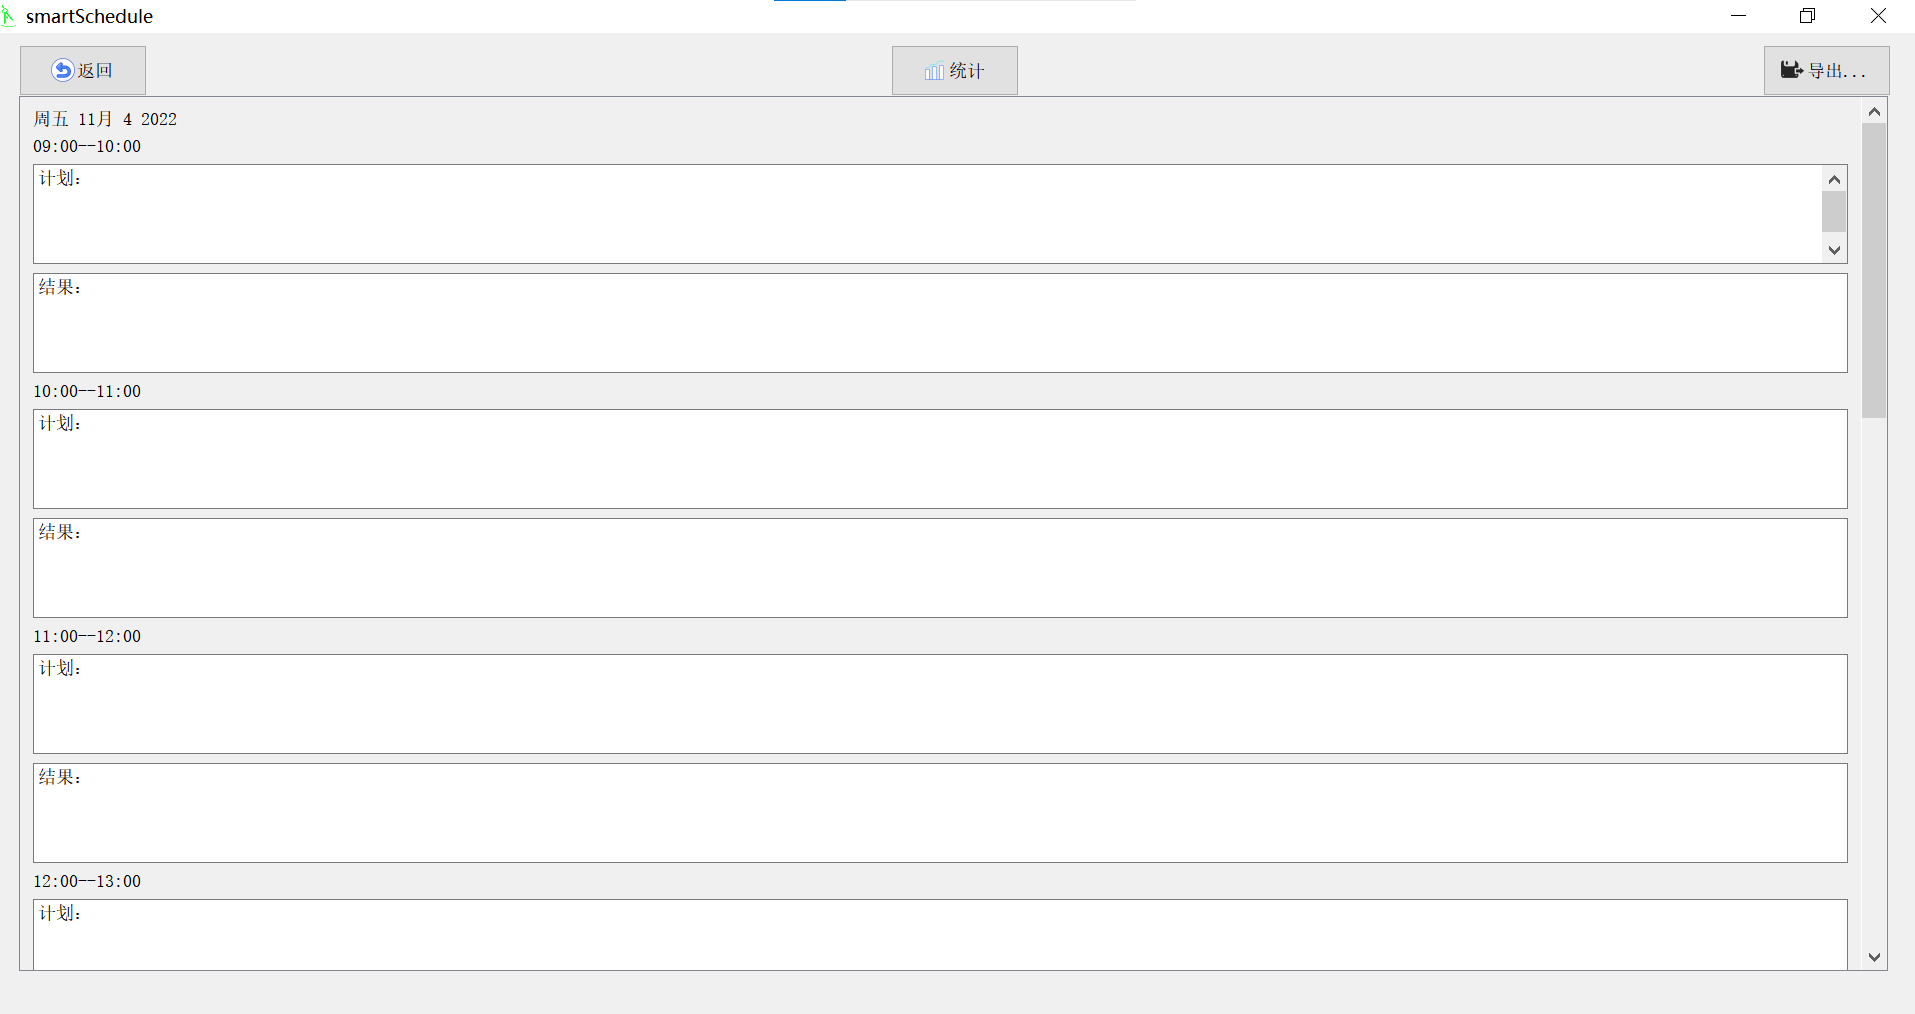
showing all the records of the selected date;
Click the "Statistics" button to enter the initial statistics interface.
The fourth interface time statistics
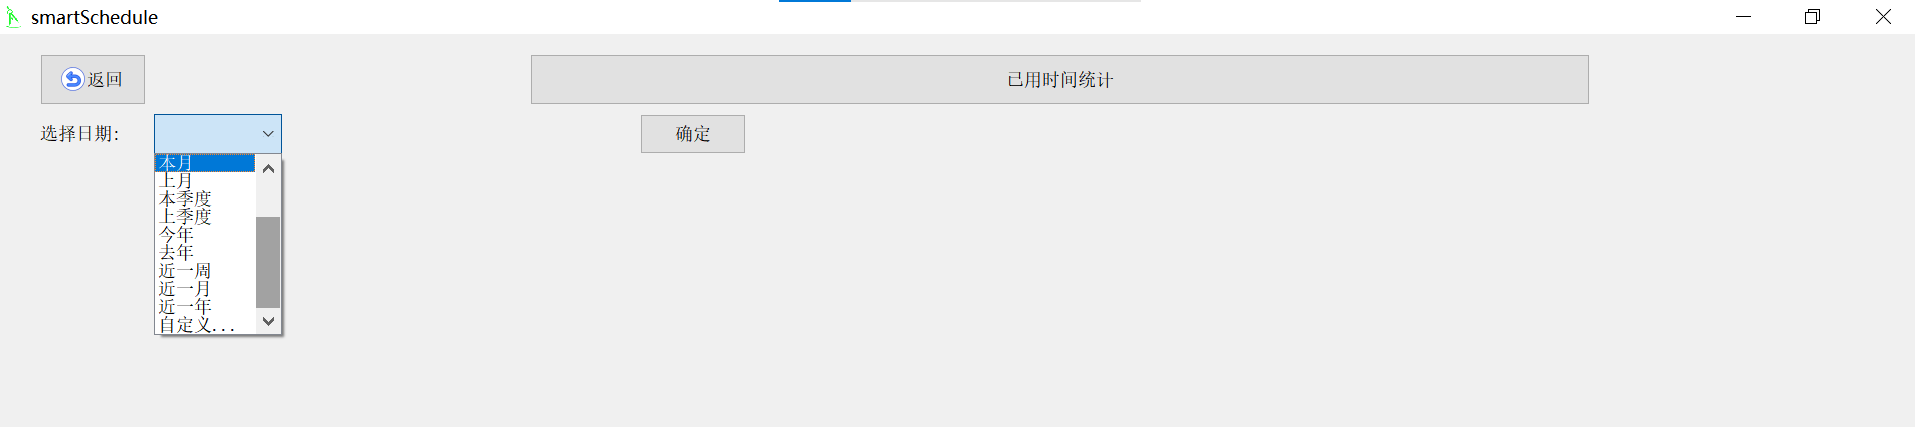
After selecting the date, click the "OK" button.
If the template you choose has time and tags added, such as "work" and "rest", then the time spent working and the time spent resting will be counted.
Click the left mouse button on the view to enter the next layer of view.
Right-click the view to return to the previous view.
From top to bottom, there are year, month, week and day views.
Hover the mouse over the color bar to display the label content and hours (the default is minutes).
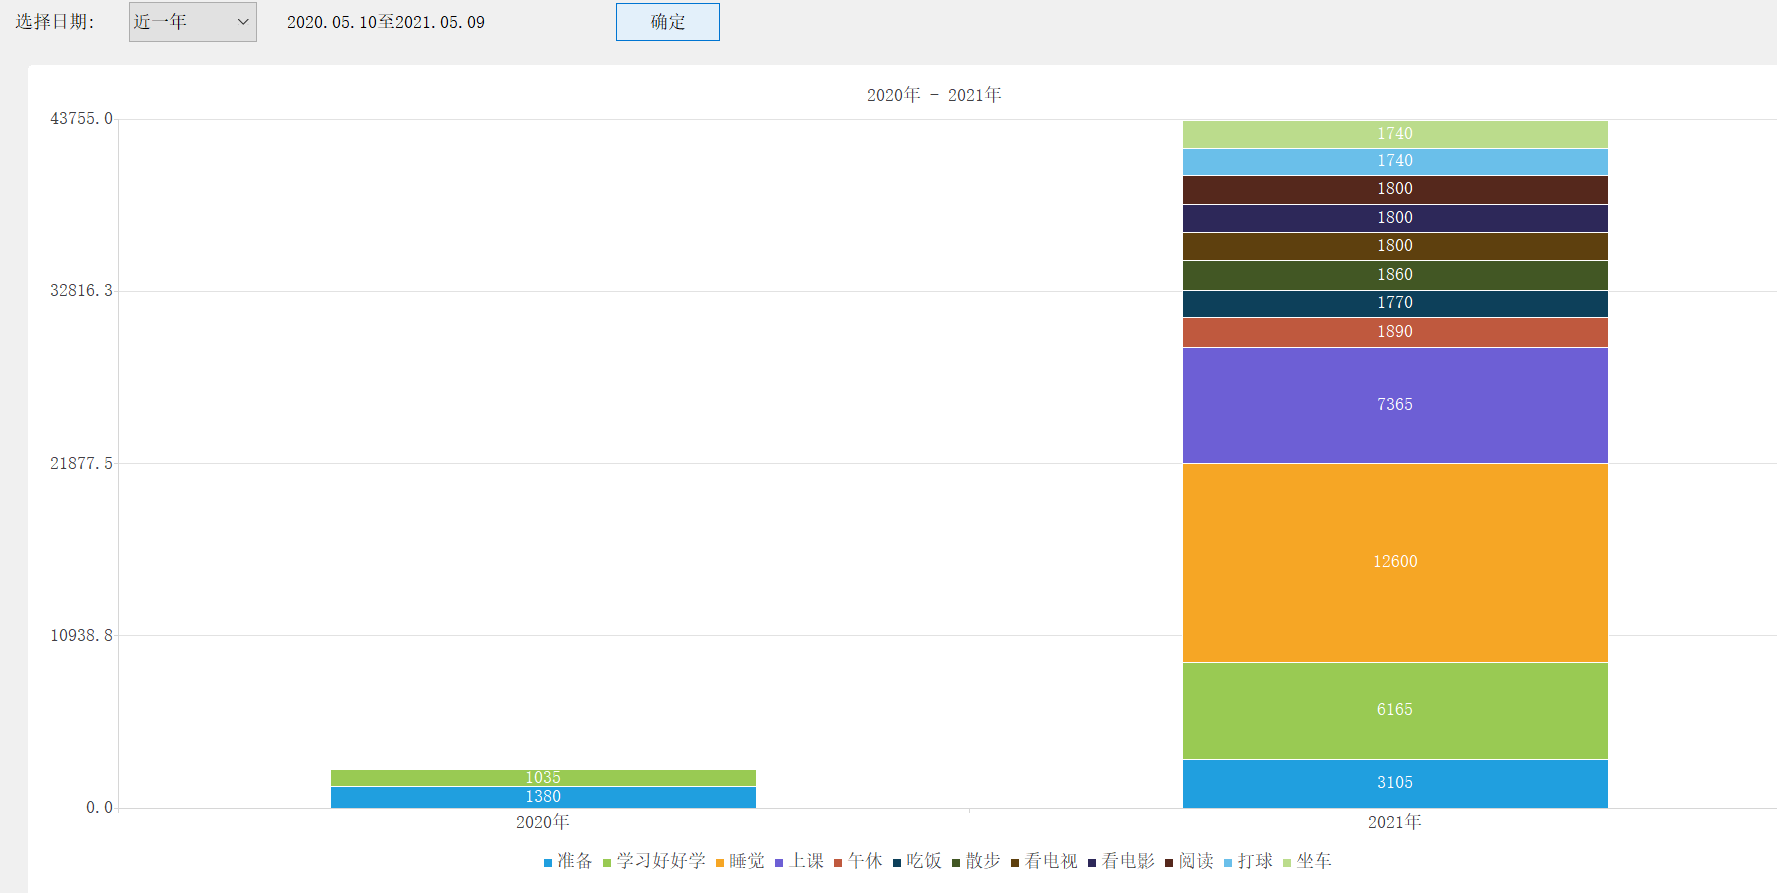
Data statistical year view
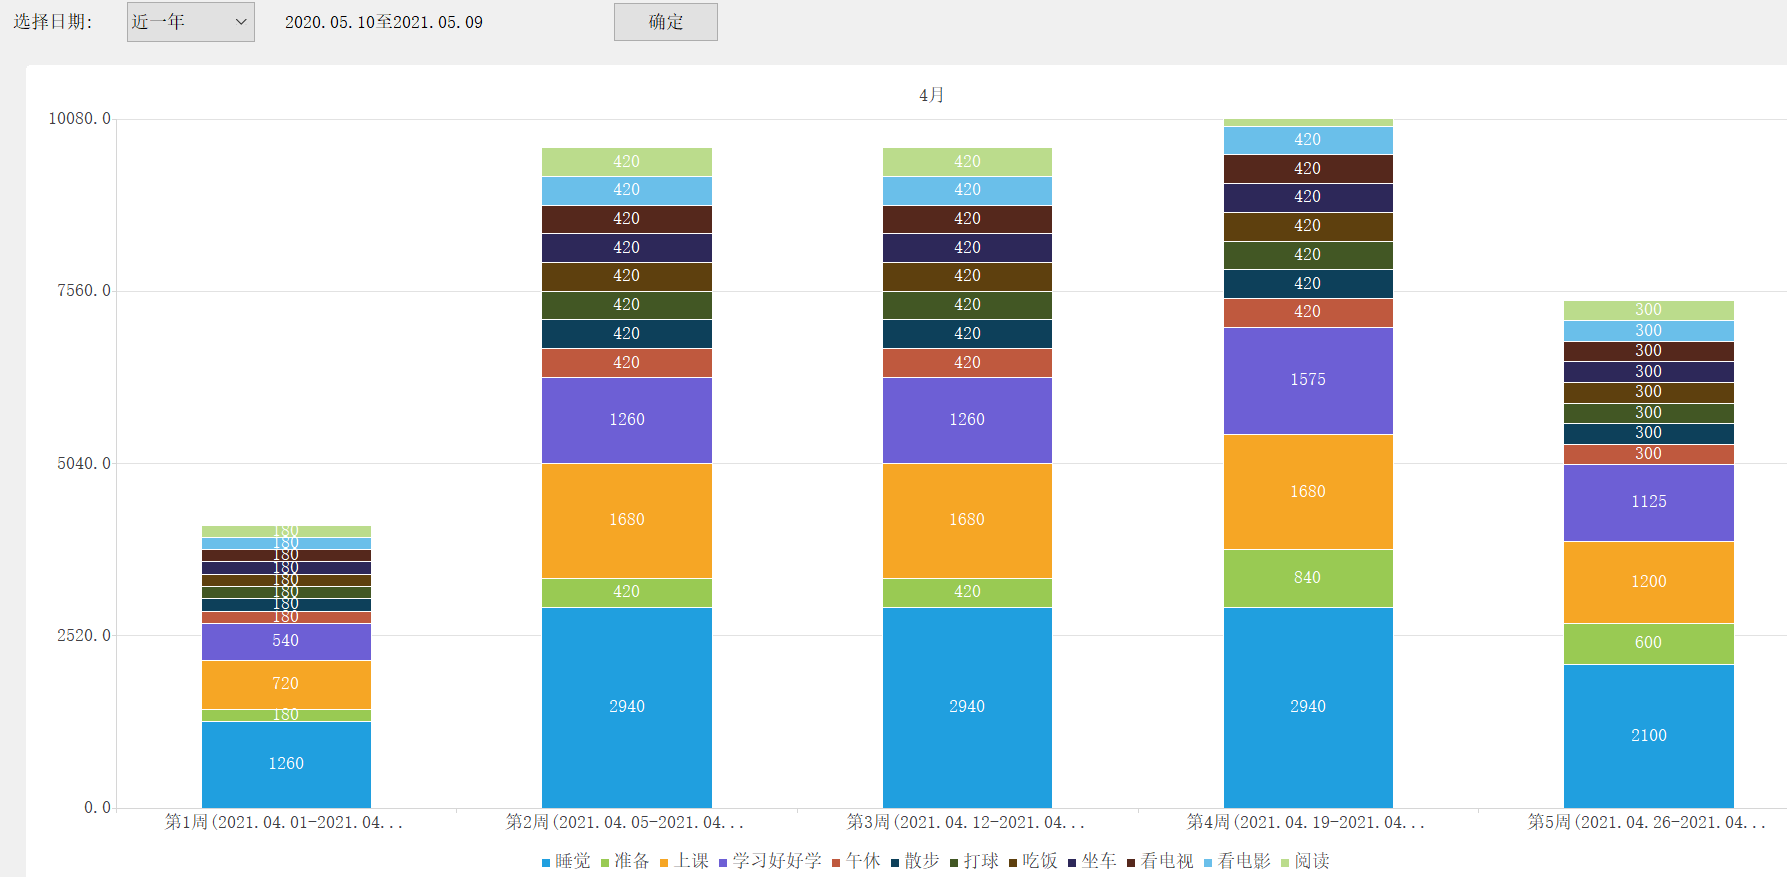
Weekly view of data statistics

Data statistics daily view
Export function
Click the "Export" button on the right side of the history interface, and the following interface will appear.
You can check "Export the total list at the same time", and the contents of the main interface will be exported together.
PDF paper can be customized. If you have larger pictures or tables, you can choose landscape or large size.
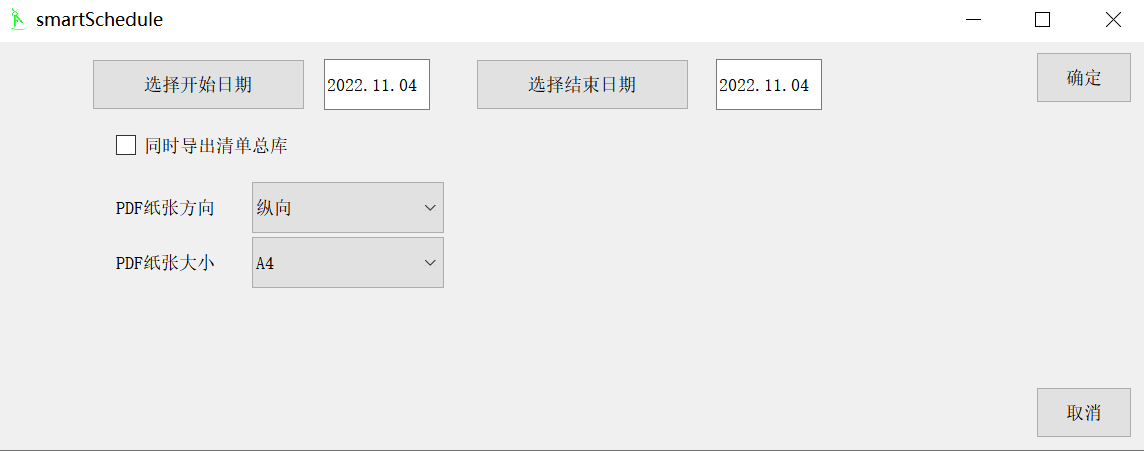
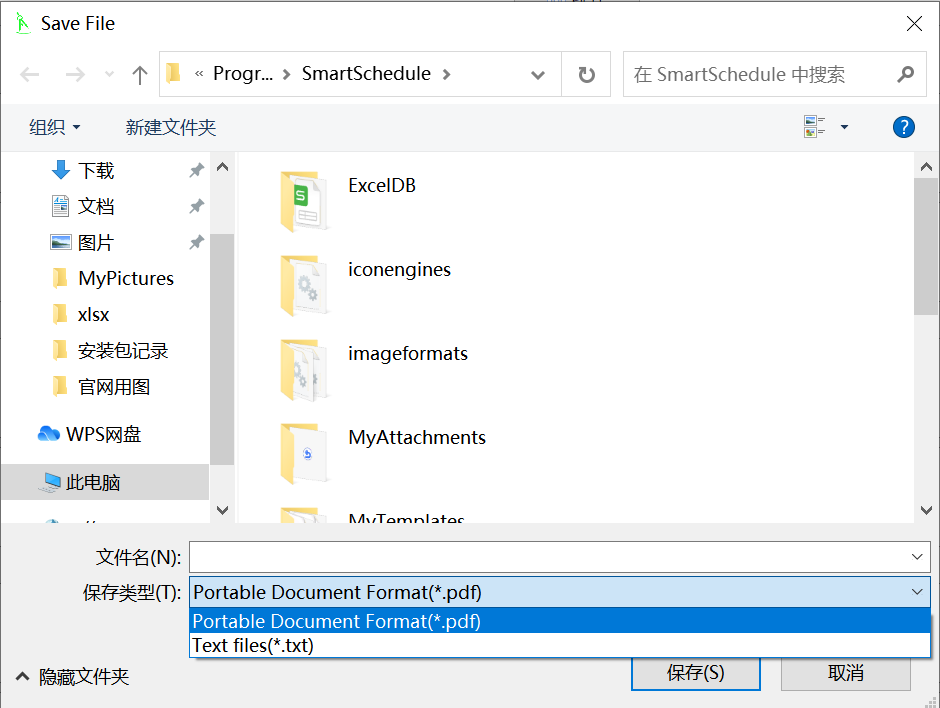
The exported file format can be pdf or txt.
SmartSchedule software features
1. Content rich text format (font style, size, background color, foreground color, bold, italics, underline, strikethrough);
2. Task sorting, filtering, grouping, and search;
3. Adjust the order of tasks before and after;
4. Insert pictures, numbers, links, tables into the content, and corresponding format editing functions;
5. Task start date, deadline, priority, importance, urgency, progress, and label;
6. Select the date on the calendar;
7. Select, save, import, and export templates;
8. Weekly report, monthly report, annual report;
9. Timetable addition, deletion and merging;
10. Daily summary;
11. List of historical records;
12. Export historical records into txt and pdf documents;
13. Data statistics view;
We plan to add some functions in the future:
Course schedule;
Backup management;
Voice broadcast and alarm clock reminder;
Mind map;
Speech recognition;
Hand-drawing drawing board and standard flow chart functions;
Robot assistant conversation
Interface customization;
Hunting mode;
Storage box mode;
Card mode;
Post-statistical diagnosis and suggestion functions;
Floating window;
Add new themes, modes and functions based on user feedback and suggestions.
SmartSchedule FAQ
Unable to log in to account
Reason: wrong password, account banned, server maintenance, network restrictions.
Solution:
Use the "Forgot Password" function to reset your password (requires binding email/mobile phone number).
Check the account status (contact the administrator to confirm whether it is disabled, such as enterprise version users).
Switch the network (such as switching from WiFi to 4G/5G) or turn off the VPN and try again.
SmartSchedule update log:
1. Added registration and login;
2. Optimize the interface experience;
3. Fix known bugs.
Huajun editor recommends:
This software is powerful and easy to operate. I hope you will like it. In addition, this site also hasChenhe family accounting software,memo,L-Vision,Thinking schedule and notes,Meijie Desktop NotesWaiting for software, welcome to Huajun Software Park to download!


Useful
Useful
Useful