-
AutoCAD 2013
- Size: 1474.56M
- Language: Simplified Chinese
- Category: CAD software
- System: WinAll


AutoCad2013It is an image processing software that can be used in architecture,civil engineeringand other fields, with wide application, powerful functions and friendly interface. Download on this siteAutoCad2013 contains software packages for 32-bit and 64-bit systems. You can choose to download and install according to your needs. Don’t miss it if you need it.

AutoCAD2013 software features
1. AutoCAD2013 Added user interactive command line.
2. Added new features: point cloud support.
3. AutoCAD2013 enhances array functions.
4. The functions of external reference and raster images have been further improved.
5. Quickly view graphics and pattern fill editors.
6. Features can be previewed directly in the AutoCAD2013 canvas.
AutoCAD2013 installation method
1. Download the AutoCad2013 software package from this site (because the software package is too large, we have packaged the 32-bit and 64-bit AutoCad2013 on Baidu Netdisk. You can choose to download according to your needs.) The following editor will continue to explain to you the 32-bit AutoCad2013.
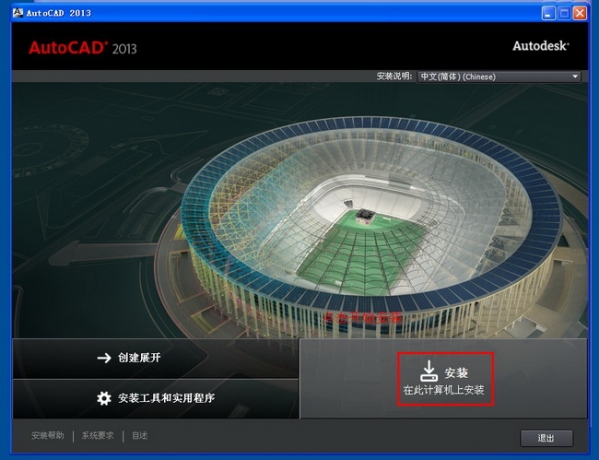
2. Unzip the AutoCad2013 software package we have downloaded, double-click to run the setup installation program file, and start the installation. Open the installation on the right.
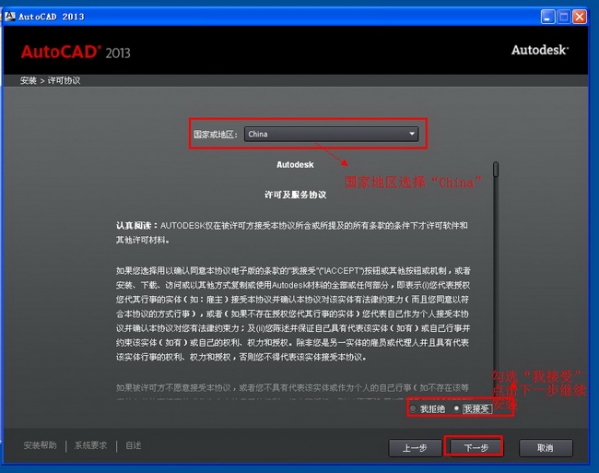
3. Enter the software user agreement, select china [China] as the country, check "I accept" at the bottom of the interface and click Next to continue the installation;

4. Then enter the product information interface, as shown in the figure below. Here we set the product language: Simplified Chinese; license type: stand-alone; for product information, check "I have my product information" and choose one of the three (CAD2013 32-bit Chinese version product key "001E1"). After entering it correctly, click "Next" to continue the installation;

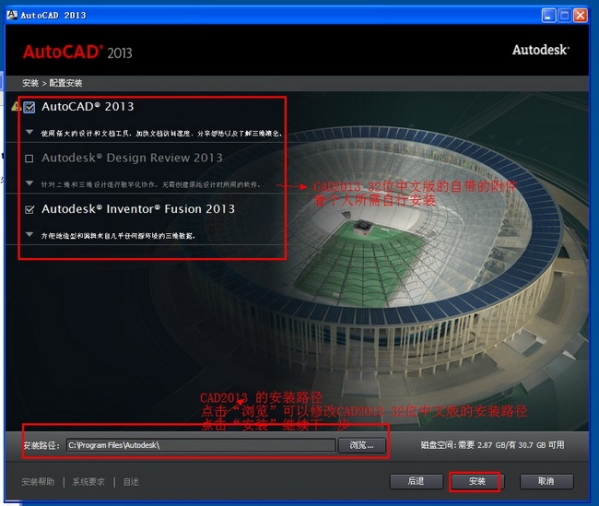
5. Then enter the installation and configuration interface of AutoCad2013, where we choose a suitable location to install it (in order not to affect the use of the software and the running speed of the computer, it is recommended to change it to a path other than the system disk.) After the setting is completed, click Install;

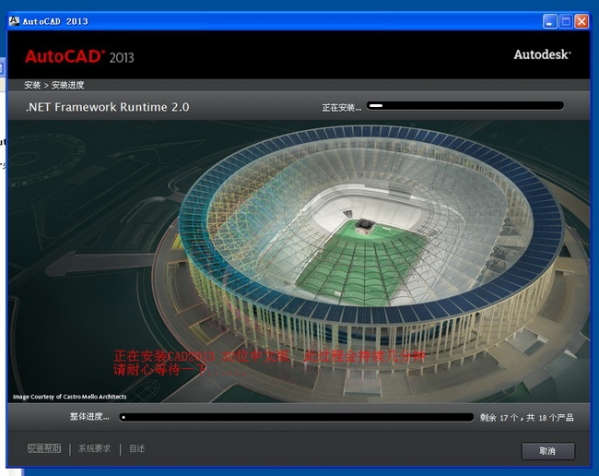
6. AutoCad2013 is being installed, you need to wait patiently for the installation.
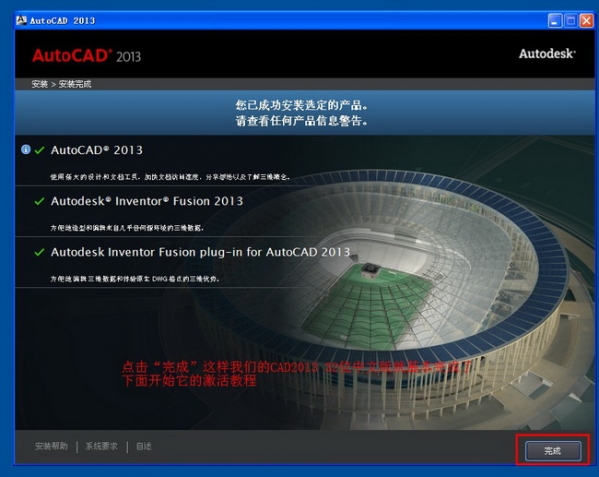
7. After the installation of AutoCad2013 is completed, you will see the following interface, click Finish.

How to use AutoCAD2013
How to convert autocad2013 version to PDF?
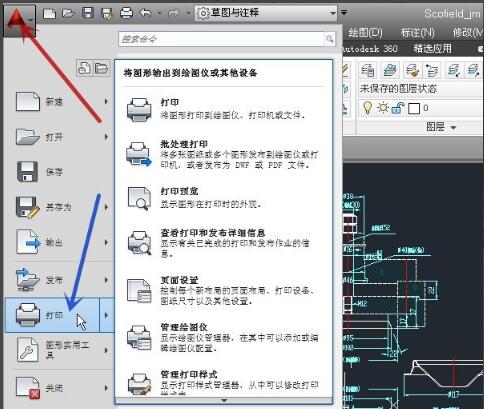
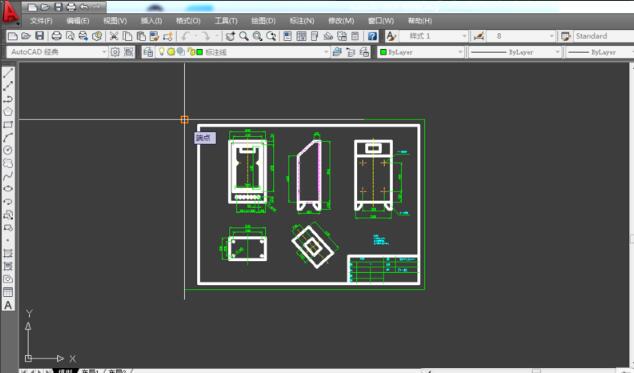
1. Open the AutoCad2013 we installed, and then open the drawing to be converted to PDF.
2. Click the icon in the upper left corner of AutoCad2013, and click [Print] in the pop-up selection.
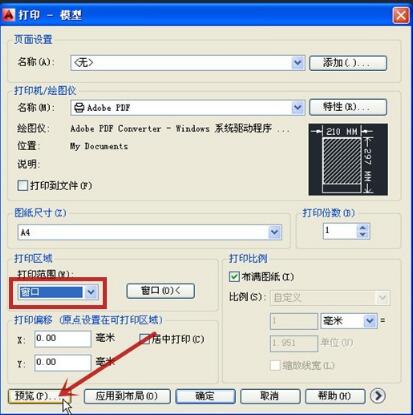
3. Then we will see the print settings interface, select the "Adobe PDF" option here
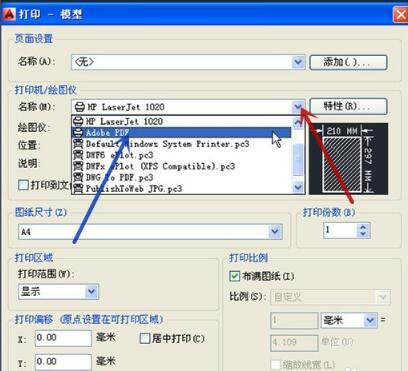
4. Then let’s set the printing range and set it according to your own needs.
5. After the settings are completed, we can click the preview button below to see the printing effect. If the effect is not satisfactory, we can go back and readjust it.
6. After confirming that the print content and format are correct, then set the storage directory and name of the print file, and finally click Print.

AutoCAD2013 FAQ
How to mark dimensions in Autocad 2013?
1. Open the autocad2013 version software we have installed and prepare the drawings to be marked with dimensions.
2. Click the "Annotation" function in the AutoCad2013 menu bar, as shown in the figure below:
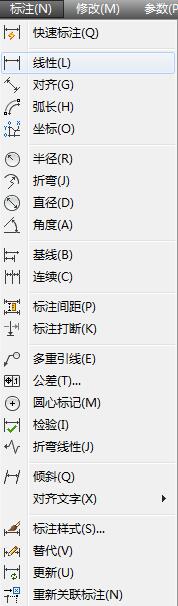
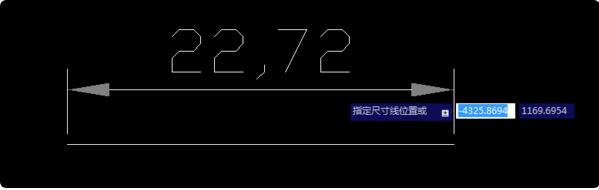
3. There are various labeling methods such as linear labeling, alignment labeling, radius labeling, arc length labeling, etc. You can choose different labeling functions according to your own needs. Here, the editor will continue to introduce you to the commonly used dimension annotations. Select the linear annotation under the annotation, then use the mouse to click the end point and starting point of the line, enter the corresponding text information, and the annotation can be completed.
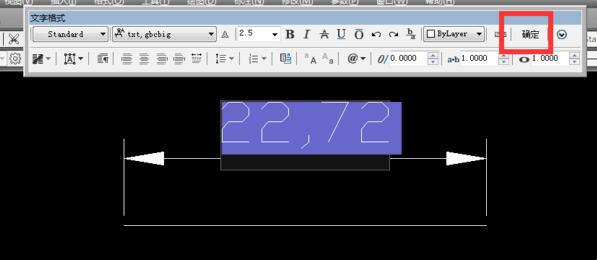
4. After the annotation is completed, you can check the effect. If you are not satisfied, you can manually modify the content. When you are satisfied, click OK to save.
How about AutoCAD2013 versionTurn off orthogonal?
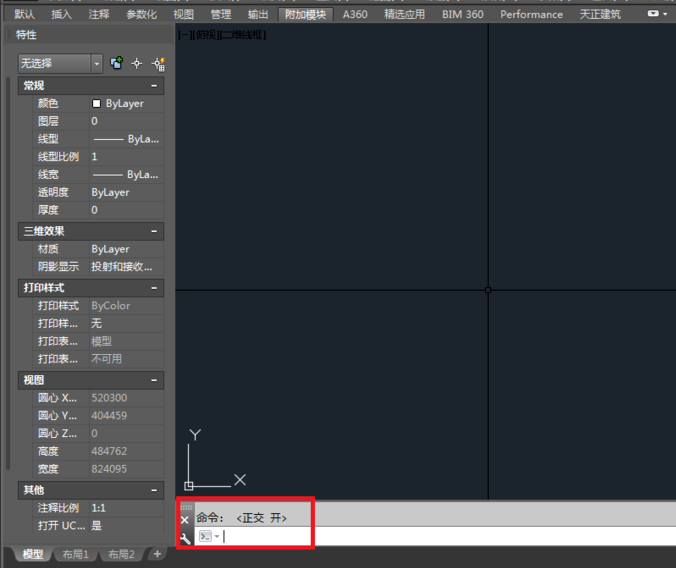
1. After opening the CA/2013 version software, use the shortcut command F8 to turn on the orthogonal mode.
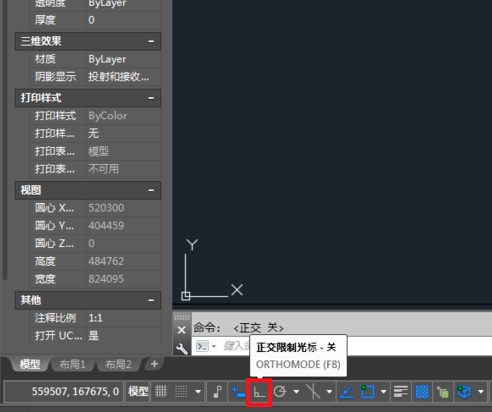
2. Or you can click the orthogonal icon at the bottom of CAD2013, as shown in the figure:
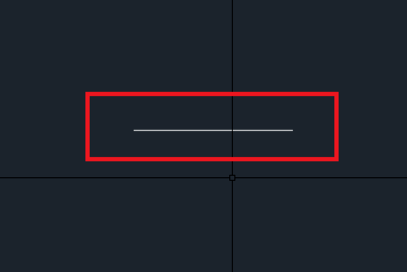
3. Draw a straight line through L. After specifying the first point, select the second point to land and check whether the line segment is horizontal or vertical. The purpose is obviously to adjust the horizontal or vertical use for orthogonality.
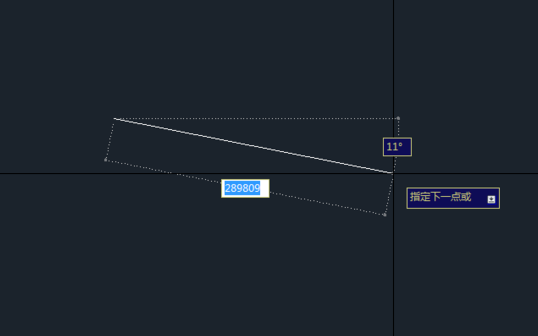
4. The middle straight line is not horizontal. We can observe the changes by turning on the orthogonal mode.
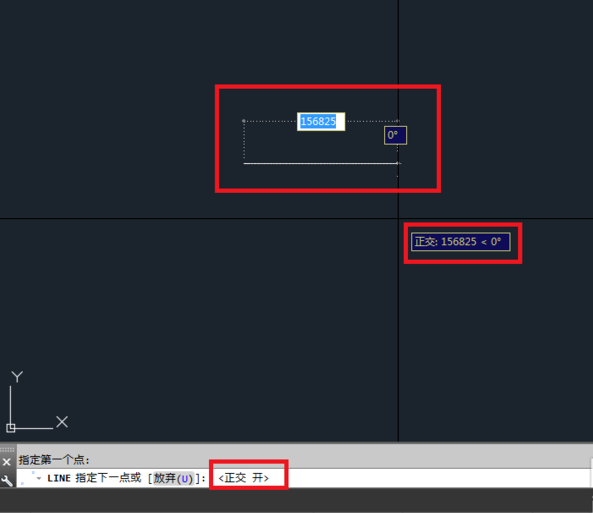
5. Automatically draw a horizontal straight line keeping the horizontal angle 180 degrees. Of course, the horizontal or vertical direction is determined by adjusting the direction of the line segment with the mouse. The final drawing result is as shown in the figure below. With the above capture we get a straight horizontal line.
Comparison of similar software in AutoCAD2013
AutoCAD2013 andAutoCAD2014Which version is better to use and what are the differences?
We all know that there are actually many versions of AutoCAD. The functions of each version are basically the same, but they are constantly improved and upgraded based on the original version. Then let’s briefly compare AutoCAD2013 and AutoCAD2014:
AutoCAD2013: The interface is refreshing, the function list is clear, and the functions are sufficient. The editor prefers this version, which is easier to use.
AutoCAD2014: Modifications have been made in some functions. For example, the action recorder of AutoCAD2013 is better to use than before. Add functions that were not available in the previous version, and have unique features of the new version, etc. The interface of this version is not very clear and does not look very comfortable. Personally, it does not affect the use.
AutoCAD2014 download link:http://softwaredownload4.com/soft/26734.htm
Due to copyright and manufacturer requirements, Huajun Software Park provides the official download package of AutoCAD 2013 software. You canclick hereJump to the official website to view.
Version: Official free Chinese version | Update time: 2025-09-05
Similar recommendations


Latest updates


How to install AutoCAD2013-AutoCAD2013 installation method
How to mark dimensions in autocad2013 - How to mark dimensions in autocad2013
How to convert autocad2013 version to PDF-How to convert autocad2013 version to PDF
How does coreldraw generate barcodes - How does coreldraw generate barcodes
How to correct pictures with coreldraw - How to correct pictures with coreldraw
How to split cells in coreldraw - How to split cells in coreldraw
How to center the page in coreldraw - How to center the page in coreldraw
How to customize symbols in coreldraw - How to customize symbols in coreldraw
How does coreldraw automatically adjust bitmaps - How does coreldraw automatically adjust bitmaps
AutoCAD 2013 Review
-
1st floor Huajun netizen 2022-01-13 02:03:04AutoCAD 2013 is very useful, thank you! !
-
2nd floor Huajun netizen 2022-03-31 09:51:16The interface design of AutoCAD 2013 is easy to use and has rich functions. I highly recommend it!
-
3rd floor Huajun netizen 2022-02-16 15:46:24I hope AutoCAD 2013 can get better and better, come on!
Recommended products


- Diablo game tool collection
- Group purchasing software collection area
- p2p seed search artifact download-P2P seed search artifact special topic
- adobe software encyclopedia - adobe full range of software downloads - adobe software downloads
- Safe Internet Encyclopedia
- Browser PC version download-browser download collection
- Diablo 3 game collection
- Anxin Quote Software
- Which Key Wizard software is better? Key Wizard software collection