Microsoft Word 2013 is a core component in the Microsoft Office suite. As a landmark word processing software, it marks a key step for Word from traditional desktop software to the cloud and touch screen era. Compared with earlier versions, Word 2013 not only inherits powerful document editing, formatting and typesetting functions, but also brings a new modern interface. Next, let the editor of Huajun explain to you how to import fonts in word2013 and how to import fonts in word2013!
first step
Download the font file and make sure the source of the file is safe. Common font formats: .ttf (TrueType), .otf (OpenType), .woff (web font, need to be converted before use).
Step 2
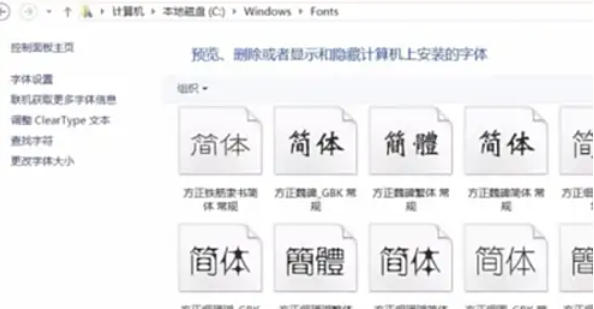
Press Win + R to enter fonts and press Enter to directly open the C:WindowsFonts folder. Or manually navigate to: This PC > Local Disk (C:) > Windows > Fonts.

Step 3
Drag or copy and paste the unzipped font files (.ttf/.otf) into the Fonts folder. The system will automatically install it and it will be displayed in the font list after the installation is completed.
Step 4
Right-click the font file and select "Install" (Windows 10/11) or "Install as shortcut" (keep the original file). Shortcut installation can save system disk space, but you need to ensure that the original files are not moved.
Step 5
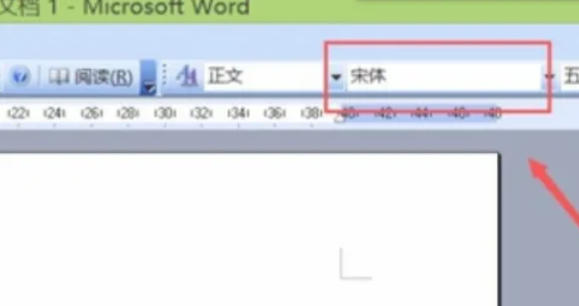
Start Word 2013 or later and create a new or open an existing document. Select the text that needs to be modified, or enter text directly in the blank space.
Step 6
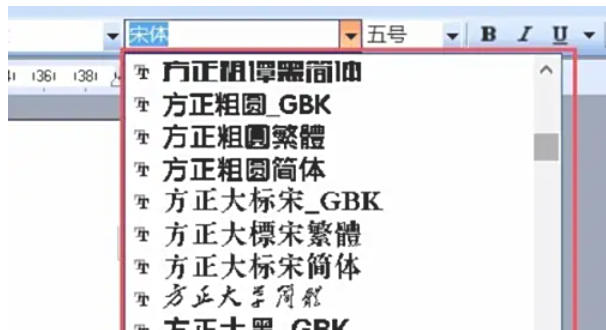
On the Home tab, in the Fonts drop-down menu, scroll to find the name of the installed font.
Step 7
Click on the font name and the text will switch to the new font style.
The above is how to import fonts in word2013 and the method of importing fonts in word2013 compiled by Huajun editor for you. I hope it can help you!


