Friends, do you know how to draw a rectangular grid in Adobe Illustrator CS6? Today I will explain about Adobe Illustrator If you are interested in how to draw a rectangular grid in CS6, please come and take a look with me. I hope it can help you.
Step 1: Open the Adobe Illustrator CS6 software on the desktop (as shown in the picture).
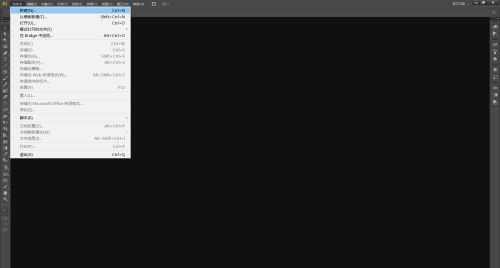
Step 2: Find and click [File], [New] in the menu bar (as shown in the picture).
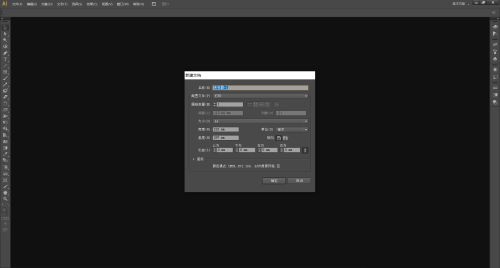
Step 3: Set the parameters in the pop-up window, click [OK] to create a new document (as shown in the figure).
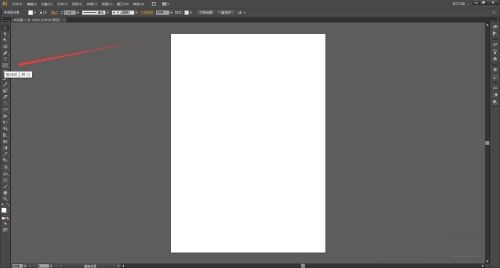
Step 4: Find and long press the [Line Segment Tool] in the left toolbar to open the drop-down list (as shown in the picture).
Step 5: Select [Rectangular Grid Tool] from the drop-down list (as shown in the picture).

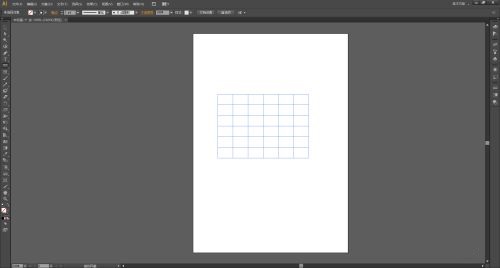
Step 6: Use the [Rectangular Grid Tool] to click and drag on the canvas, then release, and the rectangular grid will be drawn (as shown in the picture).
Step 7: You can also use the [Rectangular Grid Tool] to click on the canvas, the [Rectangular Grid Tool Options Window] will pop up, and set the parameters in the window (as shown in the figure).

Step 8: After setting the parameters, click [OK], and the rectangular grid will be drawn (as shown in the picture).

The above is the entire content of how to draw a rectangular grid in Adobe Illustrator CS6 brought to you by the editor. I hope it can help you.