Friends, do you know how to use the width tool in Adobe Illustrator CS6? Today I will explain Adobe Illustrator If you are interested in how to use the width tool in CS6, please come and take a look with the editor. I hope it can help you.
Step 1: Open Adobe Illustrator CS6 on the desktop (as shown in the picture).
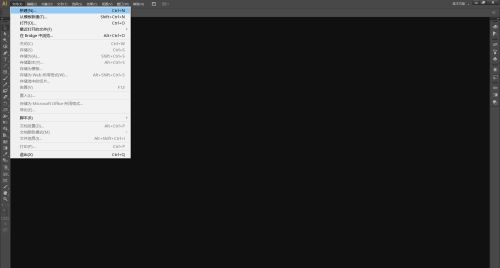
Step 2: Find and click [File], [New] in the menu bar (as shown in the picture).
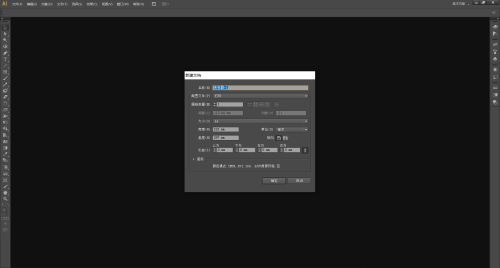
Step 3: Set the parameters in the pop-up window, click [OK] to create a new document (as shown in the figure).
Step 4: Draw the graph (as shown in the picture).

Step 5: Select the graphic, find and click the [Width Tool] on the left toolbar (as shown in the picture).

Step 6: Place the mouse on the edge of the graphic, click and drag (as shown in the picture).

Step 7: Drag to the appropriate place and release the mouse (as shown in the picture).

Step 8: You can see that the stroke of the graphic has been widened (as shown in the picture).

Step 9: You can also change the color of the graphic stroke (as shown in the picture).

The above is the entire content of how to use the width tool in Adobe Illustrator CS6 brought to you by the editor. I hope it can help you.