How to set the printing range in cad mini picture viewing software:
1. Run the CAD mini drawing software and open the drawing to be printed. As shown in Figure 1

(Figure 1)
2. After opening, the mouse will appear as a small hand. You can zoom in or out of the drawing by scrolling the mouse. As shown in Figure 2
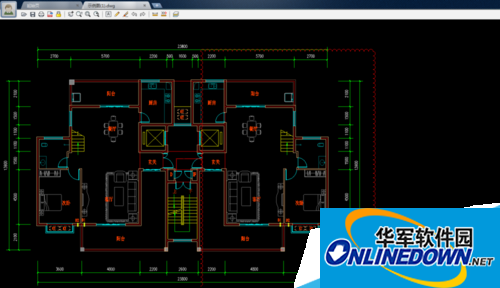
(Figure 2)
3. As shown in the picture below, if you only print the living room and dining room on the left, click the print tool on the toolbar to enter the print page. As shown in Figure 3
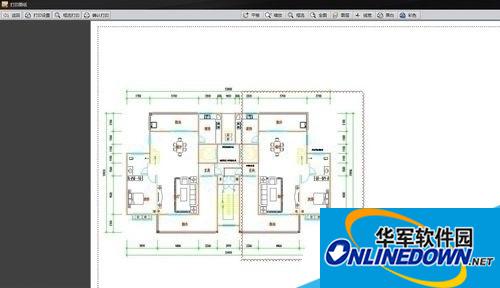
(Figure 3)
4. Scroll the mouse to enlarge the drawing, select the translation tool above, and move to the place that needs to be printed. As shown in Figure 4

(Figure 4)
5. Click the print settings in the upper left corner, select the printer and the appropriate paper (the editor chose A3 paper in landscape orientation), and the drawing will turn into black and white after setting. As shown in Figure 5
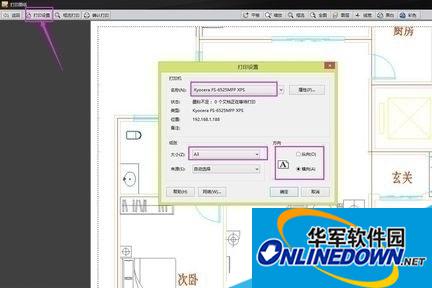
(Figure 5)
6. Select the box selection print above and select the living room and dining room on the left. As shown in Figure 6
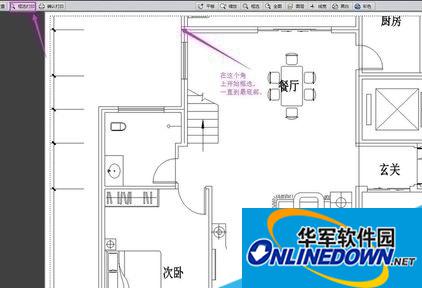
(Figure 6)
7. Finally, select "Confirm Print" above and it's OK. As shown in Figure 7
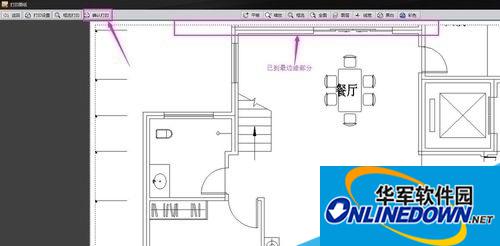
(Figure 7)
Summary: The above is how to set the printing range in CAD mini picture viewing software, so that we can print the area we want to print.


