When we use CAD Mini Viewer, we sometimes need to make simple length and area measurements, but many friends don’t know how to measure. In fact, CAD Mini Viewer has special measuring tools. Today I will tell you how to use CAD Mini Viewer to measure length and area.
Steps to measure the length of CAD mini drawing:
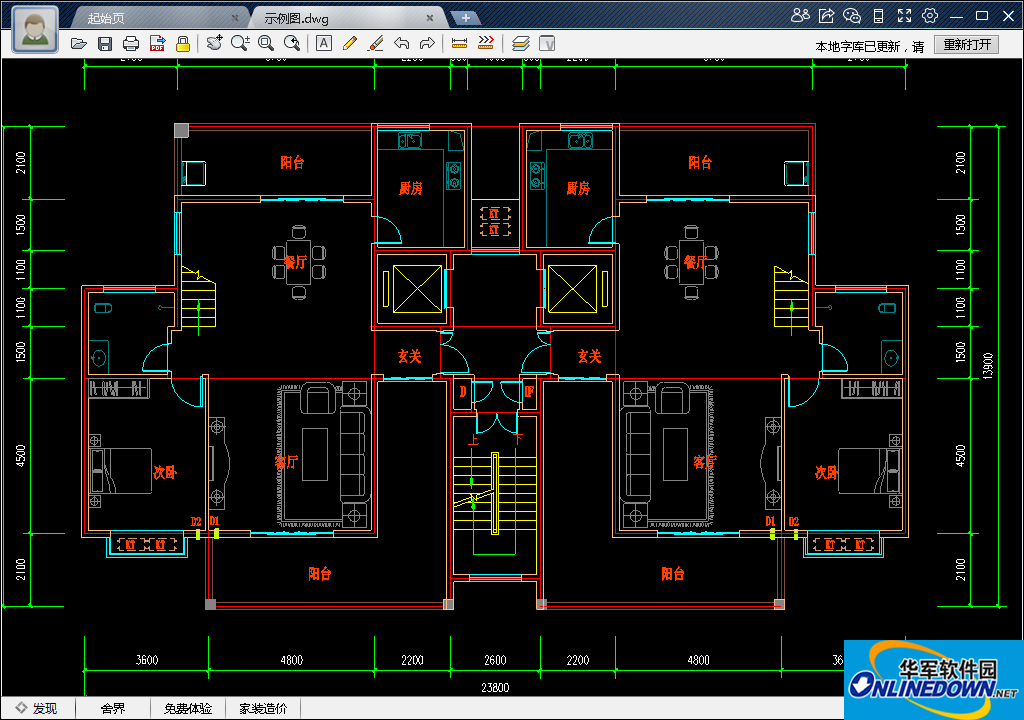
1. First open CAD mini to view the drawings and import the drawings

2. Find the measurement tool in the software toolbar

3. Select the starting point and focus point to be measured according to the software prompts, move the specified labeling position and press ESC to exit.

Steps for area measurement of CAD mini drawing:
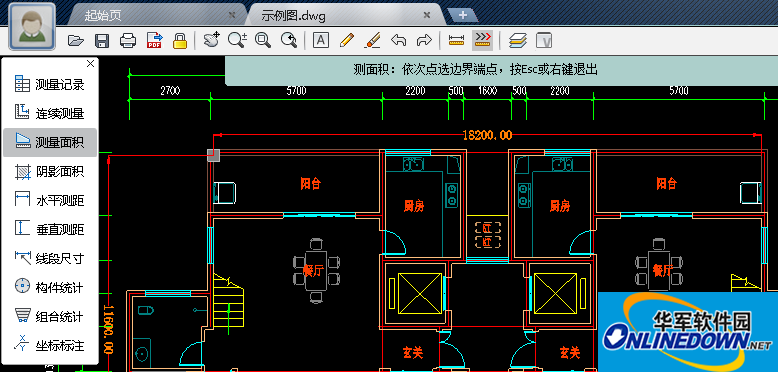
1. When importing drawings, select More Measurements and click Measure Area.

2. Select the boundary endpoints to be measured according to the software prompts, and press ESC or right-click to exit.

The above is the measurement method of length and area of CAD mini drawing. I hope it will be helpful to everyone.
The editor recommends:
How to rotate pictures in CAD Mini Viewer 2016
How to set the printing range in cad mini picture viewing software?
How to print drawings in cad mini view? What are the methods for printing drawings?
More CAD mini picture viewing 2016 tutorials are available in the picture viewing software


