CAD Mini Viewer is a very professional drawing viewing tool, easy to measure and very convenient. So during the purchase process, if you want to measure the length, how should you do it? Let's take a look at the tutorial on how to measure the length of a CAD mini picture with the editor.
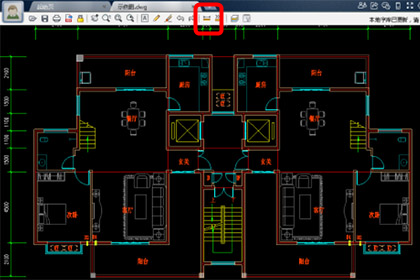
1. Open the CAD Mini Viewer, click on the folder pattern, and import the CAD drawing file that needs to be measured.

2. Click the smart measurement shortcut key to start measurement.
3. Select the target to be measured. The simplest one is naturally a straight line. According to the software prompts, select the starting point and end point to be measured (you can also click the straight line directly), and move the specified label position and press ESC to exit. The length of the straight line will appear. Use the left mouse button to determine the position of the measurement result, and the measurement is completed.

4. The method of measuring the arc radius is the same as that of a straight line. Place the mouse on the arc. After the radius of the arc is displayed, click the left button to determine the measurement position and the measurement is completed.
5. When measuring an angle, you need to select the first straight line first, and then select the second straight line. The measurement result can be obtained by moving the mouse.

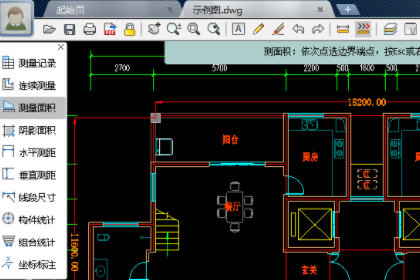
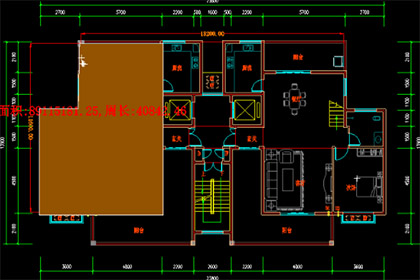
6. Measuring area and perimeter is relatively troublesome. First click the measure button, select the measure area option, then click on the boundary endpoint (the area can be measured only by closing the figure), press Esc or right-click to exit, and the area and perimeter of the figure will be displayed on the screen.
Above, I have shared with you the tutorial on how to use CAD mini drawings to measure length. Friends in need should hurry up and read this article.

