Many friends expressed that they are not familiar with the operation of Swift CAD Editor to convert CAD drawings to GIF format. The editor below will specifically explain the graphic and text steps of Swift CAD Editor to convert CAD drawings to GIF format. I hope it will be helpful to you.
1. Run the Swift CAD Converter, enter the software operation interface, select the [CAD to Picture] conversion option, and then you can see the operation prompt of "Click to add files or drag files here".
2. You can drag the CAD file into the software, or directly click the [Add File] or [Add Directory] option icon to call up the [Open/Select Folder] pop-up window. Select the CAD drawings that need to be converted in the pop-up window and add them in batches.

3. Select the GIF animation format in the [Output Format] column. At the same time, you can select the appropriate style in the [Output Color], [Page Size], and [Background Color] columns to make detailed settings for the converted GIF animation.
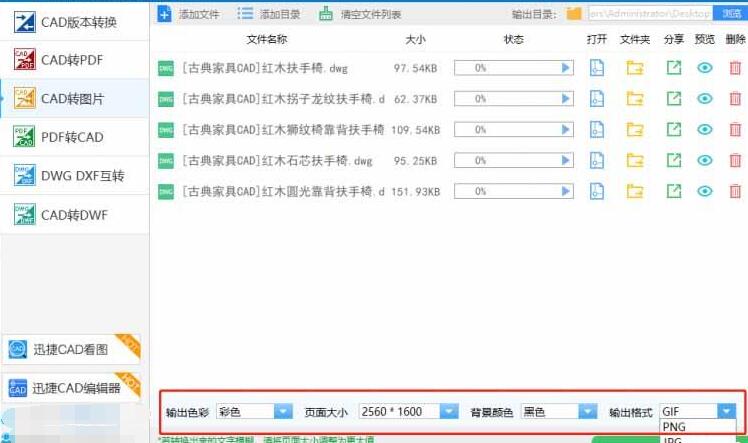
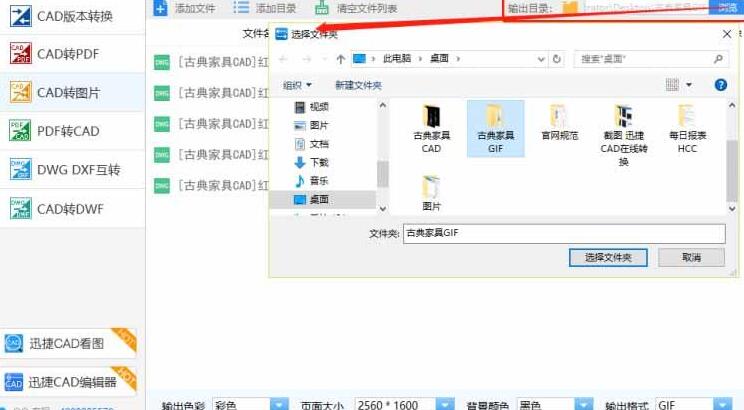
4. Click the [Browse] button on the right side of [Output Directory] to call up the [Select Folder] pop-up window, and select the appropriate folder in the pop-up window to save the converted GIF file.
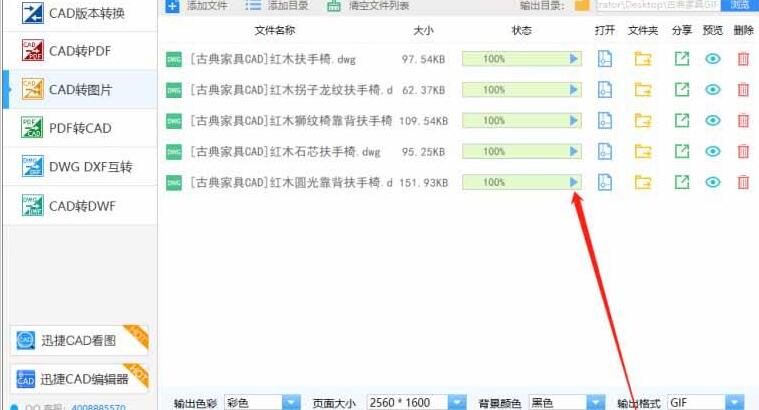
5. Click the [Batch Conversion] option button, and you can see that the CAD drawing files added in batches are quickly converted into GIF animation format.
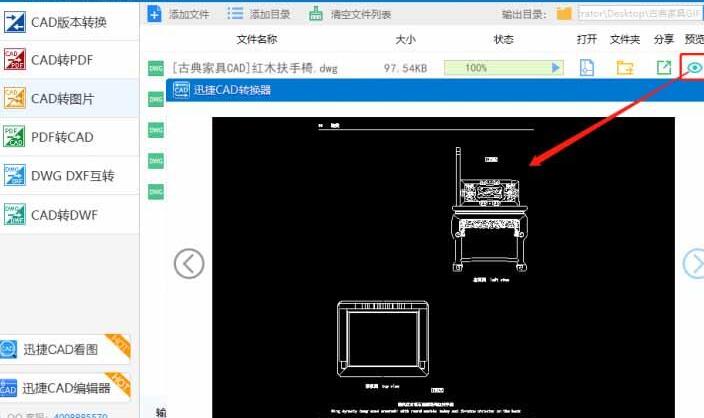
6. You can directly click the [Open], [Folder], [Share], [Preview], and [Delete] option icons in the software interface to perform corresponding operations on the converted GIF animation.
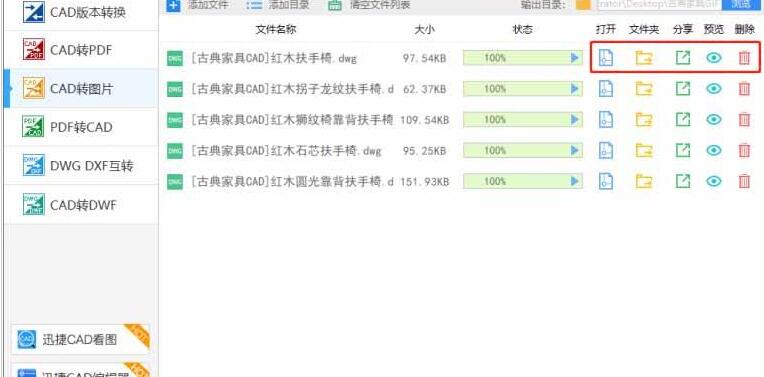
For example: Click the [Preview] option icon to quickly preview the converted GIF.
The above article explains the steps for converting CAD drawings into GIF format using Quick CAD Editor. I hope friends in need can learn from it.
