Currently, many friends use CAD software to calculate the area of drawn CAD drawings. So how do you calculate the area of CAD drawings using the quick CAD converter? Let me share with you the detailed steps for calculating the area of cad drawings using the fast CAD converter. I hope it can help you.
1. Enter the quick CAD editor interface.
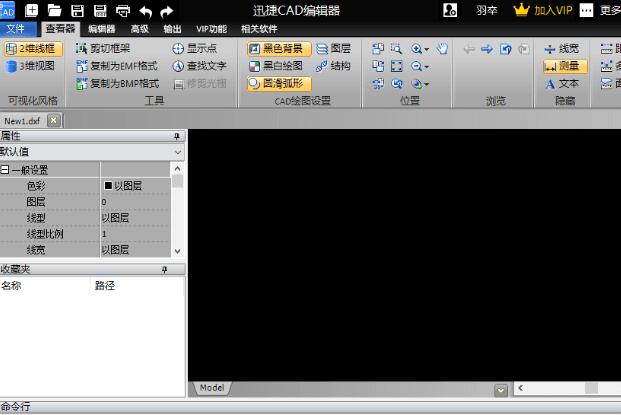
2. Click the "File" option in the upper left corner of the CAD editor. After entering the file interface, click the "Open" button to open the CAD drawing that needs to be calculated in the "Open" dialog box that pops up on the interface.

3. After opening the CAD drawing in the editor, switch the menu bar option above the editor to "Viewer" and use the pan, zoom in, zoom out and other functions in the "Position" bar to move the CAD drawing to the appropriate position in the CAD window.

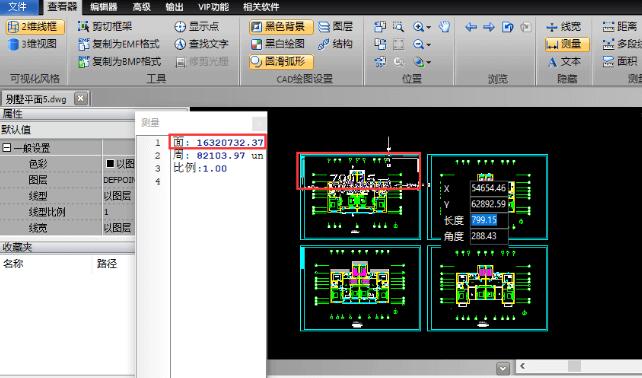
4. Find the "Measure" function bar in the "Viewer" function panel, select the "Area" option in it, and measure the area of the selected drawing content area.

5. After clicking the "Area" option, a "Measurement" dialog box will pop up in the editor interface. After using the mouse box to select the area of the drawing where the area needs to be measured, the area of the drawing will be displayed in the "Measurement" dialog box.
The above explains the detailed steps of using the fast CAD converter to calculate the area of cad drawings. I hope friends in need can learn it.