Still don’t know how to use a CAD editor to convert drawings into JPG format? There must be many novice friends who don't understand it yet, but it doesn't matter, because below the editor will share the steps of using a CAD editor to convert drawings into JPG format. I hope friends in need can learn together.
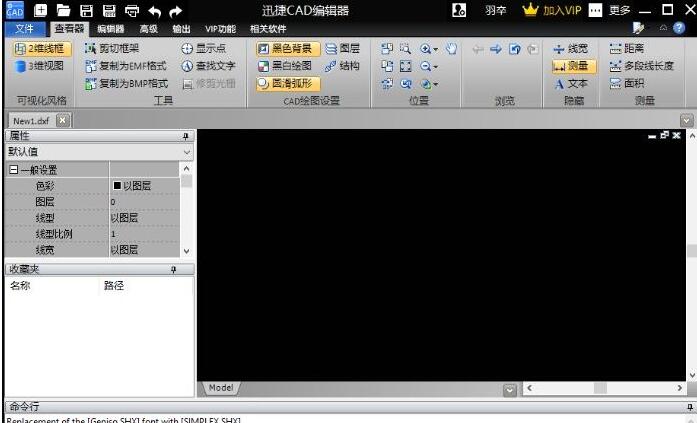
1. Start the Swift CAD Editor and enter the editor user interface.
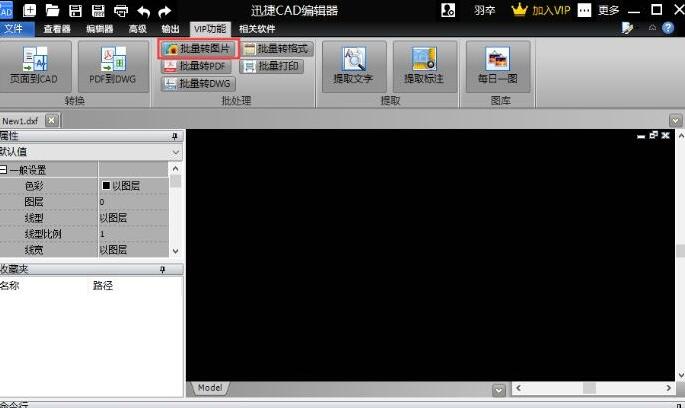
2. Switch the tab in the upper menu bar to the "VIP" function bar, find the "Batch Processing" option, and select the "Batch Convert Pictures" option button. After adding the file, you can convert the format of the drawing.
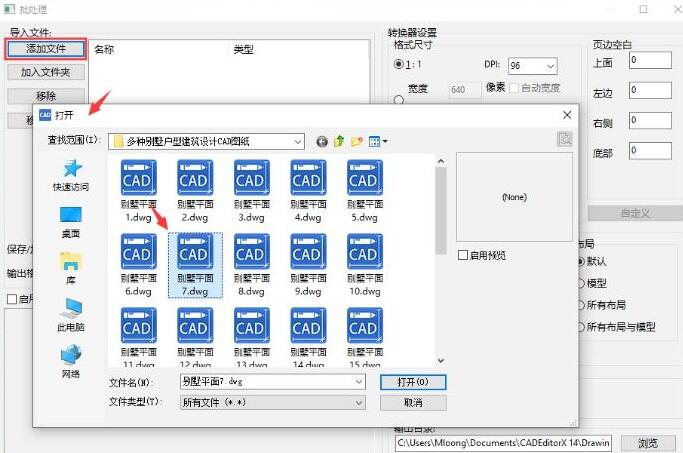
3. In the "Batch Processing" dialog box, click the "Add File" option in the interface, then select the CAD file to be converted in the "Open" interface that pops up, open it, and then exit the interface.
4. After adding the converted files, set the conversion format. You can choose JPG format in "Output Format". Then set the size ratio and output quality of the file format conversion. You can also set the color, line width, and layout accordingly according to the file conversion requirements.
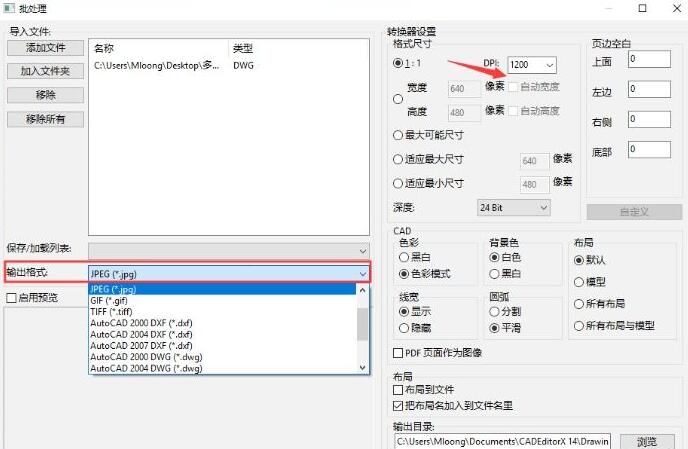
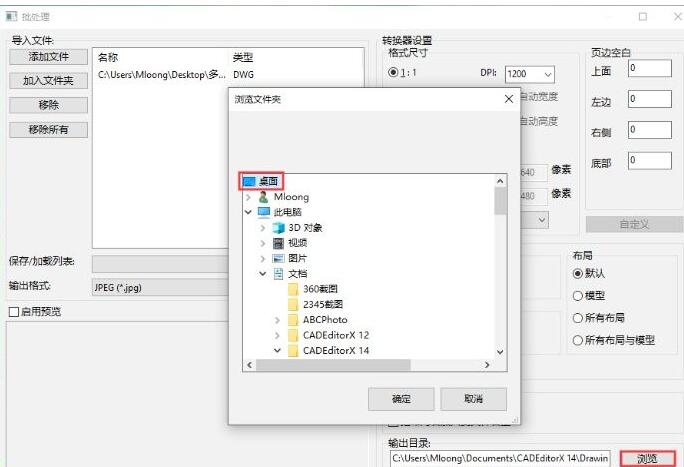
5. Before file conversion, click the "Browse" button in the lower right corner and select a folder in "Browse Folder" as the path where the CAD to JPG file will be stored.
The above are the steps that the editor has shared with you about using a CAD editor to convert drawings into JPG format. Let’s learn together. I believe it can help some new users.