近日有一些小伙伴咨询小编Photoshop CS6如何制作3D立体字效果?下面就为大家带来了Photoshop Friends who need it can learn more about how to create 3D character effects in CS6.
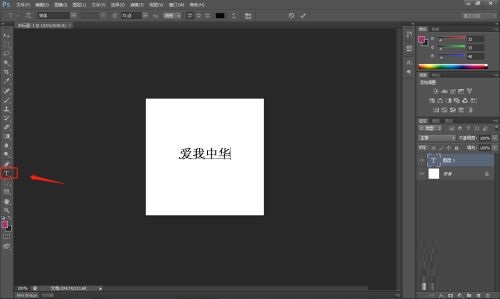
Step 1: First open the Photoshop CS6 software on your computer and use the "ctrl+n" key combination to create a canvas (as shown in the picture).

Step 2: Click the "T" icon in the left toolbar to add text to the canvas (as shown in the picture).
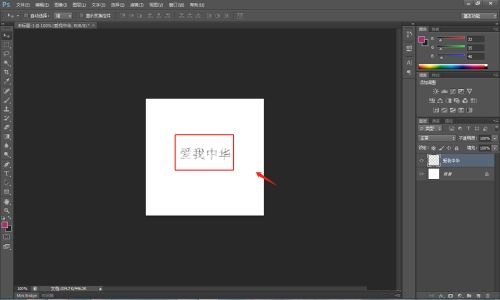
Step 3: Right-click on the canvas and click "Rasterize Text" in the pop-up window to rasterize the text on the picture (as shown in the picture).

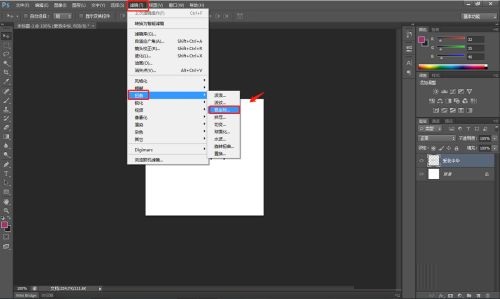
Step 4: Click "Filter" - "Distortion" - "Polar Coordinates" in the top toolbar to start stereoscopic processing of text and images (as shown in the figure).
Step 5: Click "Polar Coordinates to Plane Coordinates" in the pop-up polar coordinate window, and then click OK (as shown in the figure).

Step 6: Click "Filter" - "Stylization" - "Wind" in the top toolbar, and use this filter effect to add a 3D effect to yourself (as shown in the picture).

Step 7: Click "Filter" - "Distort" - "Polar Coordinates" in the top toolbar, and click "Planar Coordinates to Polar Coordinates" in the polar coordinates window to restore the picture to normal coordinates. You can find that the image has been processed in three-dimensional form (as shown in the picture).
The above is the entire content of how to create 3D text effects in Photoshop CS6 brought to you by the editor. I hope it can help you.