Adobe Photoshop CS6 is a milestone version of professional image processing software launched by Adobe in 2012. It redefines the digital creative workflow with its revolutionary performance improvements and innovative features. This version adopts a new dark interface design, which significantly improves visual focus and professional experience. The core breakthrough lies in the Mercury Graphics engine, which brings unprecedented processing speed and supports real-time completion of large-scale operations such as liquefaction and deformation. An innovative "content-aware" toolset, including content-aware move, patch, and fill, enables intelligent pixel recognition and adaptive repair, greatly simplifying complex image editing. Next, let the editor of Huajun explain to you how to remove spots on pictures in Photoshop CS6 and how to remove spots on pictures in Photoshop CS6!
first step
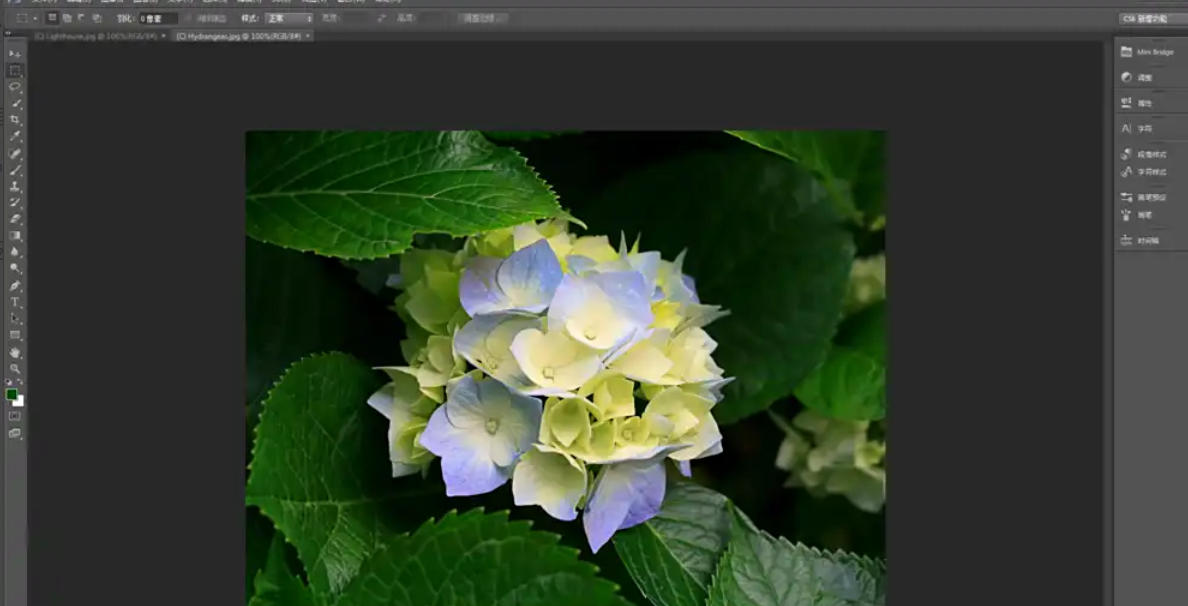
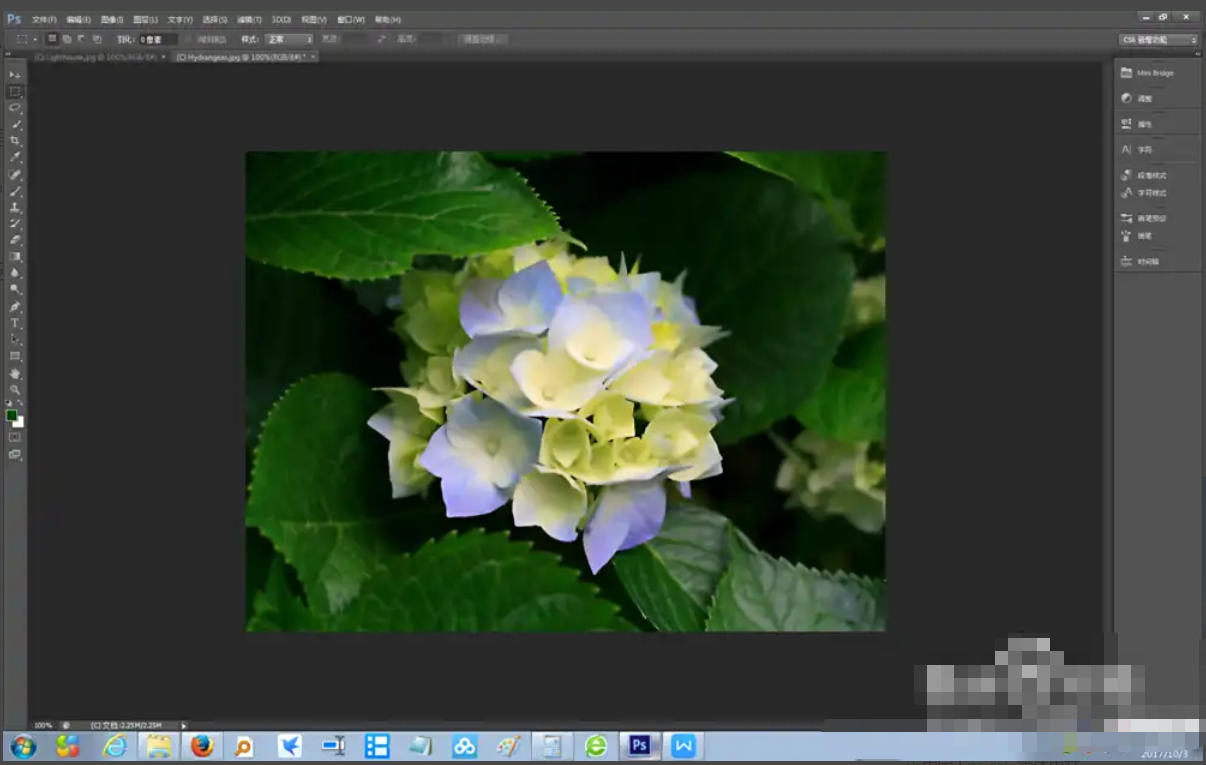
Start Photoshop CS6, click File → Open, and select the picture that needs to be removed.
Step 2
Right-click the background layer in the layers panel and select Duplicate Layer to create a copy of the background.
Step 3
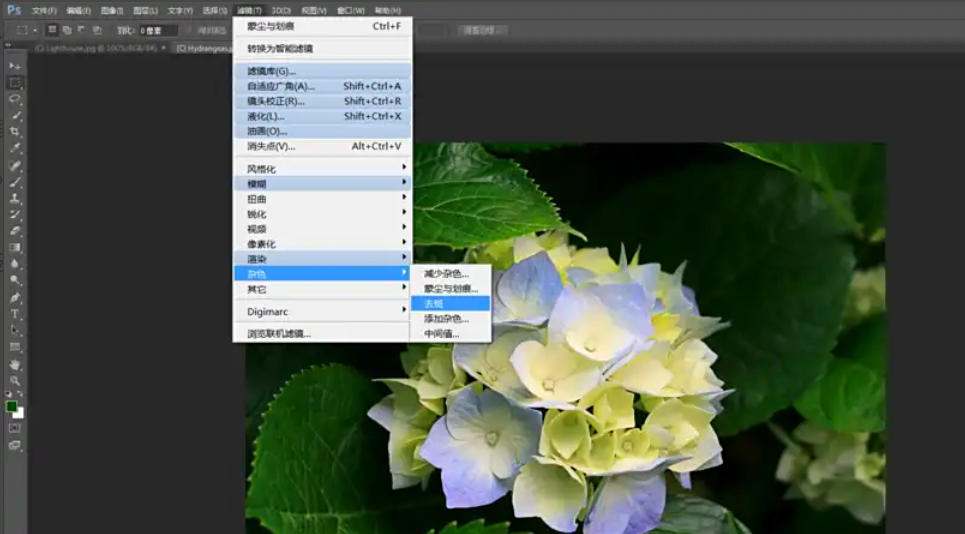
Select the background copy layer and click Filter → Noise → Dust & Scratches on the top menu bar.
Radius: Controls the speckle removal range. It is recommended to start from 1-2 pixels and gradually increase (excessive values will cause the picture to be blurred).
Threshold: Controls the speckle removal sensitivity, 5-10 is recommended (the higher the value, the more details will be retained, but speckles may remain).
Real-time preview: Watch the picture change as you drag the slider and find the balance (reduced speckles and preserved details).
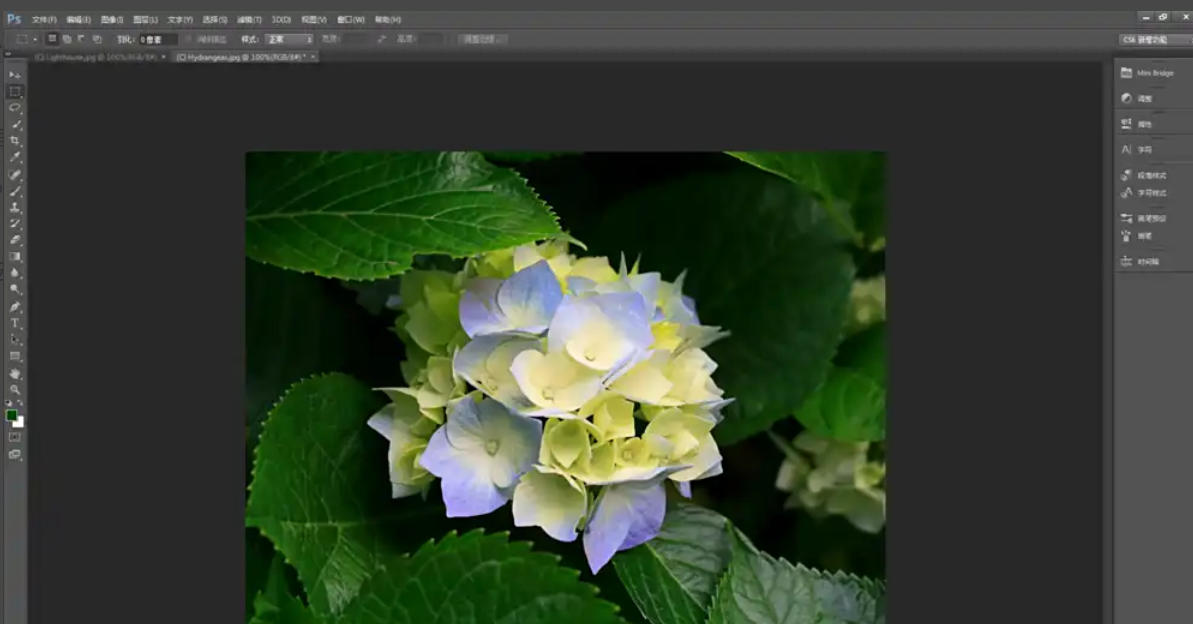
Click OK to apply the effect.
Step 4
Click Filter → Blur → Surface Blur.
Radius: 2-3 pixels (blur range).
Threshold: 10-15 levels (only blurs smooth areas).

Step 5
Hold down the Alt key and click the Add Layer Mask button at the bottom of the Layers panel to create a black mask hiding effect. Use a white brush (soft edge, 30% opacity) to paint over the spotted areas, applying blur locally.
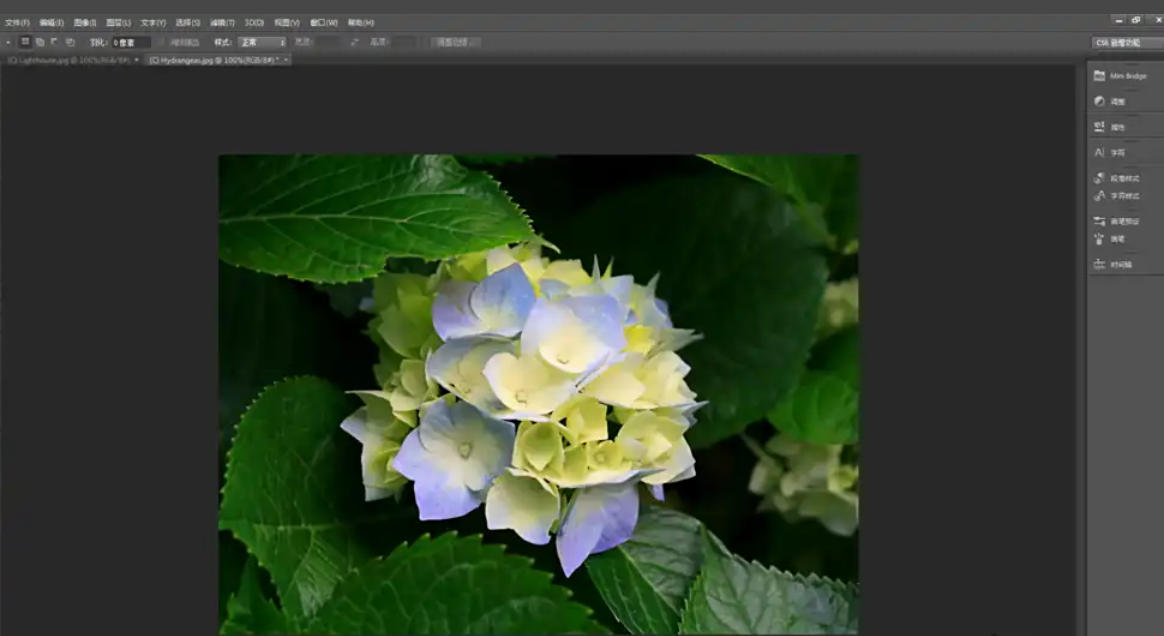
Select the Spot Healing Brush Tool (shortcut J).
Set in the top options bar:
Content-Aware (automatically matches surrounding textures).
Brush size: Slightly larger than the spot ([/] key to adjust).
Just click on the spot and Photoshop will automatically blend and repair it.
Step 6
Rollback operation:
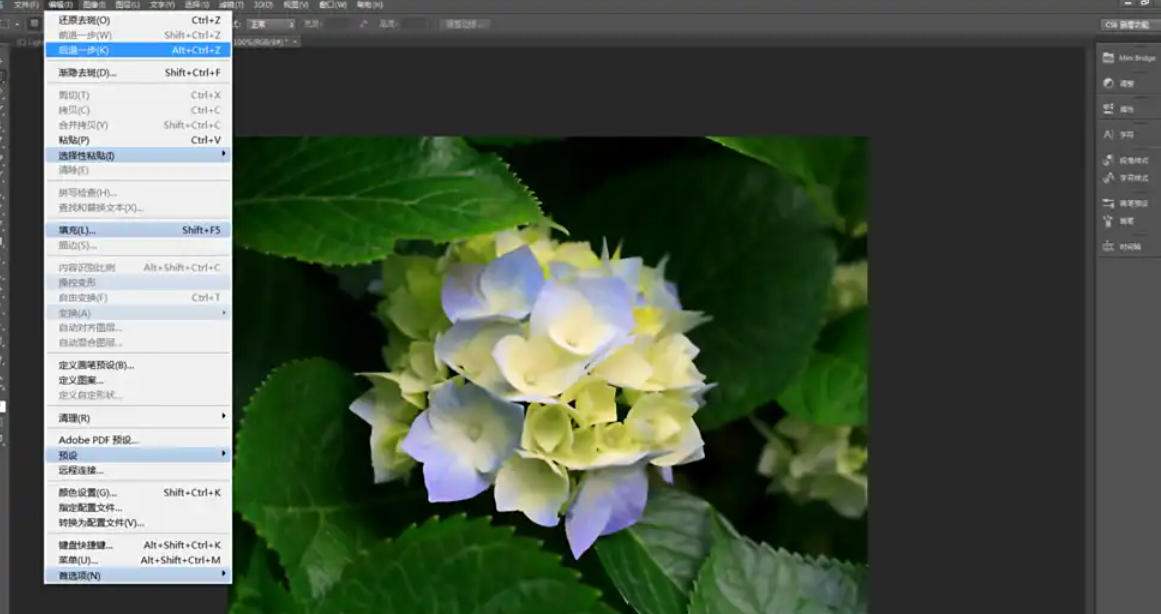
If the single-time spot removal effect is too strong, click Edit → Step Backward (shortcut Ctrl+Alt+Z) to gradually undo it.
More recommended: Click on the previous state in the history panel (Window → History) to avoid repeated operations.
Precautions for multiple spot removal:
Avoid applying the speckle filter directly and repeatedly (it will cause the image to be excessively blurry).
Correct approach: Copy the despeckled layer (Ctrl+J), adjust the parameters again on the new layer or use a mask for local processing
Step 7
Click File → Save As and select the format:
JPEG: suitable for network sharing (the quality slider can be adjusted to balance file size and image quality).
PSD: Keep layers and masks for subsequent modification.
Enter the file name and click Save.
The above is the editor of Huajun who has compiled for you how to remove freckles from photos in Photoshop CS6 and how to remove freckles from photos in Photoshop CS6. I hope it can help you!


