Adobe Photoshop CS6 is an iconic professional image processing software developed by Adobe and is recognized as the industry standard in digital image editing. Known for its excellent performance optimization and groundbreaking features, this version adopts a new dark interface design, which significantly improves the user's immersive creative experience. Its revolutionary "content-aware" technology cluster - including content-aware movement, content-aware patching and content-aware filling - enables intelligent recognition and seamless editing of image elements, completely changing the traditional photo retouching workflow. At the same time, the software also introduces advanced vector drawing tools, intelligent cropping and composition system, professional camera RAW 7.0 processor and innovative video editing functions, providing photographers, designers and digital artists with unprecedented creative control precision. Next, let Huajun editor explain to you how to use inversion in Photoshop CS6 and how to use inversion in Photoshop CS6!
first step
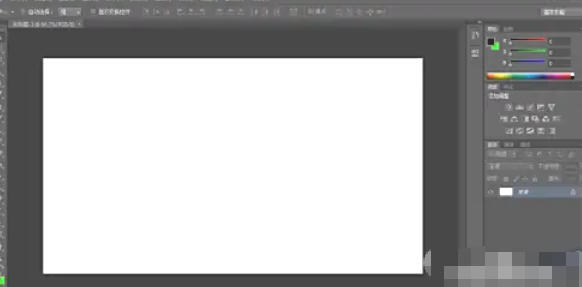
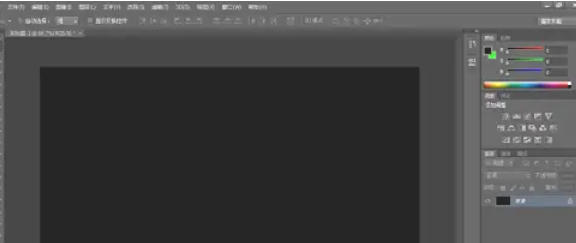
Double-click the Photoshop CS6 icon on your desktop to open the software.
Step 2
Click File → New on the menu bar.
Set the canvas size (such as 800x600 pixels), resolution (72-300dpi) and background color (white or transparent), and click OK.
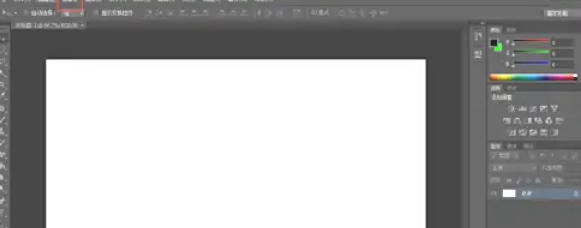
Use the brush tool to apply color (such as black/red) to easily observe the inversion effect.
Step 3
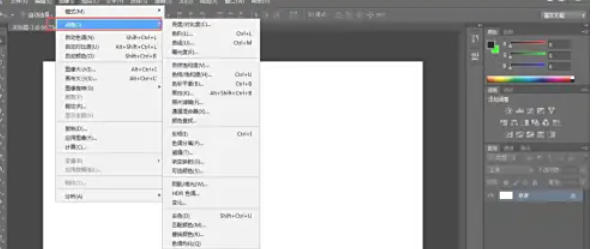
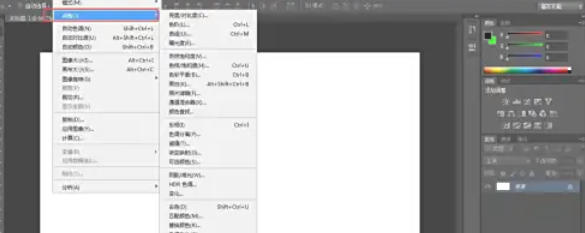
Click Image → Adjustments → Invert in the top menu bar.
Step 4
Click the Create new fill or adjustment layer button (round black and white icon) at the bottom of the Layers panel.
Select Invert to create a separate adjustment layer.
Step 5
Select the format (such as JPEG, PNG, PSD), set the file name and path, and click Save.

Step 6
Click File → Save As on the menu bar.
The above is the editor of Huajun who has compiled for you how to use inverting in Photoshop CS6 and how to use inverting in Photoshop CS6. I hope it can help you!


