For novice users who are new to autocad2009, they may not know how to use the chamfer function? Then the editor below will explain how to use the chamfer function of autocad2009. I hope it can help everyone.
First, open autocad2009 and draw a simple right angle. Next, perform a rounding operation on this right angle.

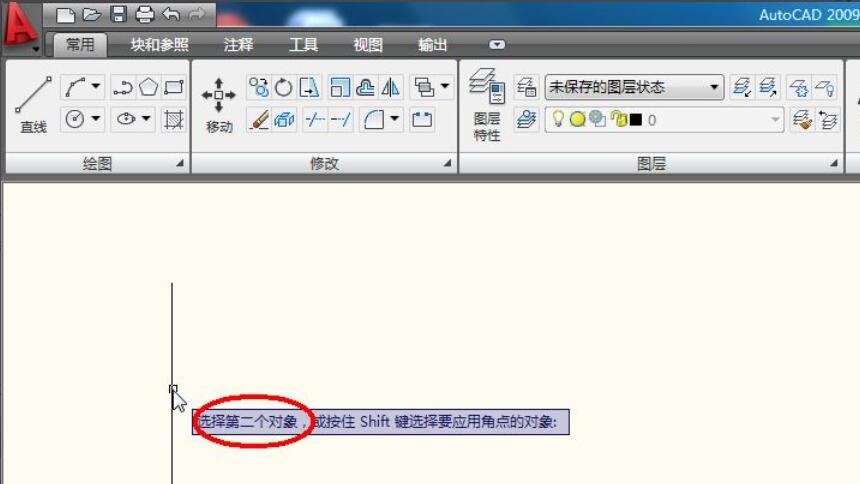
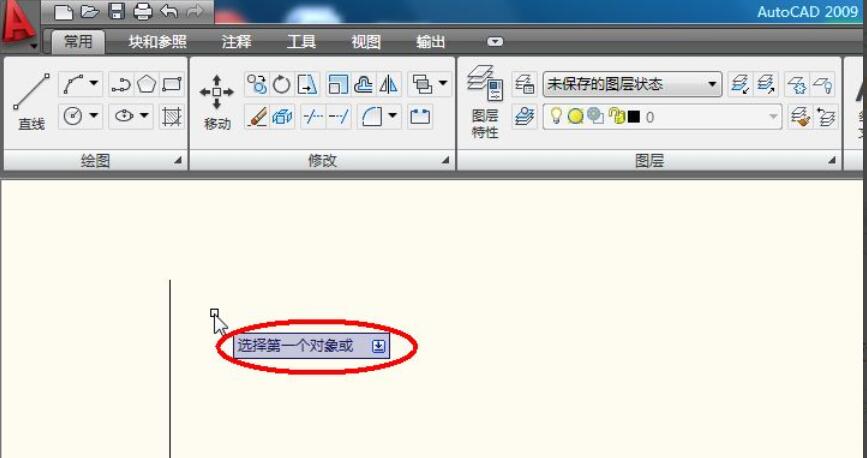
Select the first object and the second object required for rounding in sequence, and then you will find that the right angle does not change at all and is still very sharp.
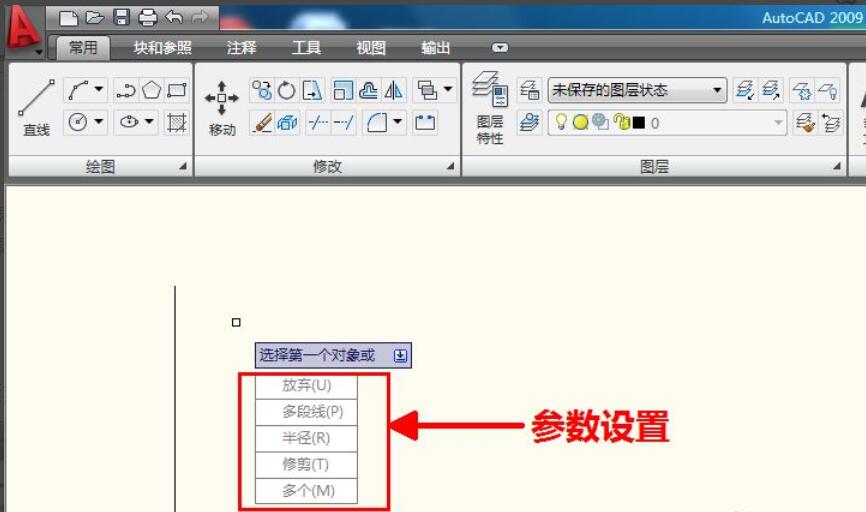
Careful friends will find that after clicking the rounding command, you will be prompted to "select the first object" followed by a downward arrow. This is the reason why the chamfering failed just now. At this time, you should not select the first object, but press the "down" mouse button on the keyboard.
Click the chamfer command, then press the down arrow. The chamfer parameters will appear. Select "Radius" and set the radius parameter to 5mm.
Then select the first object and the second object in sequence. At this time, the rounding operation is successful, as shown in the figure below.
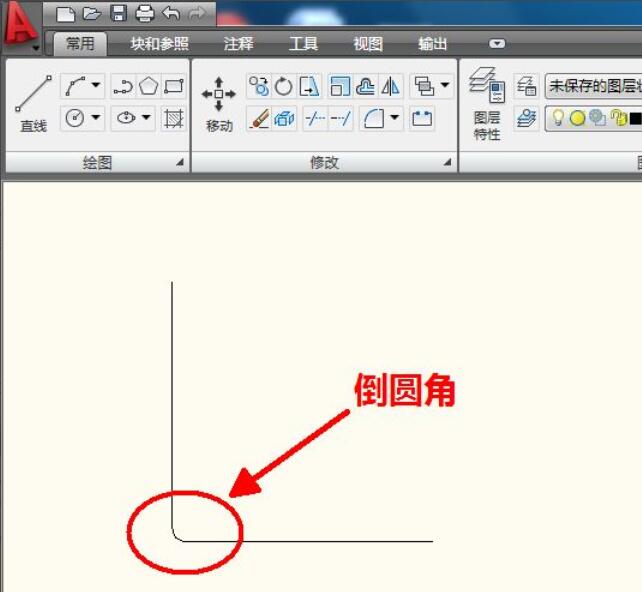
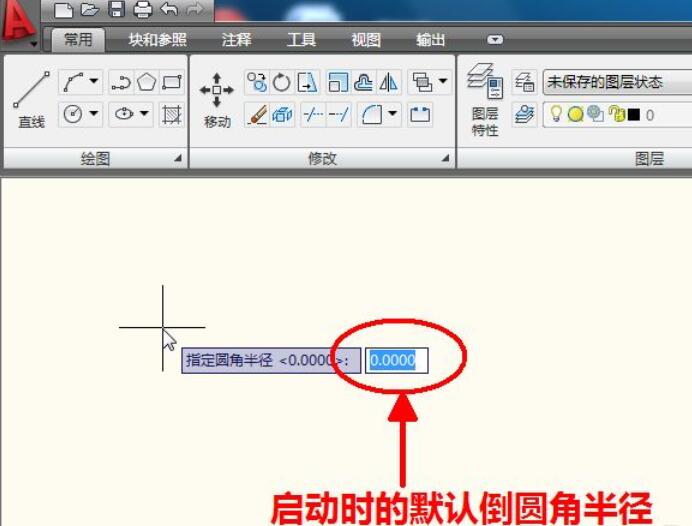
At this time, do not close CAD, perform the same rounding operation, this time without setting the radius of the rounding, and suddenly find that the rounding is OK. This is because the software has already memorized the round radius setting, which is the 5mm you just set, so there is no need to reset it. However, once you reopen CAD, it still won't work without setting the rounding radius. This is because every time you start CAD2009, the software's default rounding radius is 0, so you need to set the radius when starting CAD2009 for the first rounding operation. Otherwise, the rounding operation cannot be performed.
The above is how to use the chamfer function of autocad2009 explained by the editor. Friends who don’t know yet can come and take a look.