Friends, do you know how MindManager draws a work organization chart? Today I will explain how MindManager draws a work organization chart. If you are interested, come and take a look with me. I hope it can help you.
The first step: First open the MindManager software and create a new organizational map template. Select "New" > "Organization Map" and click Create Map to create a new mind map template.

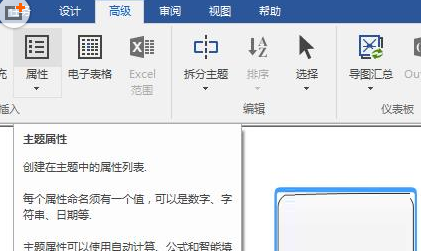
Step 2: Then we select the central topic and enter the department name (or department leader); then select "Properties" in the "Advanced" menu bar to open the "Custom Properties" dialog box to generate the leader's personal information.
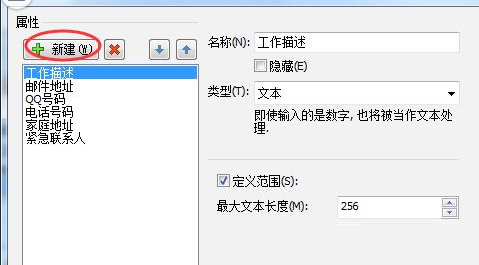
Step 3: Then in the "Custom Attributes" dialog box, through "New" and the attribute information settings on the right, you can customize the personal information of employees or leaders.
Step 4: At this time, in the "Insert" menu bar, select "Pictures" > "Insert Pictures from Resource Library", and in the sidebar that opens, select the appropriate representative picture of the character, so that the map content can have a sense of hierarchy and be easier for readers to distinguish. At the same time, in the "Design" menu bar, use the corresponding formatting tools to adjust the theme shape and color to meet the requirements.

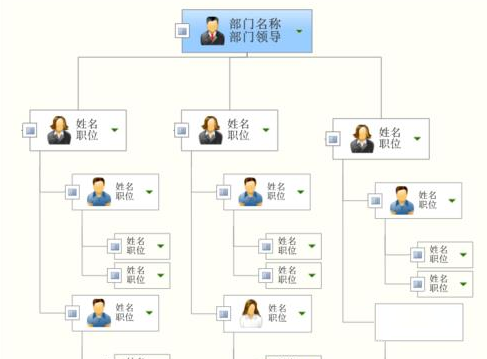
Step 5: Then create the required "theme" and "subtheme", set the theme format according to the above steps, and add theme attributes to the theme. The entire process is similar to manager-supervisor-employee. According to different companies and different departments, make an organizational chart symbolizing the actual situation in MindManager.
The above is the entire content of how to draw a work organization chart with MindManager brought to you by the editor. I hope it can help you.