
Hot search terms: 360 Security Guard Office365 360 browser WPS Office iQiyi Huawei Cloud Market Tencent Cloud Store

Hot search terms: 360 Security Guard Office365 360 browser WPS Office iQiyi Huawei Cloud Market Tencent Cloud Store

Installation and production Storage size: 1.48MB Time: 2021-10-29
Software introduction: NSIS (Nullsoft Scriptable Install System) is an open source installer production program for Windows systems. NSIS...
Some friends don’t know how to make installation packages when using NSIS. Today, the editor will share the method of making installation packages with NSIS. Friends in need can learn it with the editor.
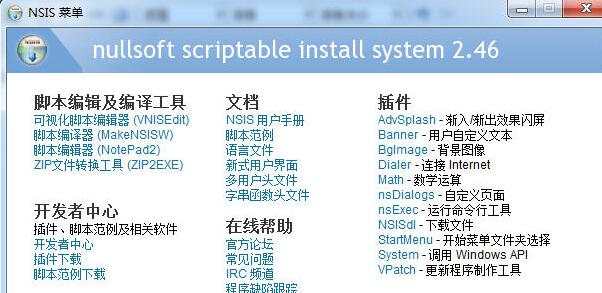
Start the main interface of the NSIS program, select the "Visual Script Editor (VNISEdit)" menu, and start making your own installation package
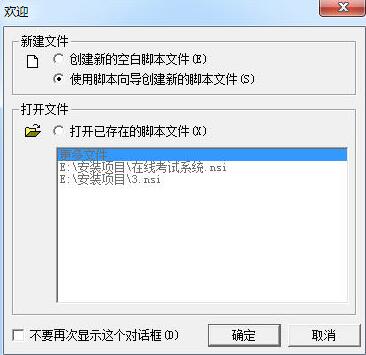
Select "Use Script Wizard to create a new script file" and OK
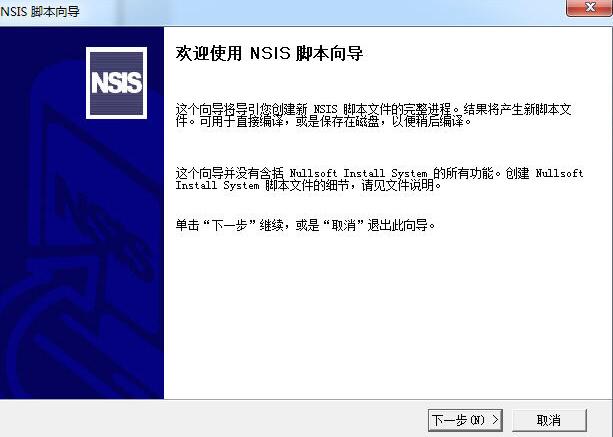
Progress Script Wizard, Next Step
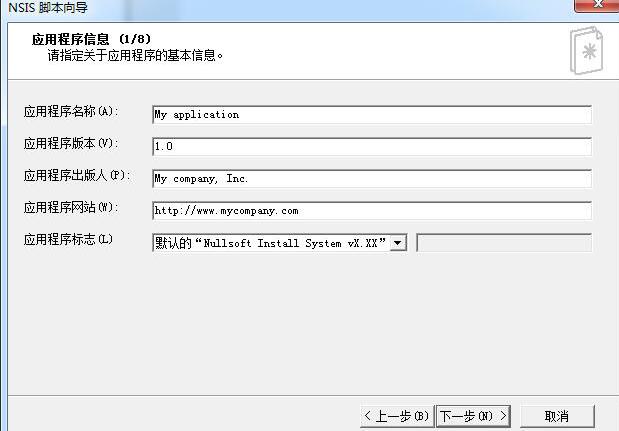
Fill in some basic information about the application here, next step
Here you can choose the icon of the installation package, the generated file name, the program language, etc. You can use the default ones and do not need to modify them.
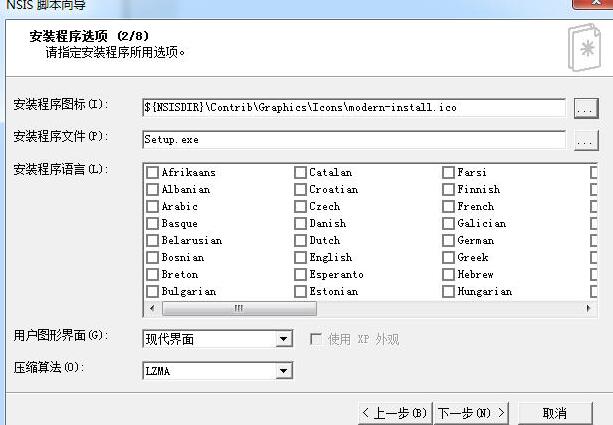
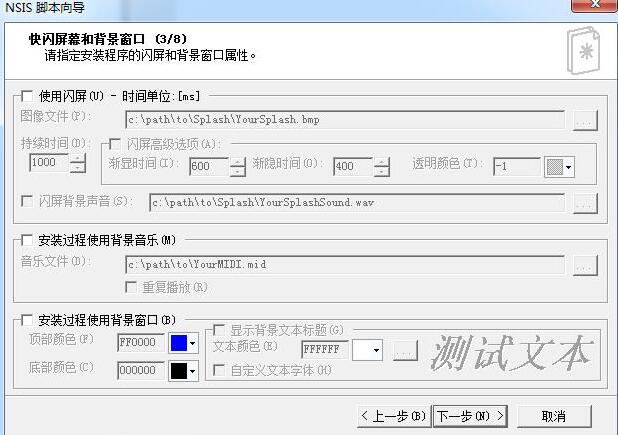
Select some effects, the installation program does not need to be so fancy, just go to the next step.
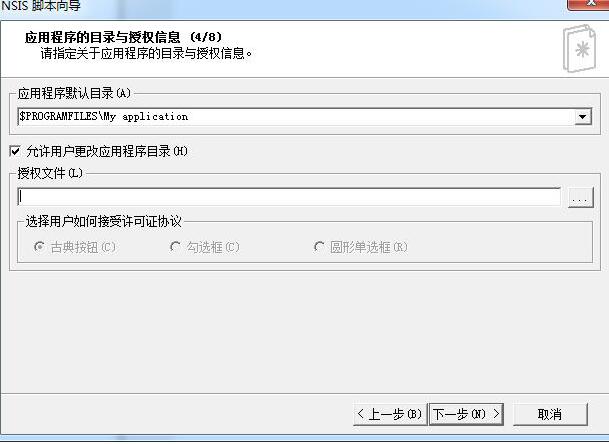
Specify the default directory. If there is an authorization file, specify it. If not, leave it empty. Next step
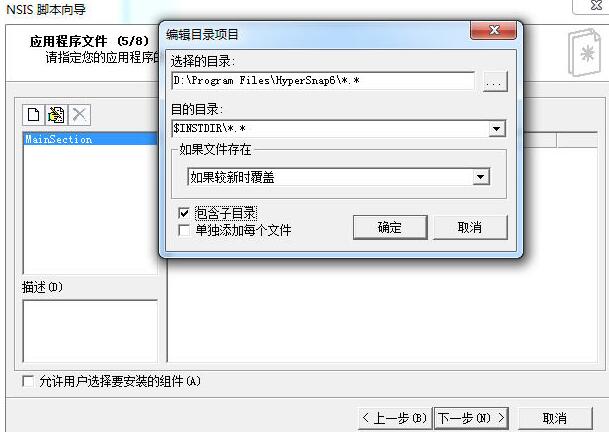
Select the files to be packaged and directly add all the contents of the directory to be packaged. Pay attention to the two *.* and check "Include subdirectories". Do not check "Add each file separately". All files will be packaged during compilation. Next step
Some settings for shortcuts, next step
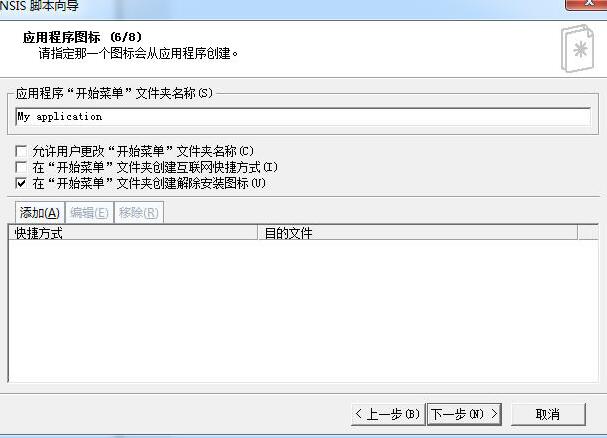
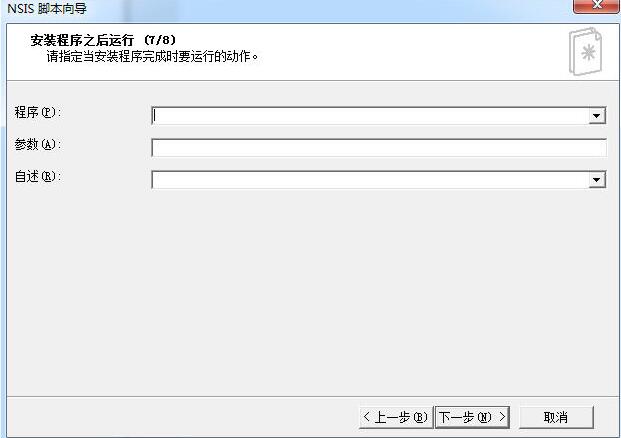
Set what to run after the installer, next step
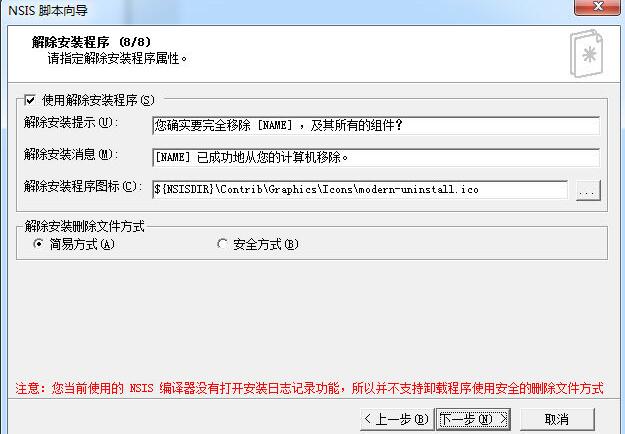
Uninstall information settings, next step
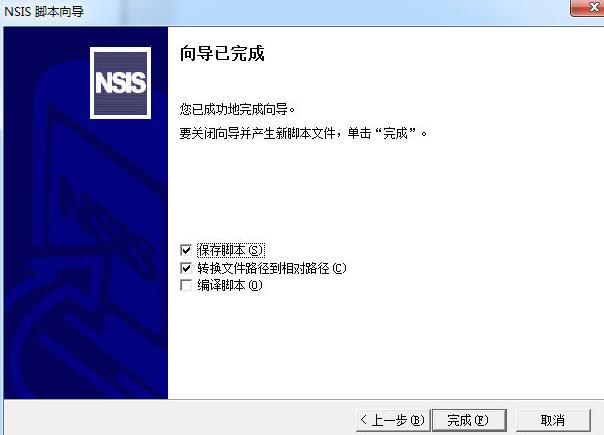
Complete the wizard, check "Save script" and "Convert file path to relative path", complete
At this point you can see the script generated through the wizard, and you can continue to modify the script here.
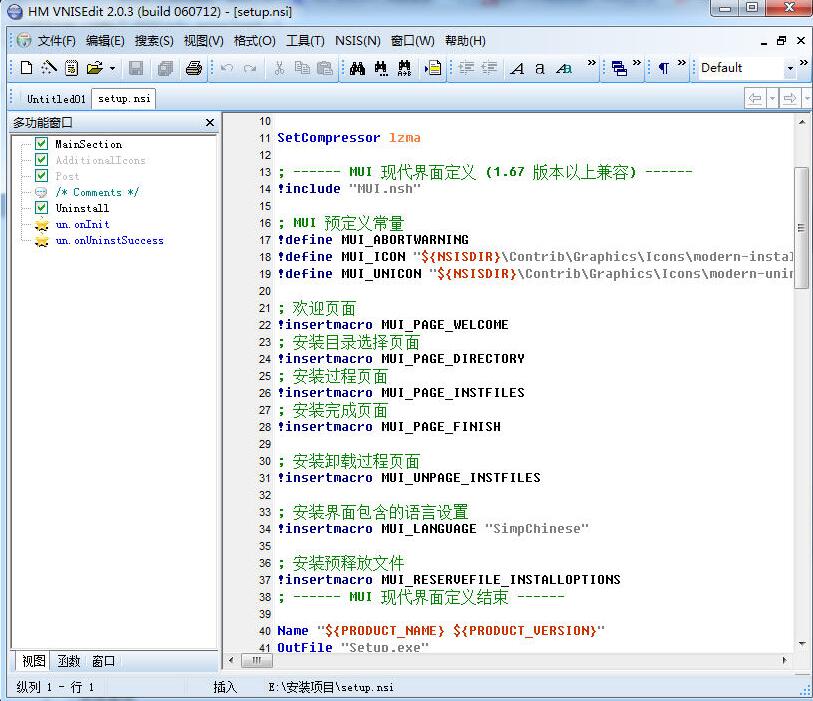
After modifying the script, click the menu "NSIS"-"Compile and Run". After successful compilation, an exe file will be generated, and the installation package is completed!
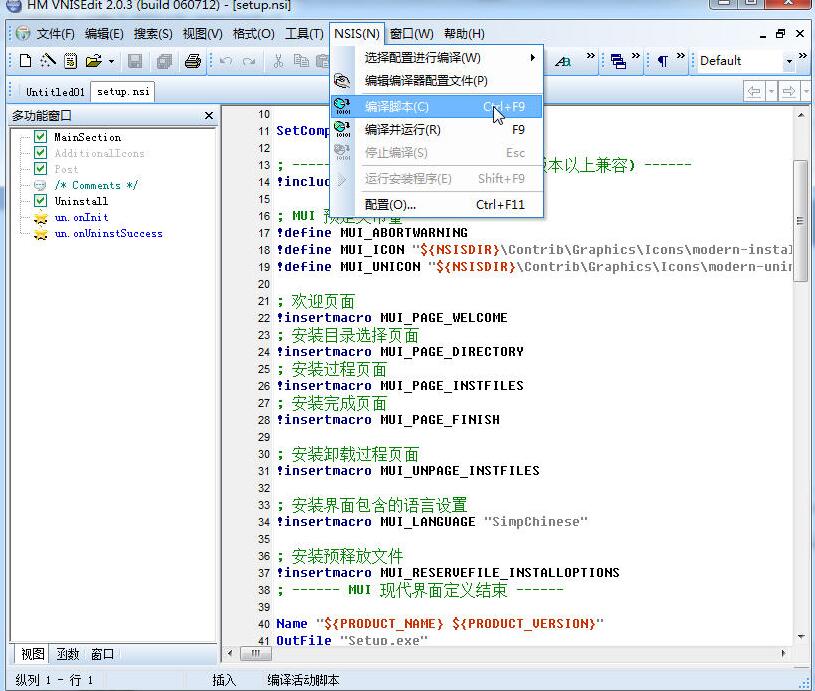
The above explains the operation process of NSIS making installation packages. I hope friends in need can learn from it.
 How does coreldraw generate barcodes - How does coreldraw generate barcodes
 How to correct pictures with coreldraw - How to correct pictures with coreldraw
 How to split cells in coreldraw - How to split cells in coreldraw
 How to center the page in coreldraw - How to center the page in coreldraw
 How to customize symbols in coreldraw - How to customize symbols in coreldraw
 Sohu video player
 WPS Office
 Tencent Video
 Lightning simulator
 MuMu emulator
 iQiyi
iQiyi
 Eggman Party
 WPS Office 2023
 Minecraft PCL2 Launcher
 What to do if there is no sound after reinstalling the computer system - Driver Wizard Tutorial
 How to switch accounts in WPS Office 2019-How to switch accounts in WPS Office 2019
 How to clear the cache of Google Chrome - How to clear the cache of Google Chrome
 How to practice typing with Kingsoft Typing Guide - How to practice typing with Kingsoft Typing Guide
 How to upgrade the bootcamp driver? How to upgrade the bootcamp driver