Recently, some friends have consulted the editor about how to use elongation in CAD2018. The following will bring you the method of using elongation in CAD2018. Friends who need it can come and learn more.
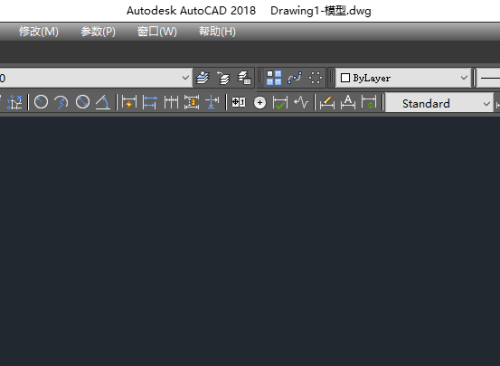
Step 1: Open the CAD2018 drawing software, click on file, and then create a new drawing interface as shown in the picture.
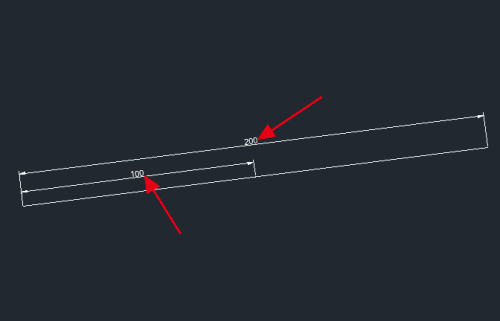
Step 2: Use the straight line command in drawing or the straight line shortcut key L to draw a straight line with a length of 100.

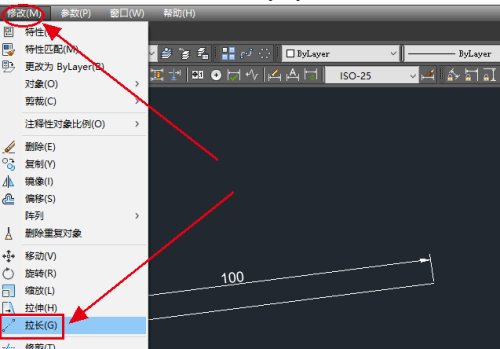
Step 3: Find the "Modify" command in the title bar, click on it and find the "Stretch" command inside.
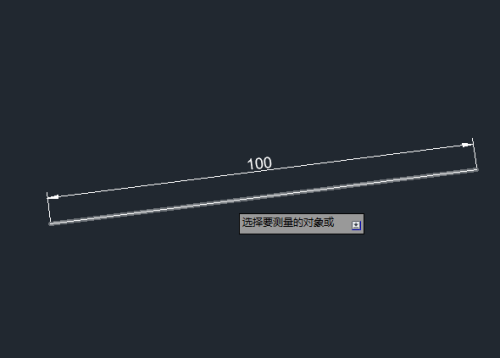
Step 4: Click the "Stretch" command. At this time, it will prompt "Select the object to be measured." Select the drawn straight line as the object.
Step 5: After selecting the object to be measured, it will prompt "Prompt for total length" and fill in 200 in the subsequent box.

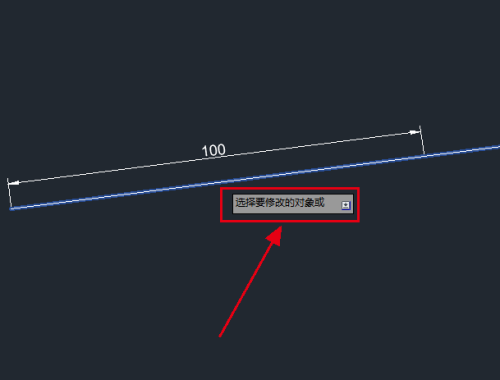
Step 6: Press the space bar, it will prompt "Select the object to be modified", and continue to select the straight line drawn before.
Step 7: Press the space bar. At this time, we find that the straight line originally drawn with a length of 100 has been stretched into a straight line of 200. In this way, the stretching command operation is completed.
The above is the entire content of how to use elongation in CAD2018 brought to you by the editor. I hope it can help you.