For those who have just started using ppt2013 software, setting up word art images may be a bit difficult, so what should we do? The following is the operation process of setting word art image in ppt2013 brought by the editor.
Open a PPT, select a slide to which you want to add word art, find the "Insert" option at the top of the page, find the "Word Art" option, and click the drop-down arrow.
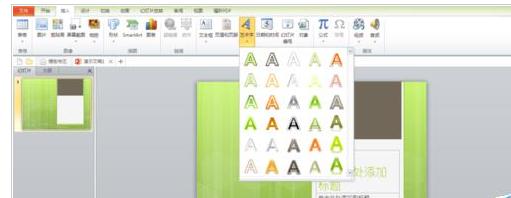
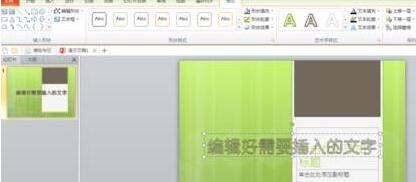
Then a dialog box will appear, in which we enter the word art we need and select the color and form of the word art.
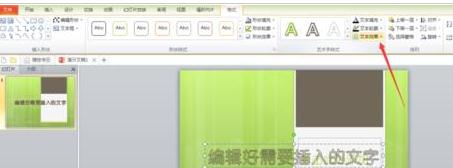
As shown in the picture, find the "Artistic Effects" option at the top of the page and click on its drop-down arrow.
As shown in the picture, find the "Image" option among all options, click the right arrow in the "Image" option, and click "Image Options".
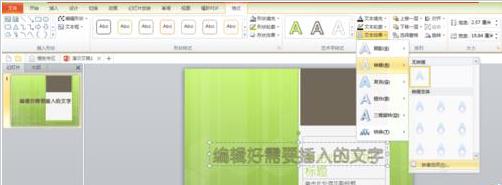
As shown in the picture, you will see a dialog box so that we can adjust the image effect we need and set the image by changing the transparency, size, distance and blur. After setting, just close the dialog box.

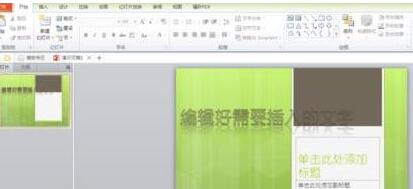
The picture below is the rendering after adding the image, which makes it look more beautiful.
Friends who still don’t understand the operation process of setting up word art images in ppt2013, don’t miss this article brought by the editor.