Friends, do you know how to connect the Friendly Serial Port Debugging Assistant to the software configuration? So today I will explain how to connect the Friendly Serial Port Debugging Assistant to the software configuration. If you are interested, come and take a look with the editor. I hope it can help you.
Step 1: First open the friendly serial port debugging assistant (as shown in the picture).
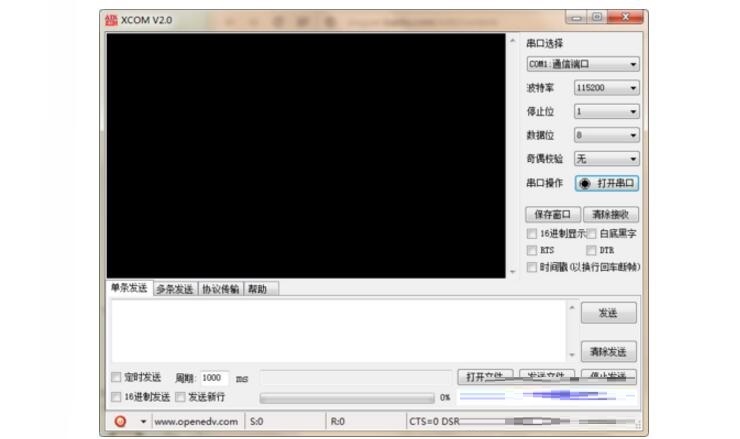
Step 2: Configure the "com" port: the corresponding com port number in the device manager must be consistent (as shown in the figure).

Step 3: Configure the "baud rate": it must be consistent with the communication protocol. There are also "stop bits" and so on. Most of these parameters involve communication protocols. Please refer to the relevant regulations. But in most cases only the "baud rate" is configured (as shown in the picture).

Step 4: Configure other functional parameters: such as "hexadecimal display", "black text on white background", etc., choose according to your own needs. Generally there is no configuration. After configuring, open the serial port and it will be OK (as shown in the picture).

Step 5: Interface introduction: The black window above displays the received data. Write the data to be sent in the send column, and then click send. Pay attention to whether there are spaces, enter and other keys (as shown in the picture).

Step 6: Finally, you can start your own serial port journey.
The above is the entire content of the friendly serial port debugging assistant brought to you by the editor on how to connect to the software configuration. I hope it can help you.