For novice users who have just come into contact with the Friendly Serial Port Debugging Assistant, they may not know how to use it? So today the editor has brought you a tutorial on how to use the basic functions of the Friendly Serial Port Debugging Assistant. Friends in need can take a look.
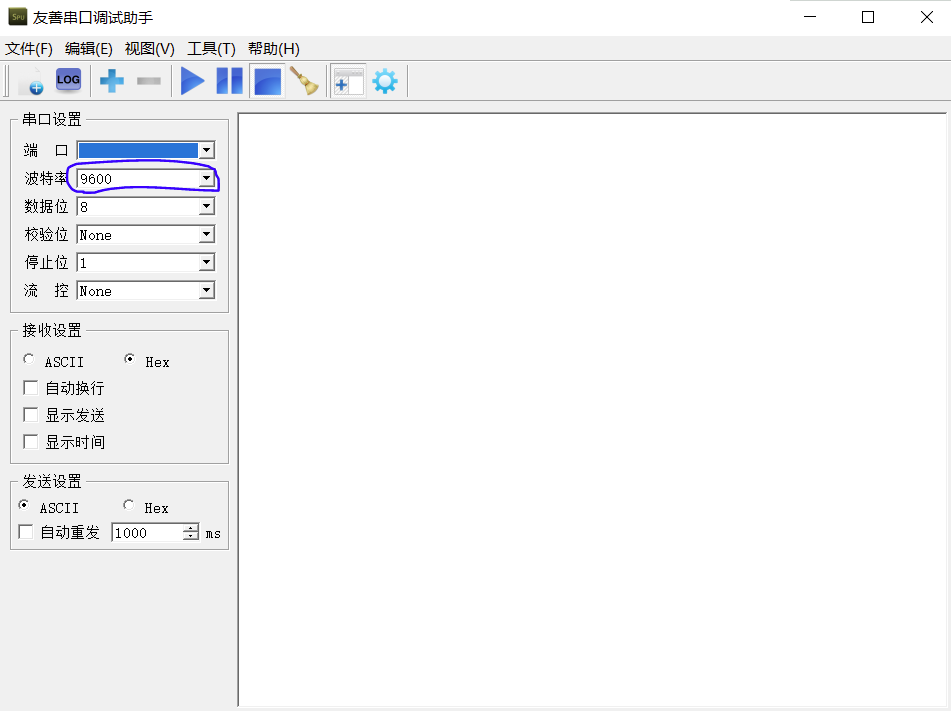
1. First, open the Friendly Serial Port Debugging Assistant. The main interface is as follows:

2. First, select the baud rate based on the information sent from the serial port. The baud rate is selected according to actual needs. Make sure that the sending and receiving are consistent, otherwise the data may not be received. Sometimes it can be received, but it is all garbled.
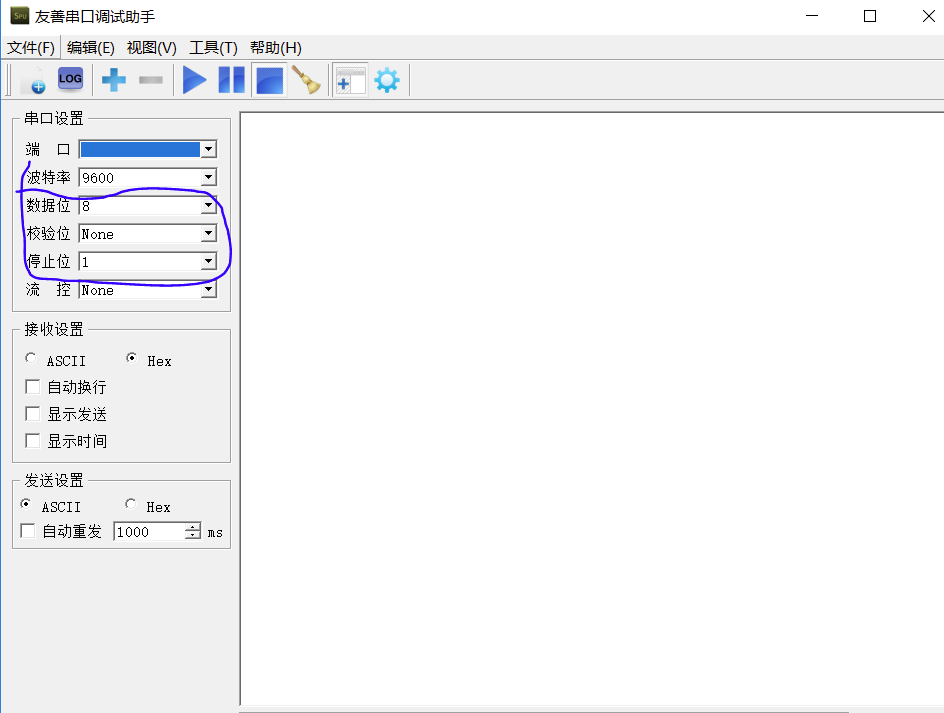
3. According to the transmission protocol, set the data bit, check bit, and stop bit. These three also need to be consistent with the sending end. Generally speaking, the default setting is 8-N-1.
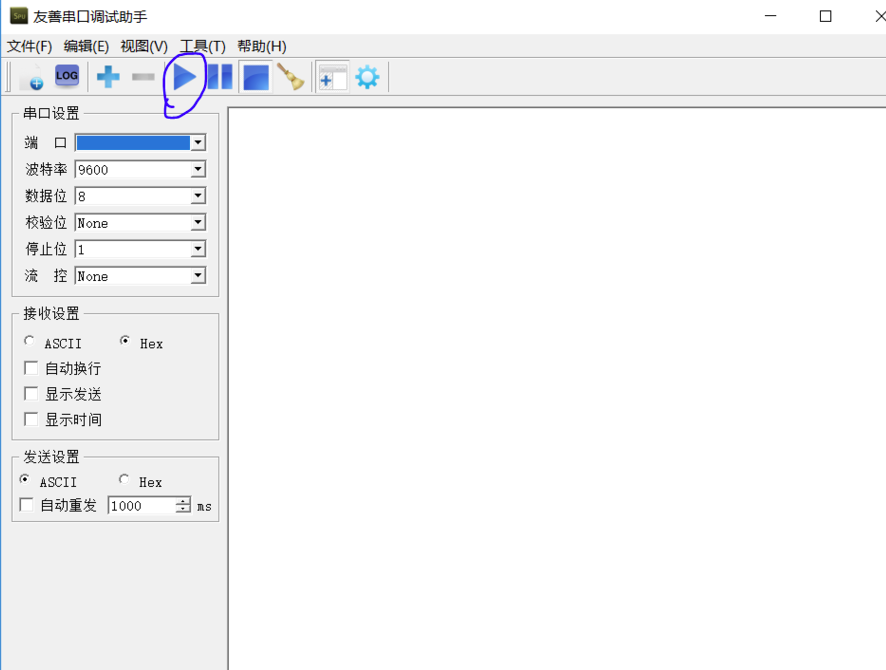
4. After connecting the hardware, select the transmission port corresponding to the USB port on the computer.

5. Set the data sending and receiving mode and select according to actual needs.

6. Click "Run" to send and receive data packets
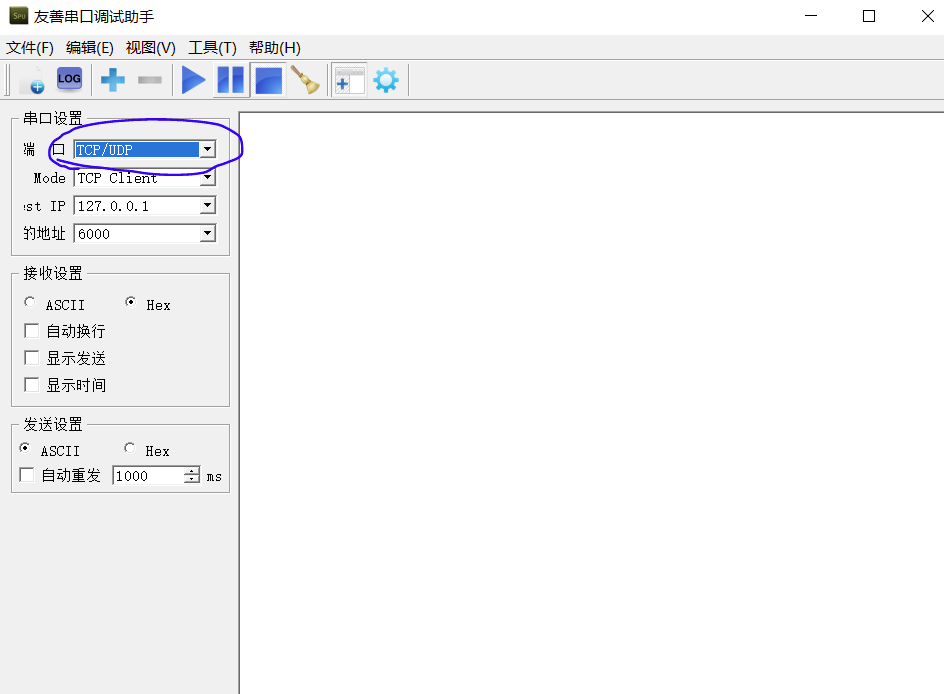
7. The serial port debugging assistant can also debug TCP/UDP data packets. As shown in the figure below, its usage is similar to the former.

The above is the tutorial on how to use the basic functions of the friendly serial port debugging assistant brought by the editor. I hope it can help everyone.