Don’t you know how to install the Nero9 burning software? This section specifically shares with you the Nero9 installation steps. If you don’t understand it yet, please follow the editor to learn about it. I hope it will be helpful to you.
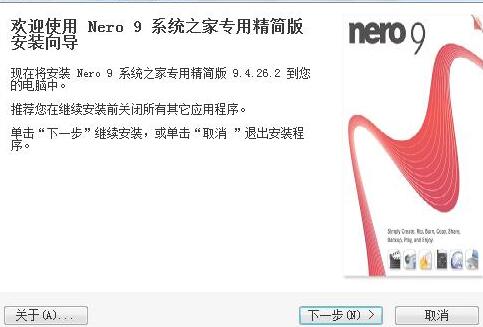
1. Download the Nero9 installation package and double-click to run it. Open the installation wizard and click Next.
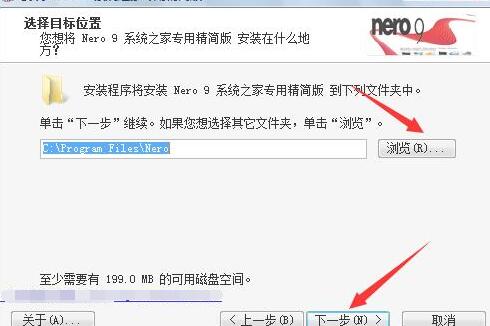
2. Select the installation location: By default, it is installed in the C drive directory. You can click to browse to customize the installation location. Click Next.
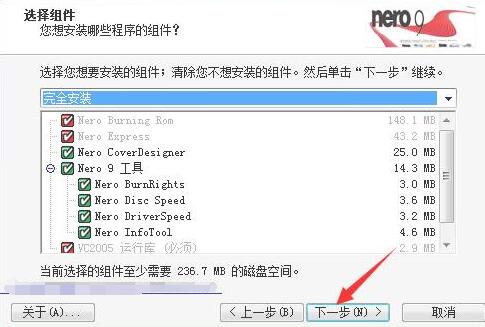
3. Select components: You can check the required components according to your own needs. For the convenience of future use, here I will choose to install them by default, and click Next.
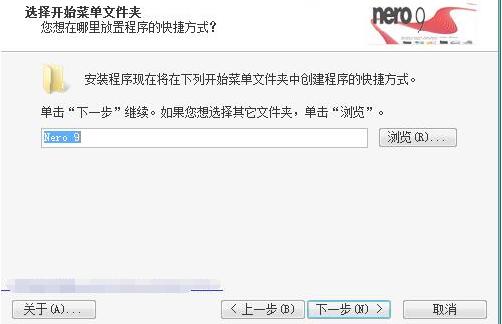
4. Select the Start menu folder: You can click Next directly, or click Browse to select other folders.
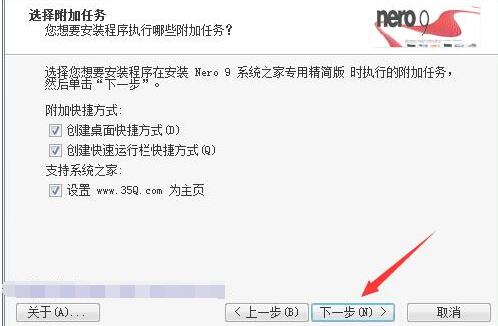
5. Select attachment tasks: Whether to create desktop shortcuts or quick launch bar shortcuts, it is recommended to check. Click Next.
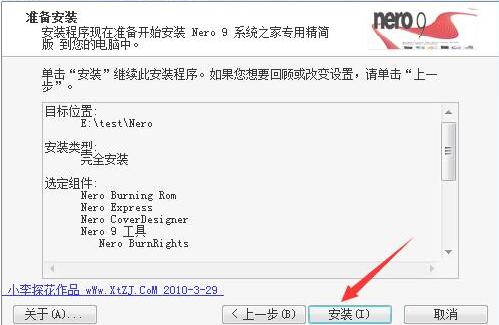
6. Enter the installation preparation interface and click Install.
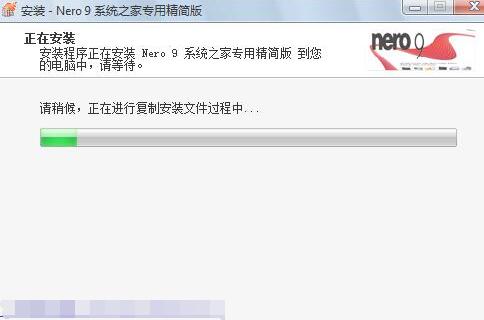
7. Installation is in progress, please wait patiently.
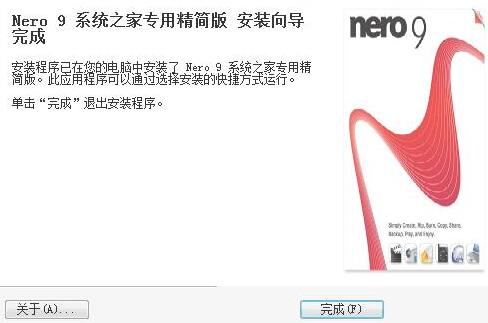
8. When the installation is complete, you will see the following interface. Click Finish to exit the installation wizard.
Here are the Nero9 installation steps shared with you. Friends in need should hurry up and read this article.