Many Apple users have reported that Apple Screen Recorder (AirPlayer) will crash when traveling. Here is the editor's introduction to how to deal with Apple Screen Recorder (AirPlayer) crashing while traveling. Friends who need it, please take a look below. I hope it can help you!
We first download and install “Apple Screen Recorder” or “iTools” on the Apple system. If you have downloaded it before, you don’t need to download it again. You can upgrade it first.
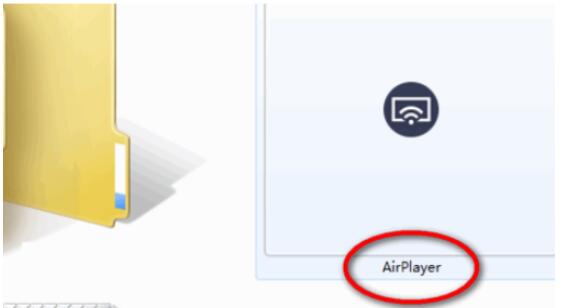
After downloading, download a "Screen Projection Assistant", which is "AirPlayer". After downloading, it is a compressed file. After decompression, double-click "AirPlayer" to run it and it will be installed. After installation, click "AirPlayer".

Then the interface pops up to select the Apple system, confirm the version of your Apple system, and click [Select].

After we select it, the connection wizard will pop up. If you are not familiar with it, you can click the wizard to check the connection method. If you have already used it, you don’t need to worry about this interface.

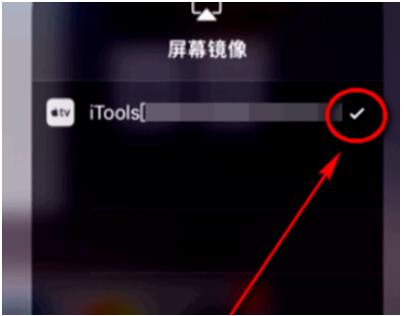
Take out your own Apple system and connect to the WIFI that is already connected to the computer device, that is, it must be in the same WIFI. After connecting, open the settings interface of the Apple system and find "Screen Mirroring". Pull up from the bottom of the homepage to find "Screen Mirroring".

Then after we find it, click on the English behind the icon. When a "tick" appears behind the English, it means the connection is successful.

After the connection is successful, the Apple system interface will pop up on the computer. Click the record button. When "Start Recording" appears, the computer will start recording the Apple system screen.
In the end, there will be no trouble of flashing back to a black screen, and there is no need to plug in a data cable, which is very stable and easy to use.

Based on the above, I will explain to you how to deal with the crash of Apple Screen Recorder (AirPlayer) while traveling. Have you all learned it?


