Don’t know how to use PowerDesigner to create a physical data model? Presumably some novice friends say they still don’t understand it. For this reason, the specific steps for using PowerDesigner to create physical data models are shared below. Friends in need should not miss it.
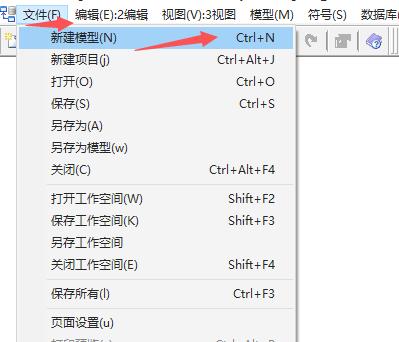
1. Open PowerDesigner and click New
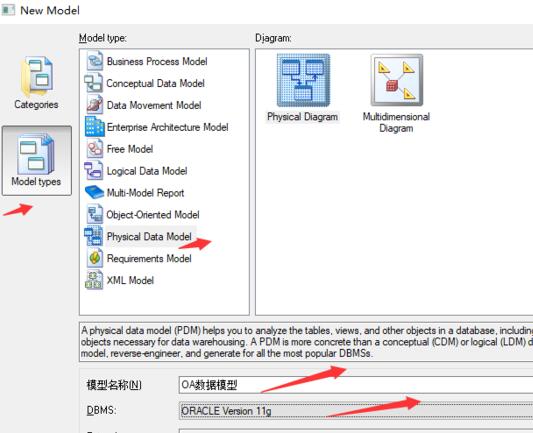
2. Select the data model, fill in the model name, and select the database to use
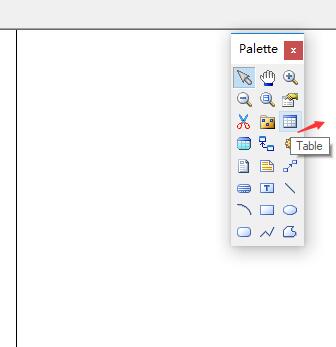
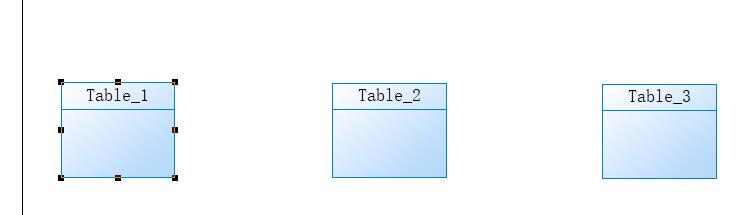
3. Select the toolbar on the right to create a data table.
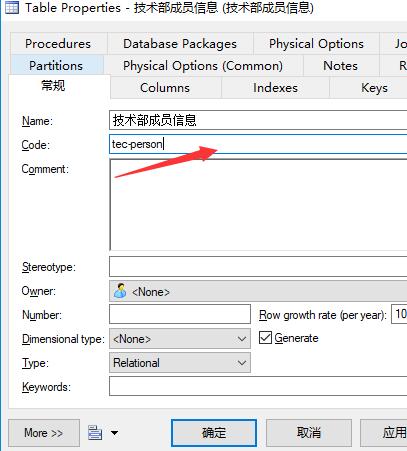
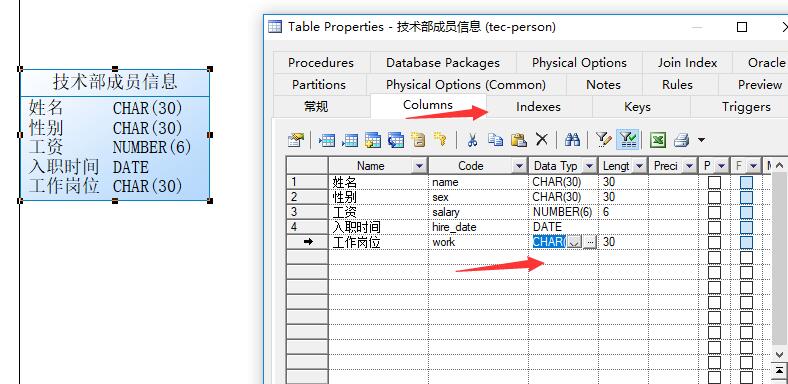
4. Double-click the new data table to edit it.
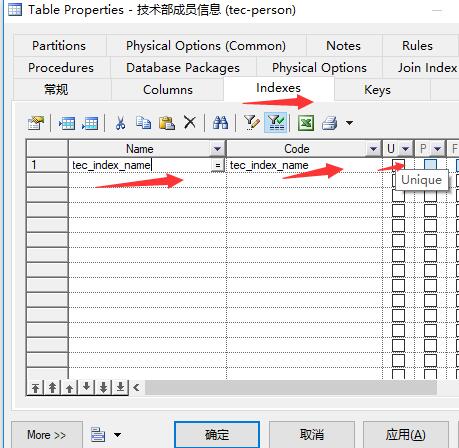
5. Build index
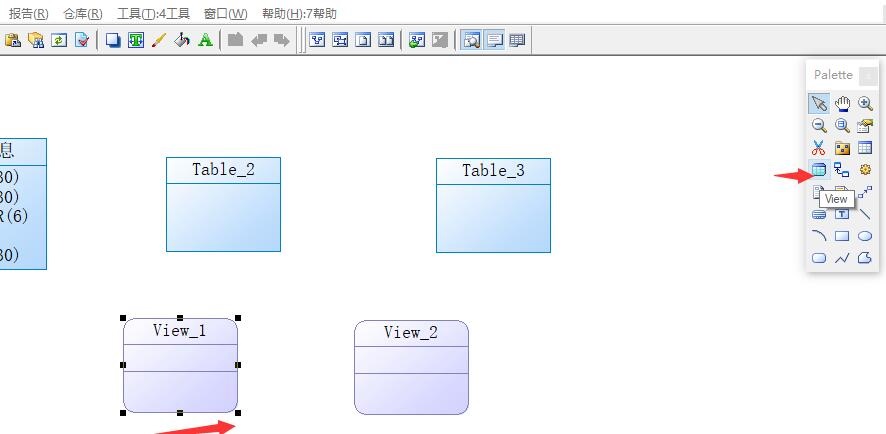
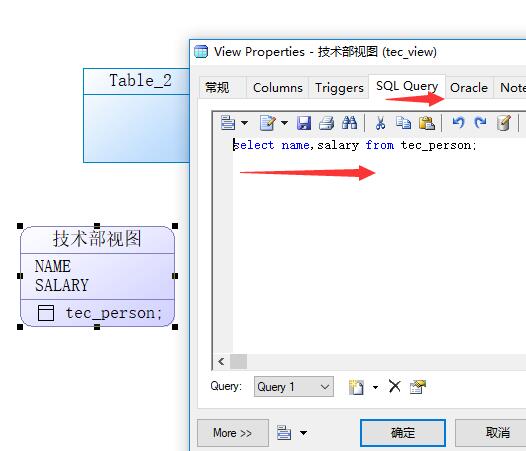
6. Create a view
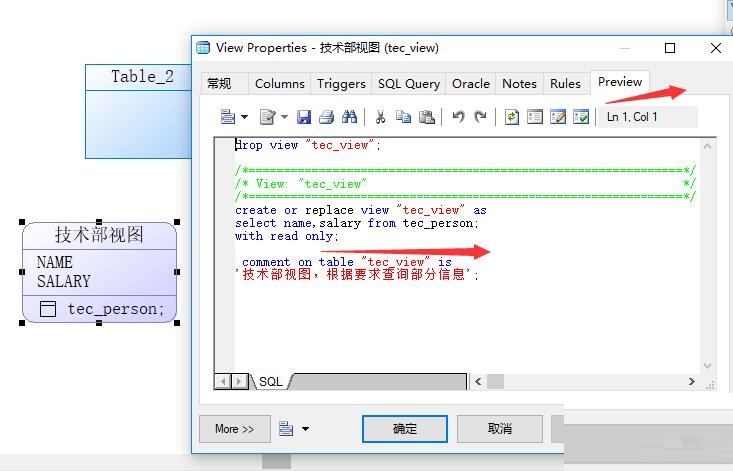
7. Double-click the view to edit it. You can edit the SQL statement of the view in the SQL options window, and you can see the complete statement of creating the view in the preview.

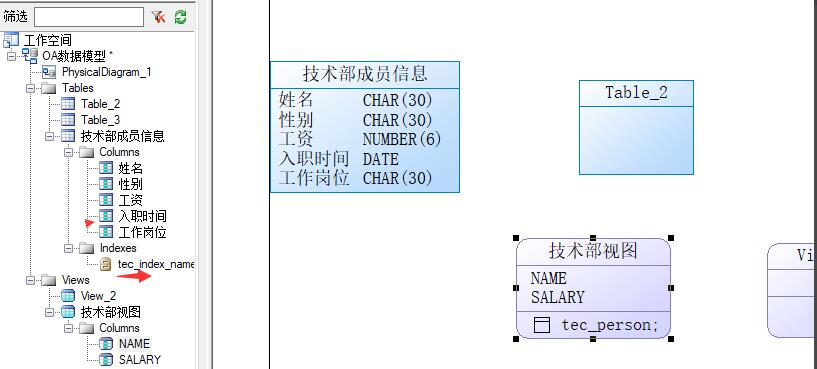
8. All the data just created can also be found in the left toolbar. If you need to edit a single item, just click the icon in front of an item.
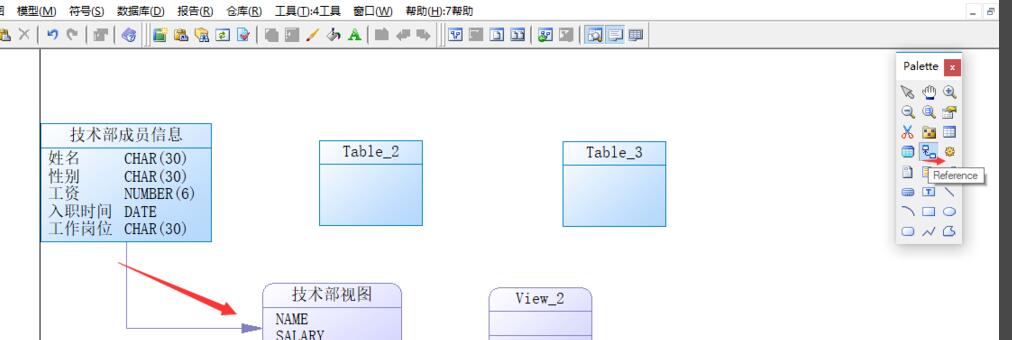
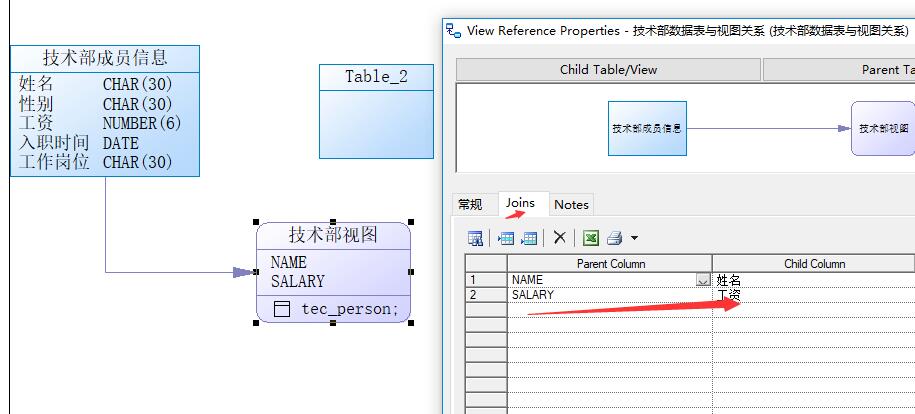
9. Click the relationship button on the right toolbar to associate the data table with the view.
10. Double-click the association to view the information associated with editing.

Above, I have shared with you the specific steps for using PowerDesigner to create a physical data model. Friends in need should hurry up and read this article.