I believe that PowerDesigner is a software that many users will use. It is very convenient to create data flow diagrams, but do you know how to use PowerDesigner to create data flow diagrams? The following article will show you how to use PowerDesigner to create a data flow diagram.
Open PowerDesigner, click the [File] menu, and then select [New Model]

In the [New Model] interface, select [Information] in [Type], select [Data Flow Diagram] in [Type Item], and click [OK]

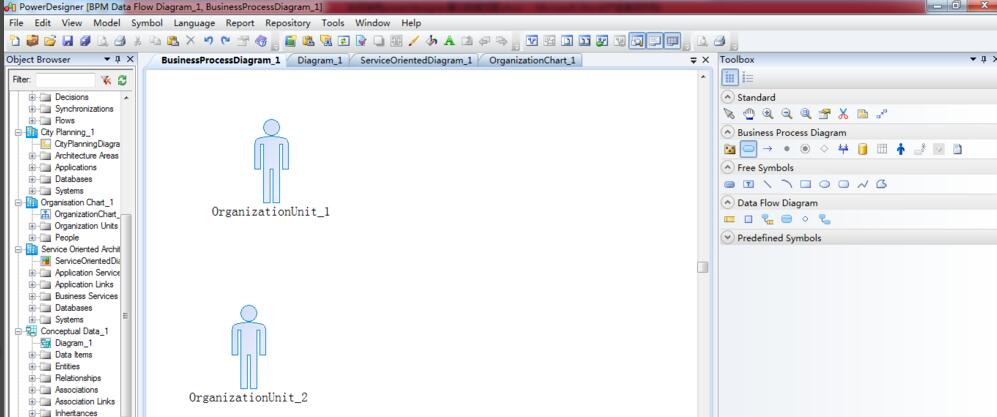
In the toolbar on the right, click the [Organizational Unit] icon under [Business Process Diagram], and click once on the main window to generate an organizational unit.
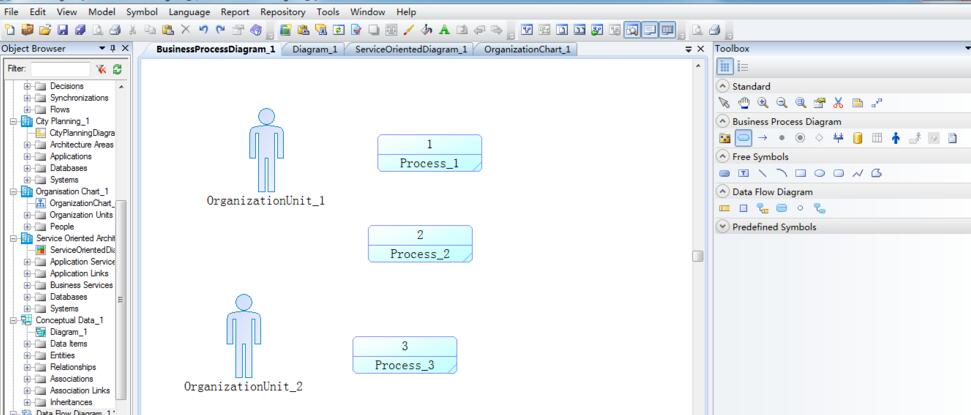
In the toolbar on the right, click the [Process] icon under [Business Process Diagram], and then click once on the main window to generate a process
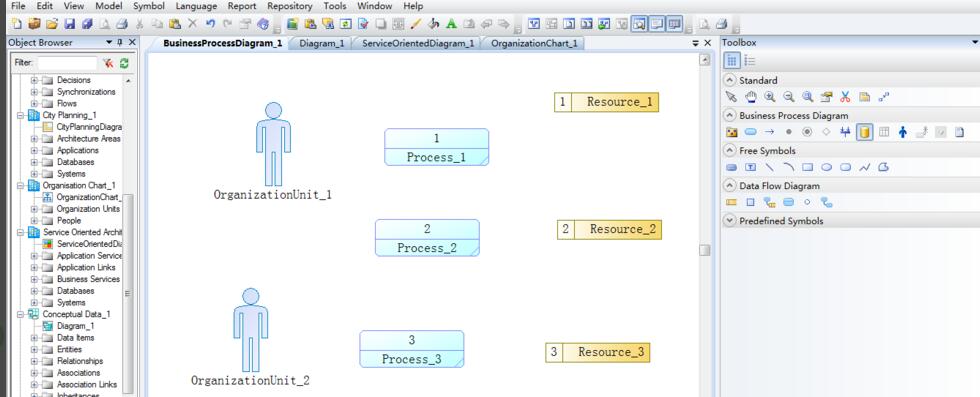
In the toolbar on the right, click the [Resources] icon under [Business Process Diagram], and then click once on the main window to generate a resource.
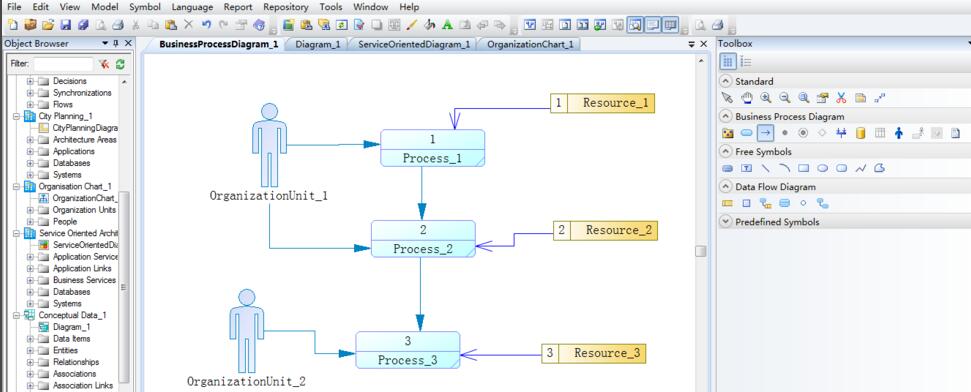
In the toolbar on the right, click the [Flow/Resource Flow] icon under [Business Process Diagram], click an object on the main window, and drag the mouse to connect to another object to establish the relationship between the two objects, thereby establishing the relationship between organizational units and processes, and the relationship between resources and processes, forming a basic data flow diagram.
Friends who don’t know how to create data flow diagrams using PowerDesigner, don’t miss this article brought by the editor.