When using AutoCAD software, some netizens still don’t know the basic operation of setting deletion. Let’s learn the operation process of setting deletion in AutoCAD. I believe it will be helpful to everyone.
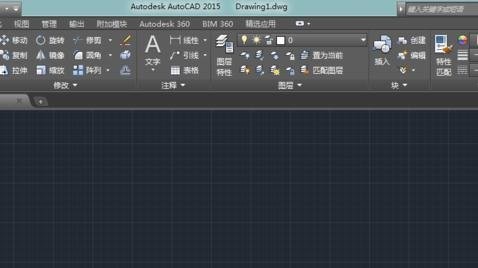
Open AutoCAD, and the interface displays a preview window. To enter the grid display and setting interface, you need to create or open a model;

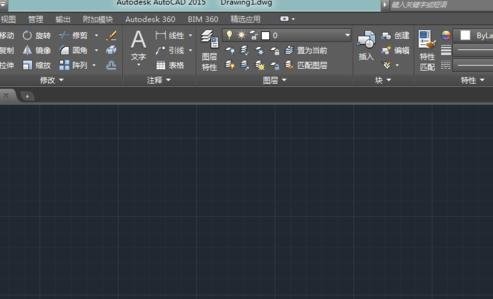
Then create a new CAD two-dimensional drawing window, and the grid switch button is at the bottom of the drawing window;
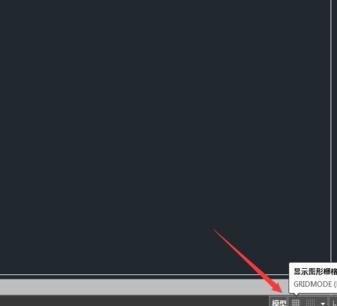
Then we open the grid in the CAD drawing window as shown below;
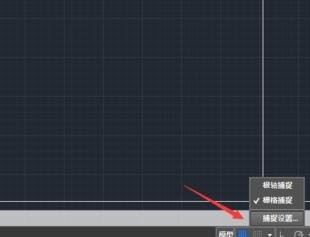
Then click as indicated in the picture below, and in the pop-up command, select capture settings;
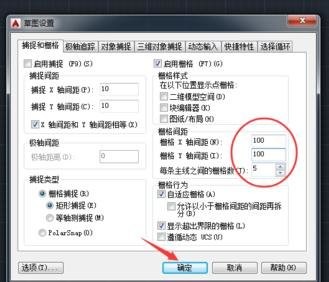
The pop-up dialog box is as follows, we can find the grid settings in the first column;
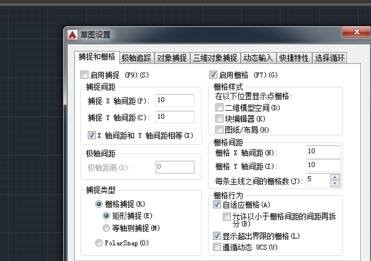
The most commonly used settings for the grid are: changing its spacing. The larger the spacing, the farther away the grid is. After setting as shown below, click OK;
Finally, after changing the grid, you can clearly see that the distance between the grids has increased;
Dear friends, after reading the above wonderful content, you all know the basic operation method of setting and deleting cells in AutoCAD!


