I have been using win7 for many years, and today I found out that win7 also comes with a screenshot tool. Let’s share it together.
1. Magical screenshot tool
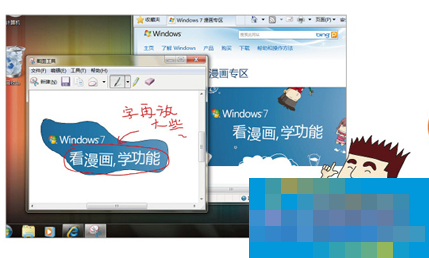
Windows 7's screenshot tool provides you with a variety of screenshot methods to choose from, and you can also make comments at any time~
The annotation function is so convenient for annotating documents, making communication with colleagues smoother.
2. How to find the screenshot tool
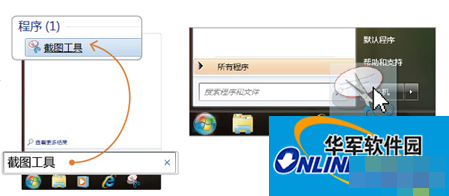
Just type "snipping tool" in the search box of the start menu to find him. The editor here recommends locking this "Snipping Tool" to the taskbar, so that when you want to use it, you can find it on the taskbar!
3. How to use the screenshot tool
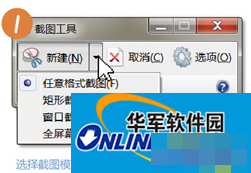
1. Select screenshot mode
After launching the Snipping Tool, first click the drop-down menu next to New and select a different screenshot mode.
2. Start taking screenshots
Window screenshot mode: Just click on the window. Rectangular and free-format screenshot modes: press and drag to capture the appropriate area.

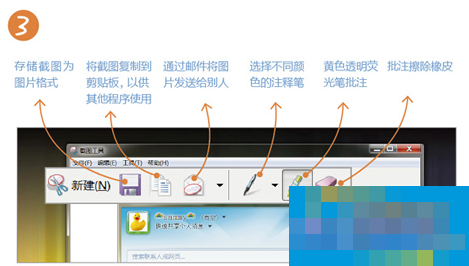
3. What do we need to do after the screenshot is successfully taken.
After the screenshot is completed, the image will be in the clipboard by default - this means that you can directly press ctrl+v in other programs to quickly copy the image to the body of the email, office, document, photoshop and other files.
Okay,The above is all the content brought to you by the editor of Huajun. Isn’t it very simple? Have you learned it? If you want to know more related content, please pay attention to Huajun information at any time. Welcome to Huajun to download!