Unlocker is a free right-click extension tool. It is a tool for forced file deletion and stubborn file deletion. So in Win7 system, how to use Unlocker to forcefully delete occupied files? Today, the editor of Huajun brings you a simple and easy-to-understand solution. I hope you will support and share the carefully selected content. If you like it, hurry up and get it!
The steps are as follows:
1. Download Unlocker.
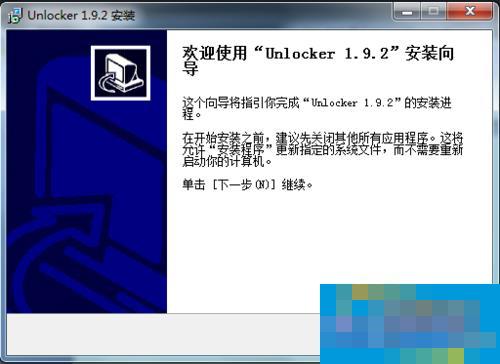
2. After the download is completed, click Run and select Chinese as the language:

3. Installation is basically the next step:
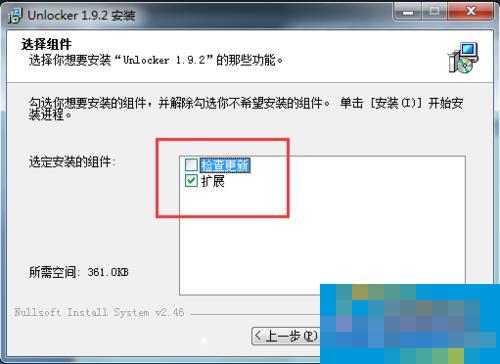
4. But there is one thing that we should pay special attention to, that is, we must select "Advance", which is the advanced setting, and uncheck it, otherwise countless advertising plug-ins will be installed in your computer. Here we must pay attention to uncheck the check box. Remember:

5. There is another place: remove the check mark in front of Check for updates, because the next time it is updated, it will install the advertising plug-in for you, but this time it will not ask and will install it directly for you, so we cannot let it check for updates here. The current version is already very stable and powerful, and we do not need to update it:
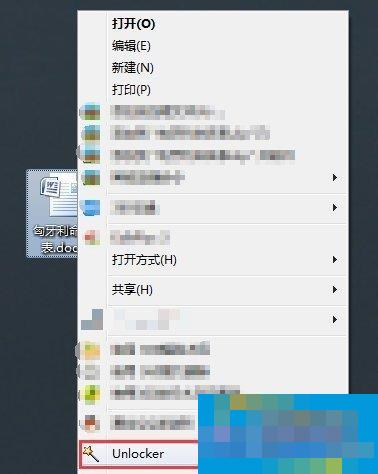
6. After the installation is completed, it is very simple to use. Just right-click the file you want to delete and select "Unlocker":
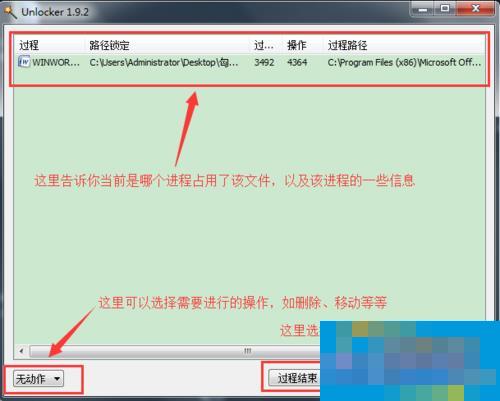
7. Then you can perform the operations you want to perform according to the icon:
End of process: The process of WinWord.exe ends here.
Unlock: This will remove the connection between the word file and the WinWord.exe process.
Unlock all: Used when multiple processes occupy the file at the same time, the function is the same as "unlock"
Leave: Just check which process occupies the file and do nothing.
This is the detailed introduction to the method of forcibly deleting Unlocker files in Win7 system. If you still don’t know how to use Unlocker to forcefully delete occupied files, you can try the above method, which will definitely be beneficial to you.