This article mainly introduces the graphic tutorial of using QuickTime Player to implement screen recording on Mac system. This article explains screen recording, video editing, merging multiple videos, video export/sharing, etc. Friends in need can refer to the following

I believe that many people don’t know that the built-in QuickTime Player in Mac system also has a screen recording function. To be honest, I didn’t know it before (Mars). I just saw this article on MacStories today and discovered this function, and it is very powerful under Lion.
In fact, QuickTime Player has a screen recording function in the 10.6 era, but the function is very simple and not many people use it. Moreover, this software has not been updated. It has not been upgraded at all since the release of version 10. However, in the Lion system, QuickTime Player has finally been updated to version 10.1. Although the improvement seems very small from the version number, it has added a lot of new features, such as supporting more codecs, full-screen mode, exporting audio only, etc. Of course, the most powerful one is the screen recording we are going to introduce in this article.
screen recording
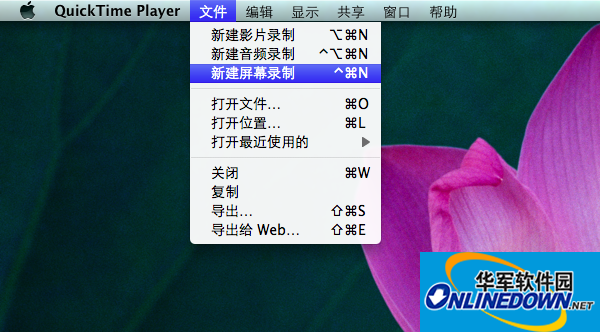
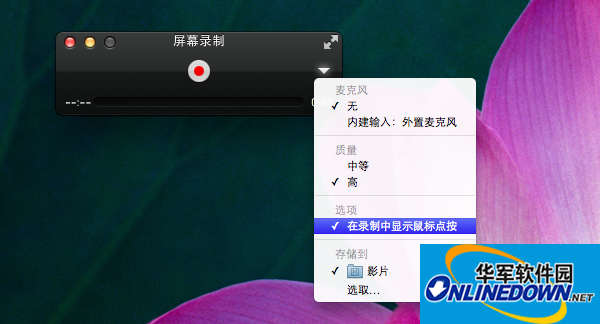
Go directly to the topic, start QuickTime Player, click File in the menu bar and create a new screen recording. If you want to highlight the mouse click position during the recording process, you can check the inverted triangle on the right side of the control interface and check Show mouse clicks during recording. Of course, you can also set the microphone input here. For example, when recording a tutorial, if you record while explaining, you can check Built-in input: external microphone, and you can also set the quality of video recording, etc.


After setting these parameters, you can click the red button. At this time, the program will ask if you want to record in full screen or a selected area. If you want to record in full screen, just click the mouse. If you want to record a selected area, just drag an area with the mouse, and then the recording will officially start.
After the recording is completed, the video will be saved directly in the movie folder (~/Movies) and will automatically start playing.

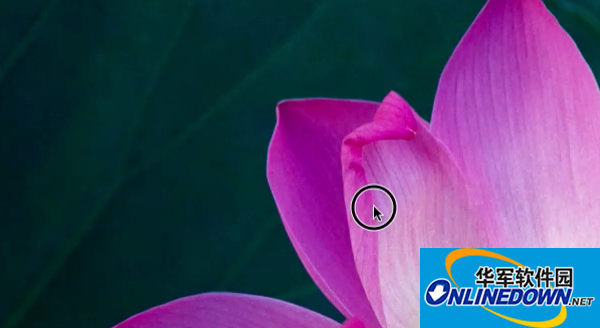
Highlight mouse clicks


