Microsoft Visual C++ is a combination of programming tools and runtime environments developed by Microsoft. For developers, it provides compilers and development environments for creating Windows applications; for ordinary users, its redistributable runtime libraries (Redistributable) are the cornerstone to ensure the normal operation of various software - these runtime libraries are like "public material libraries", providing standard function support for many programs and games. Next, let the editor of Huajun explain to you how to adjust the line number in visualc and how to adjust the line number in visualc!
first step
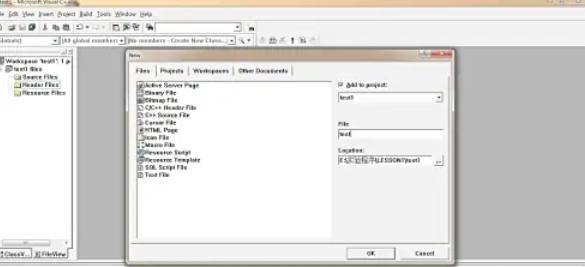
Open or create a new C/C++ source file (such as main.c).

Step 2
Right-click on the gray margin on the left side of the editor (the empty space to the left of the code where breakpoints are placed).

Step 3
Right-click on the gray margin on the left side of the editor (the empty space to the left of the code where breakpoints are placed).

Step 4
In the pop-up menu, check "Line Numbers".

Step 5
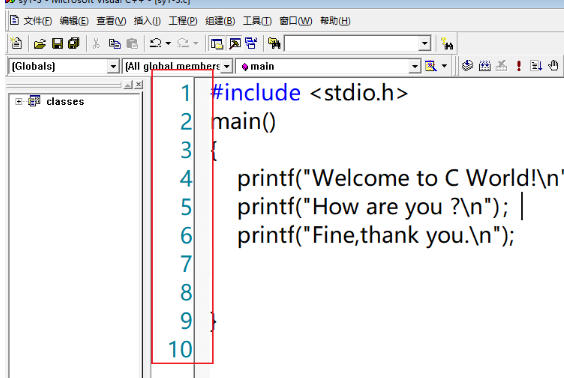
Effect: The line number will be displayed on the left side of the code, starting from 1 and increasing. If the line number is not displayed, check whether this option has been turned off by mistake.Press Win + R to enter regedit and press Enter to open the Registry Editor.
Navigate to the following path (adjusted according to the VC6 installation path):
HKEY_CURRENT_USERSoftwareMicrosoftDevStudio6.0Text Editor

Step 6
Find or create a new DWORD (32-bit) value for the following in the right window:
Name: ShowLineNumbers
Data: 1 (enable line numbering) or 0 (disable line numbering).
Name: LineNumbersMarginWidth
Data: 20 (adjust line number margin width, default 20 is enough).
After modification, close the registry editor and restart VC6 to take effect.

The above is how the editor of Huajun compiled for you how to adjust the line number in visual c and how to adjust the line number in visual c. I hope it can help you!


