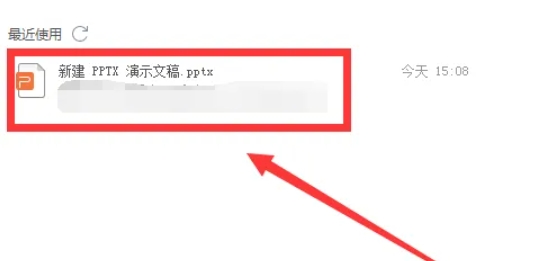
WPS is an office software suite with comprehensive functions, excellent compatibility, and easy operation. It not only meets the needs of users for working on different devices, but also provides a wealth of practical functions, allowing users to complete work tasks more efficiently. Next, let the editor of Huajun explain to you how to enable scheduled backup in the WPS computer version and how to enable scheduled backup in the WPS computer version!
first step
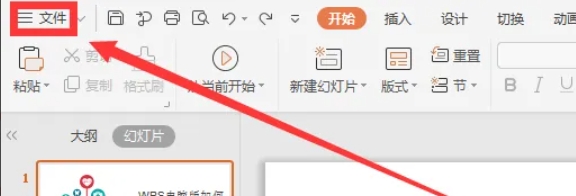
In the main interface of the PPT file, click the "File" menu in the upper left corner. In the drop-down menu, select "Options" to enter the settings interface.

Step 2
In the "Options" window, find and click the "Backup Center" option in the lower left corner.

Step 3
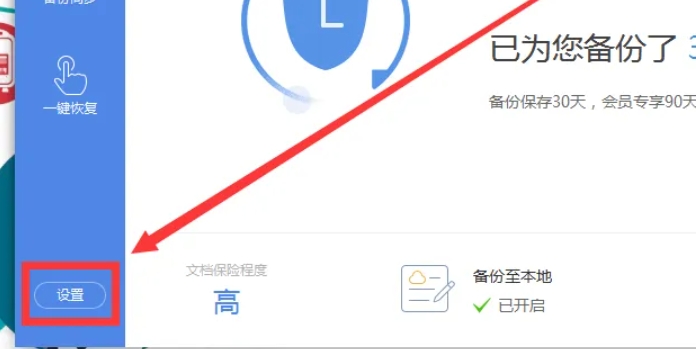
In the "Backup Center" interface, find and click the "Settings" button in the lower left corner again.

Step 4
In the settings interface that pops up, find and click the "Scheduled Backup" option.

Step 5
In the "Scheduled backup" option, you can set the backup time interval. For example, you can set it to back up every 3 minutes.

Step 6
After setting the time interval for scheduled backup, click "OK" or a similar confirmation button on the interface to save your settings.

The above is how the editor of Huajun compiled for you how to enable scheduled backup in the WPS computer version and how to enable scheduled backup in the WPS computer version. I hope it can help you!


