Do you want to know how to add text to CAD drawings using the quick CAD editor? The following is the operation method of adding text to CAD drawings with the quick CAD editor brought by the editor. Take a look at it quickly. I believe it will be helpful to everyone.
1. First install the Swift CAD Editor. After the installation is completed, click to enter the software's operation interface and add the CAD file to be edited. Click on the file in the upper left corner - Open, and select the corresponding CAD file to open.
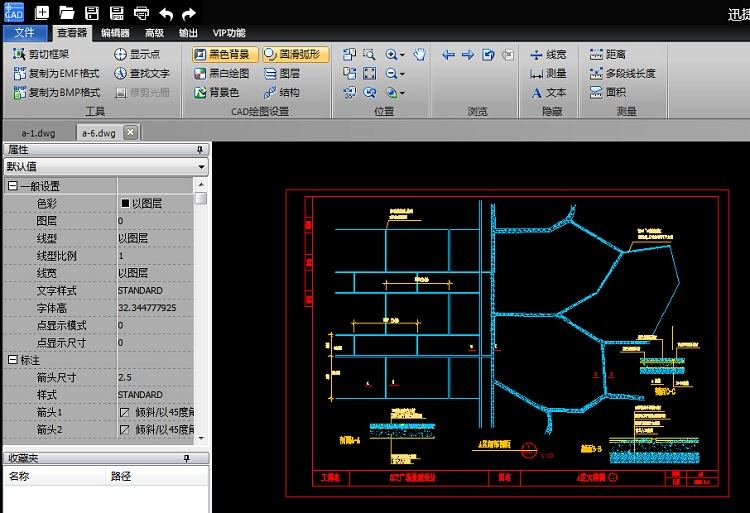
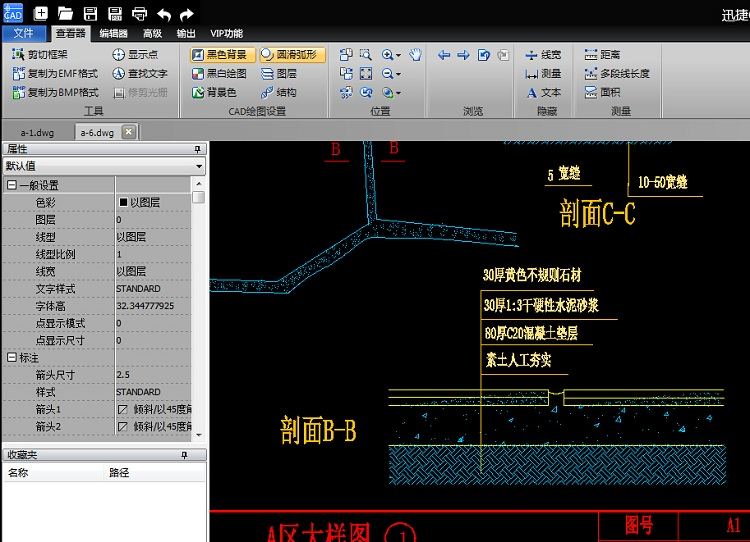
2. Turn the mouse to enlarge the CAD file to view the content of the CAD file more clearly. Here you can add corresponding text content on the drawing where text needs to be added.
3. In the top menu of the Swift CAD Editor, switch to the "Editor" tab, and then click "Multi-line Text". This function can create a new multi-line text and drag the mouse in the area where you want to add multi-line text. , mark the area where you want to add text, and then the "Text Format" dialog box will pop up.
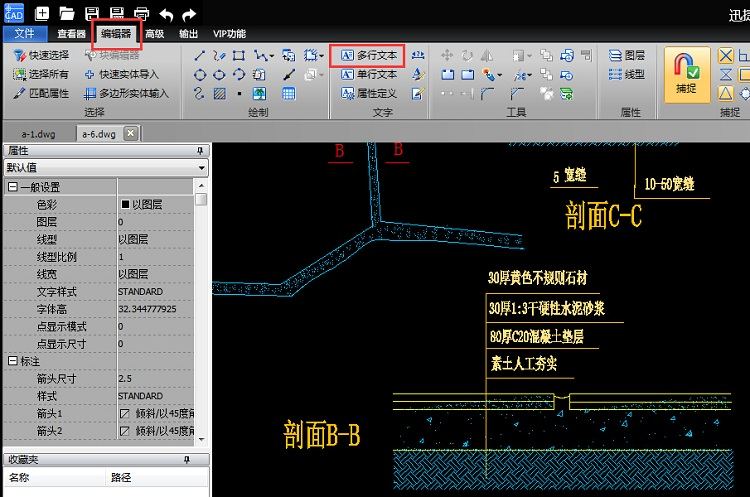
4. In this dialog box, you can enter the text content you want to add. After the addition is completed, set the font, typeface, color, etc. of the text on the window, and then click "OK" in the upper right corner to successfully add more text to the CAD drawing. line text.

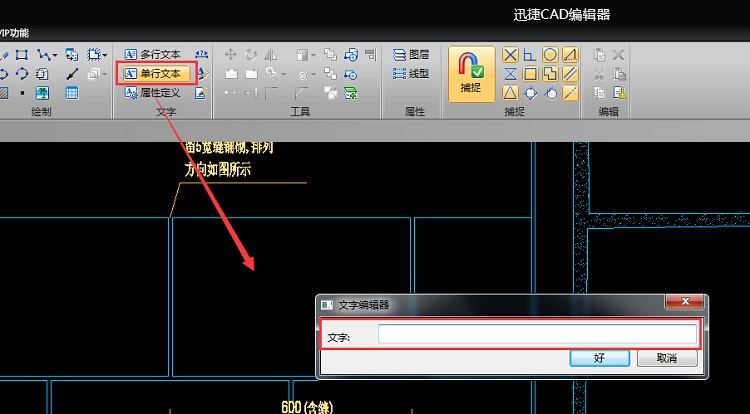
5. If you do not want to add multiple lines of text, you can click "Single Line Text" and click on the CAD page where you want to add text. The text editor will pop up. Enter the text content you want to add, and then click "OK" to successfully add a single line. text.
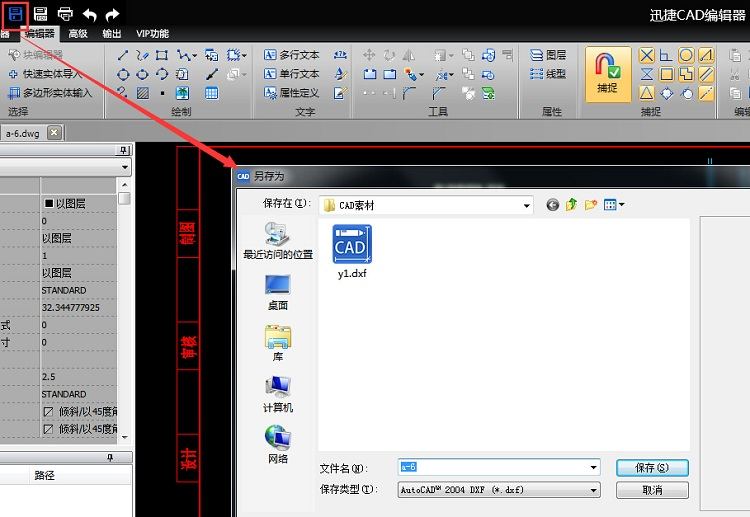
6. After adding the text, click the "Save" icon at the top of the software, then set the save path of the CAD file in the pop-up Save As dialog box, and save the CAD drawing with the added text.
The above article explains the steps for adding text to CAD drawings using the Swift CAD Editor. I hope friends in need can learn from it.


