Friends who have just learned the Swift CAD Editor software may not be clear about the related operations of setting up CAD printing. Today, the editor will explain the detailed tutorial on setting up CAD printing through the Swift CAD Editor. I believe that through learning, you will be comfortable in future operations.
First, open the quick CAD editor and add the CAD drawings you want to print.
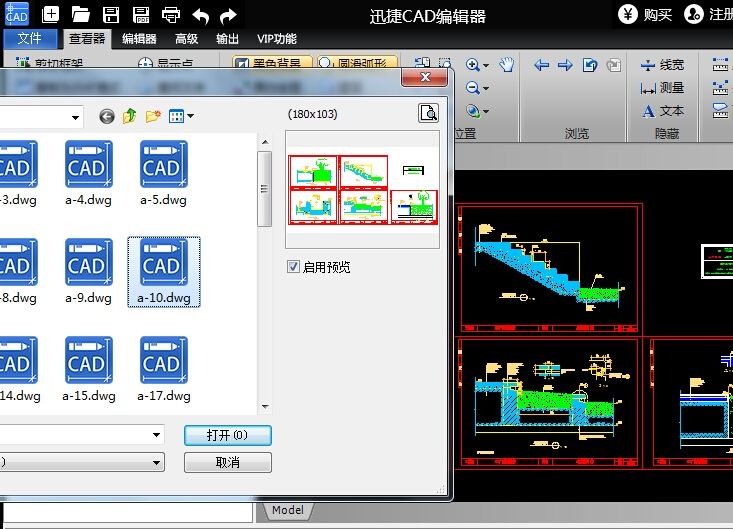
Print settings.
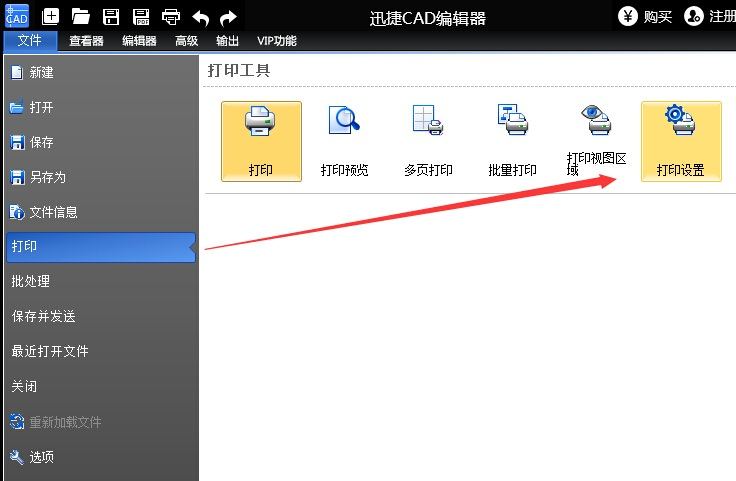
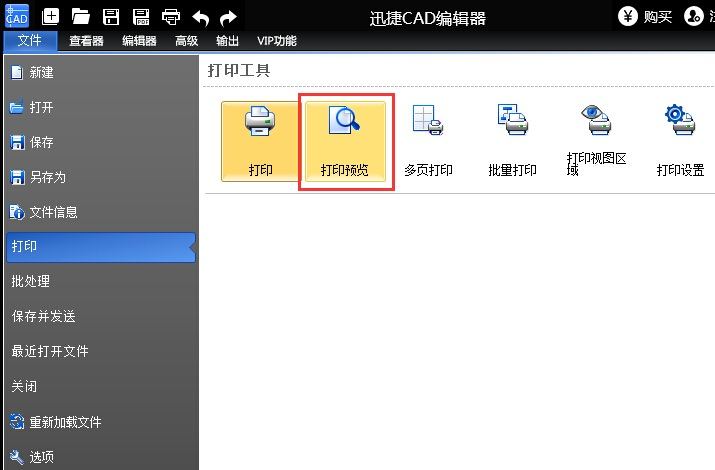
① Click the "File" button in the upper left corner, and you will see the "Print" function in the menu. After switching to this function interface, there are a variety of printing tools. You can select the corresponding tool according to the way you want to print. To set up CAD printing, select "Print Settings" here.
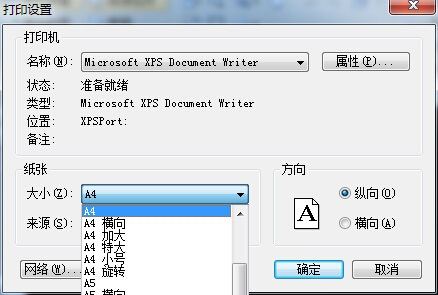
② Then in the pop-up window, set the print file direction, size, etc., and then click "OK". In this way, some basic print output settings of the printer are completed.
Print preview.
① Click "File" - "Print" - "Print Preview", and then in the pop-up print preview window, set the CAD drawing printout effect.
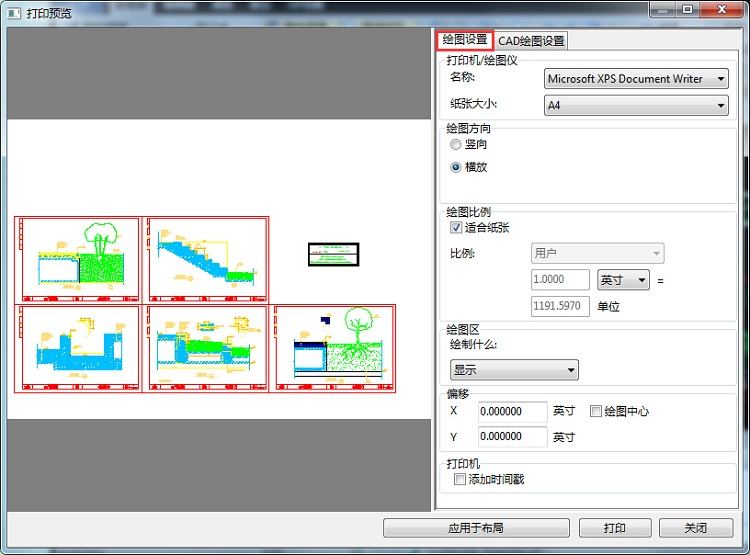
② There are two settings in the print preview interface, namely "Drawing Settings" and "CAD Drawing Settings". You can make basic settings in the drawing settings, such as the paper direction for CAD drawing printing, drawing direction, etc. You can see the preview effect on the left.
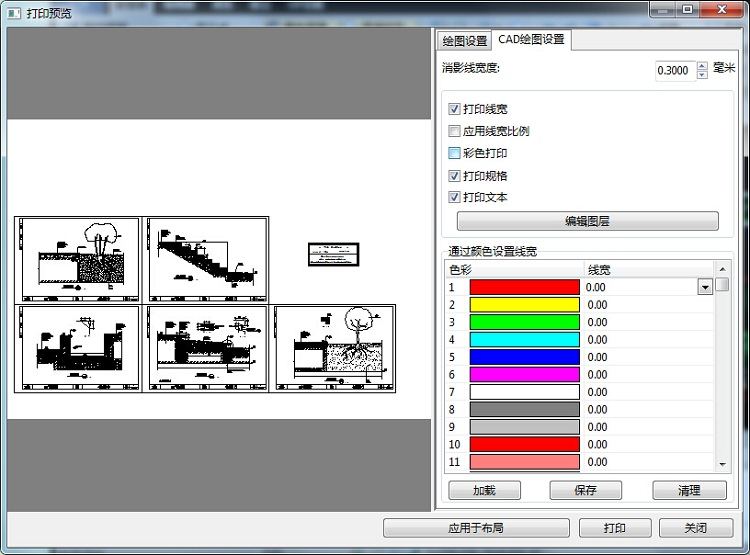
③ In the CAD drawing settings, you can set the check box to cancel color printing to get the effect of black and white printing. You can also set the layer and line width. After the settings are completed, click the "Print" button to enter the printing state.
The above explains the detailed tutorial on setting up CAD printing through the fast CAD editor. I hope friends in need can learn it.

