For novice users who are new to Axialis IconWorkshop, they may not be able to use Axialis IconWorkshop to make icons, so today I will explain to you how to use Axialis IconWorkshop to make icons. I hope it can help you all.
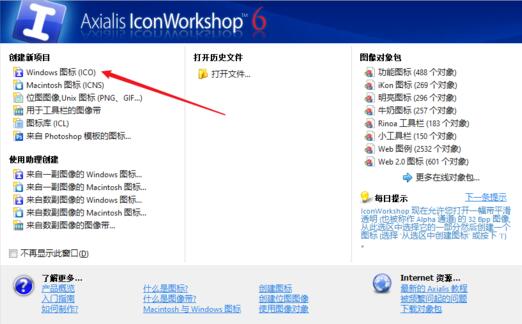
First, open the Axialis IconWorkshop software, click "Create New Project", Windows icon
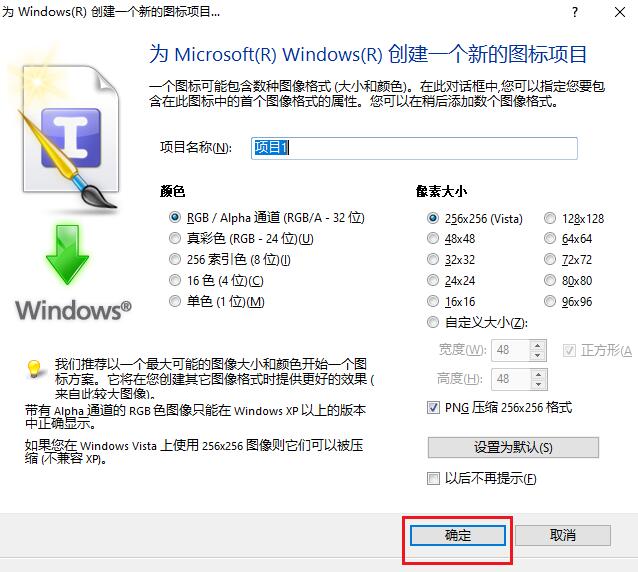
Click OK
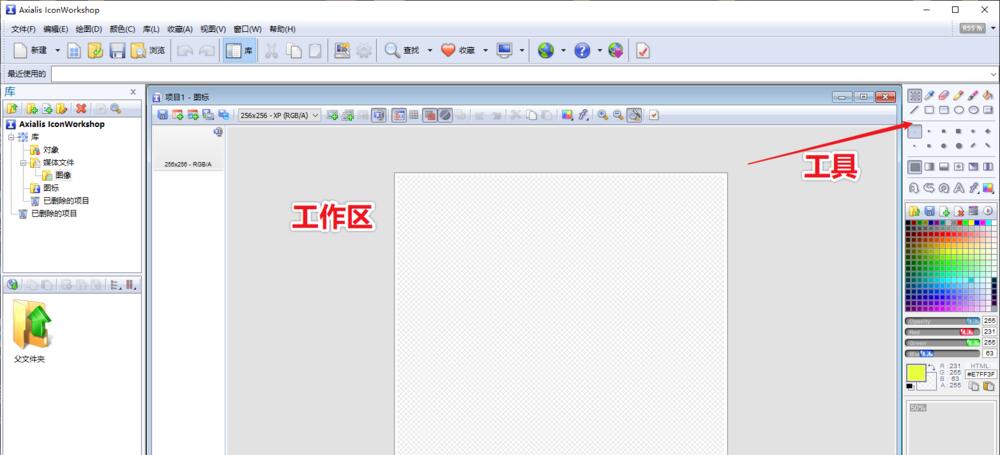
The software interface is as follows
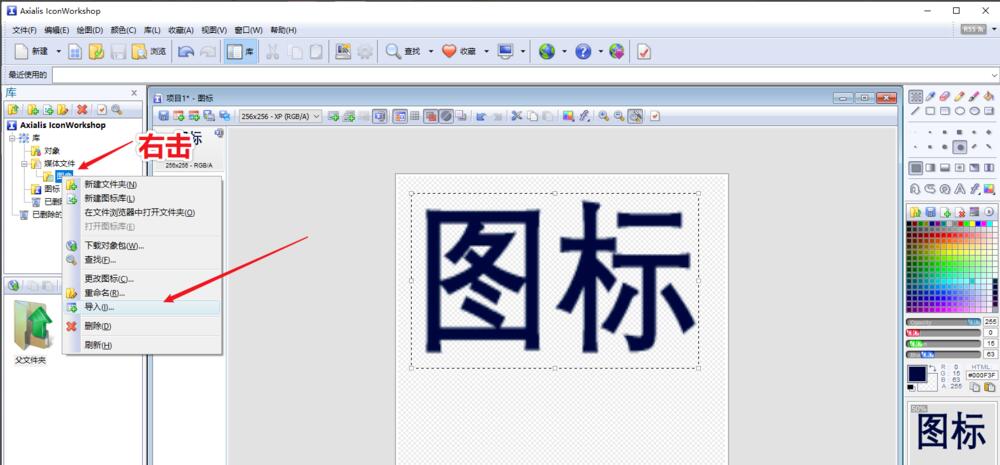
You can draw it yourself or add text (I added the word ‘icon’);
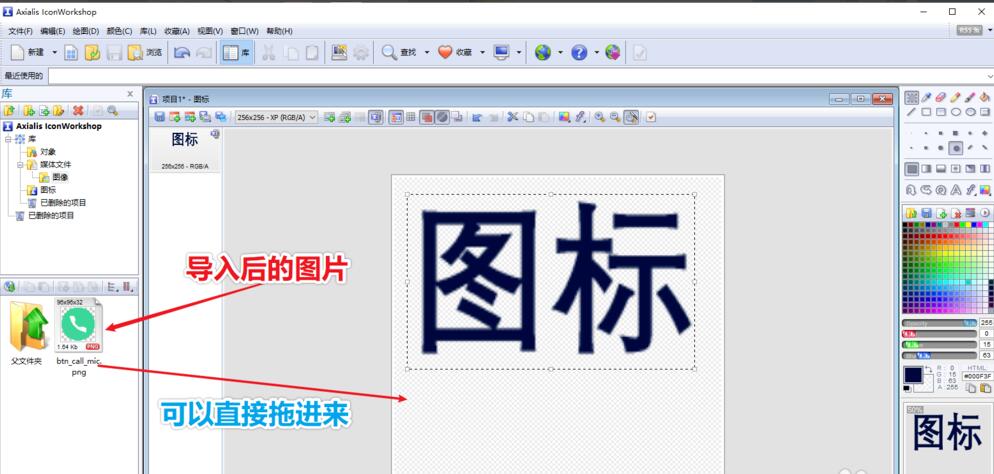
You can also add pictures through the left column

Import pictures into the library
The imported pictures will appear below and can be dragged directly into the workspace
The effect is as follows, click on the file and save as
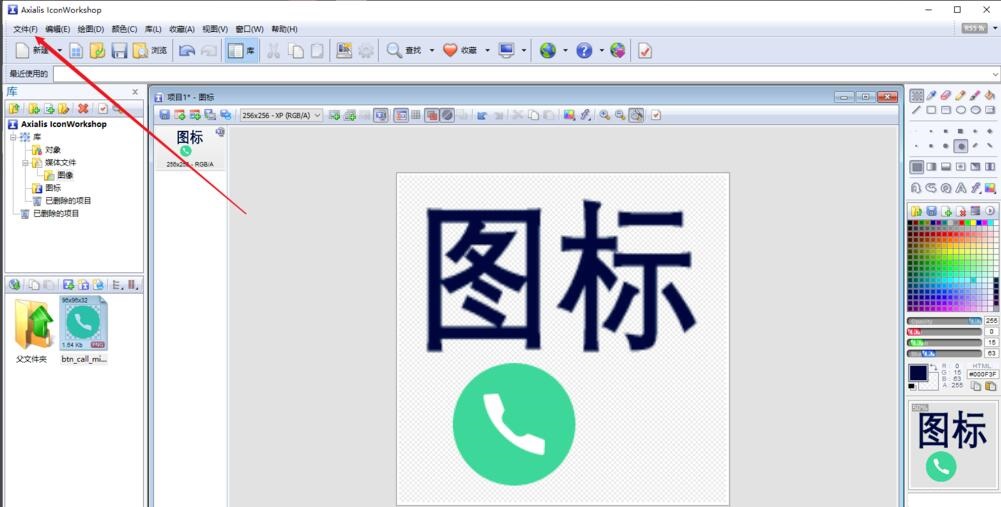
It can be used after saving.
The above is the method of using Axialis IconWorkshop to make icons shared by the editor. I believe it can help everyone better understand how to use Axialis IconWorkshop.


