Maybe some friends still don’t know how to check the wifi password in Windows 11? It’s actually very simple, so today the editor will bring you a method to check the wifi password in Windows 11. Don’t miss it if you don’t know yet.
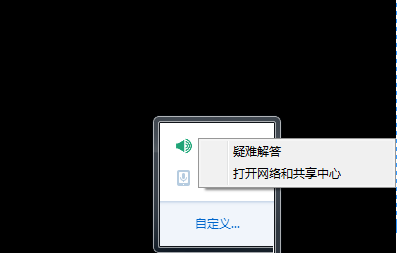
The first step is to open the computer, right-click on the wireless network icon below, and select the Open Network and Sharing Center option in the pop-up menu.
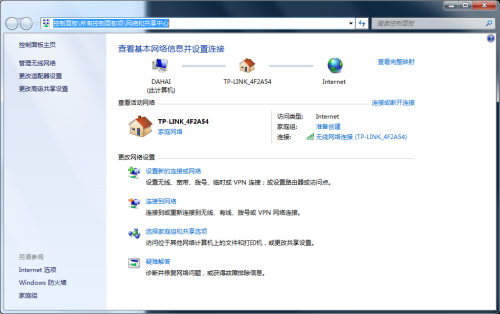
In the second step, click to enter the Network and Sharing Center page, as shown in the figure below.
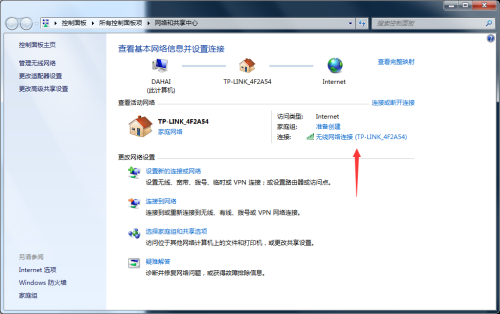
The third step is to find the wireless network connection at the bottom of the page and click to open it.
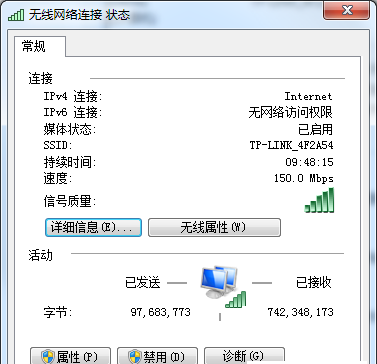
Step 4: In the network status window, click the Wireless Properties button below.
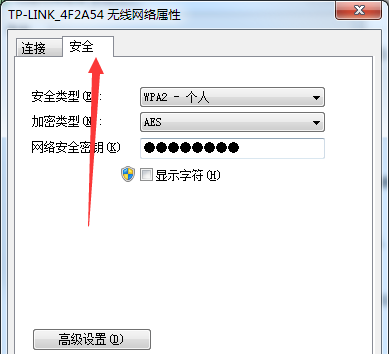
Step 5: Enter the properties window and click the Security tab at the top.
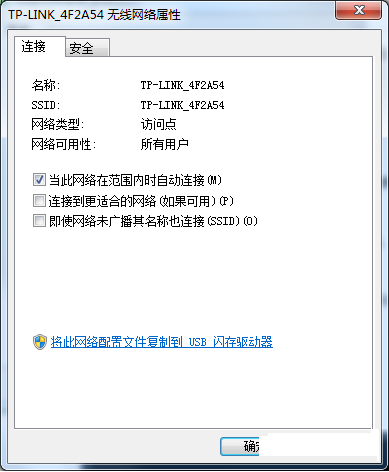
Step 6: Under normal circumstances, the network password is invisible.
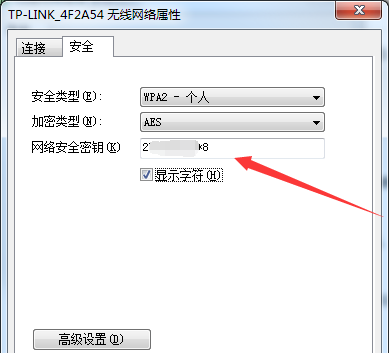
Step 7: Click to check the displayed characters below to view the password.
The above is the method of checking the WiFi password in Windows 11 brought by the editor. I hope it can help everyone.