Recently, many partners said that they are not familiar with how to use the DirectX repair tool to repair lost files. In order to make it easier for everyone to get started, the editor here specifically shares the steps on how to repair lost files with the DirectX repair tool. Friends in need should not miss it.
Download the DirectX tool first, and click the Open button if you don’t want to save it.
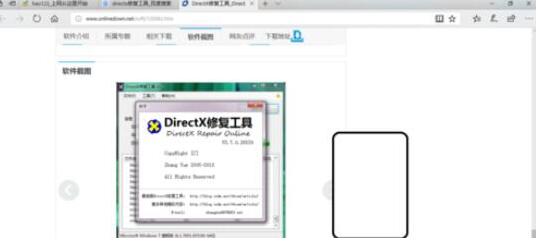
The DirectX repair tool window will automatically open at this time.
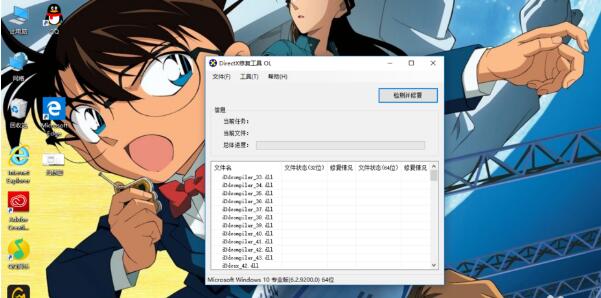
Click the Detect and Repair button in the window.

At this time, the lost Directx files on the computer are automatically detected and repaired automatically.

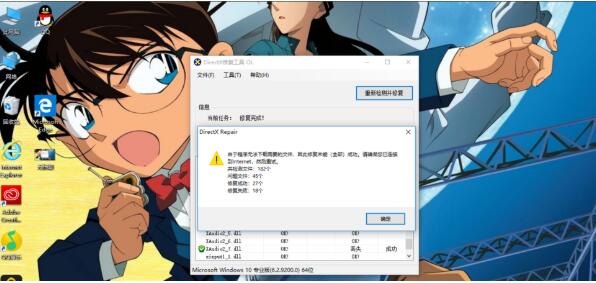
After the detection and repair are completed, the results of the detection and repair report will pop up automatically. Click OK, and then click OK to return to the Directx repair tool.
Don’t you know how to use the DirectX repair tool to repair lost files? Come and learn the tutorial on how to use the DirectX repair tool to repair lost files. It will definitely help everyone.