WPS Office is the basic version of WPS office software. It is designed for individual users. Users can easily download and install it on their own computers without paying any fees. It has basic functions such as word processing (WPS text), form creation (WPS form) and presentation (WPS presentation) to meet daily office needs. Next, let the editor of Huajun explain to you how to create an electronic photo album in wps office and how to create an electronic photo album in wps office!
first step
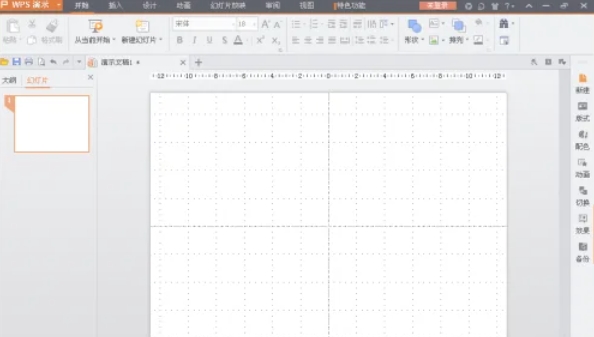
Select the "New" option and then select "Presentation" or "PPT" to create a new PPT document.
Step 2
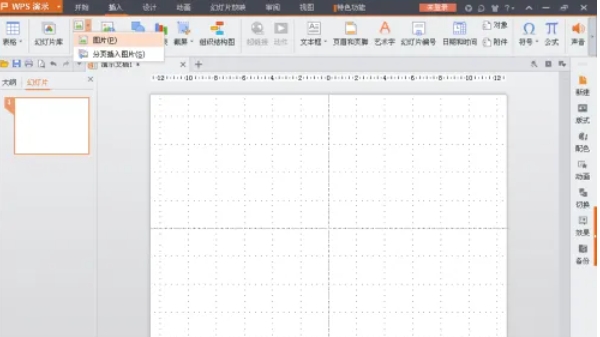
In the new PPT document, click the "Insert" option on the menu bar. Select "Picture" in the drop-down menu, then select "From File" or drag the picture directly into the PPT editing area.
Step 3
In the pop-up file selection dialog box, browse to the folder where the photos are stored. Select all the photos you want to make into a photo album, and then click "Open" or drag them directly into PPT.
Step 4
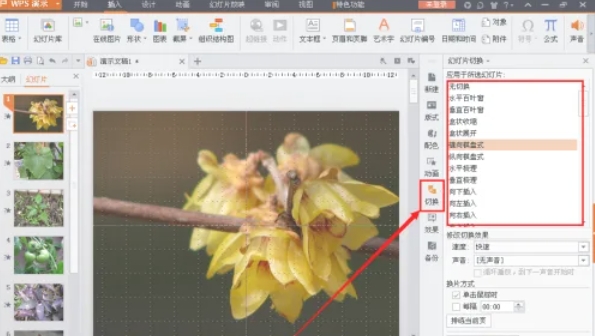
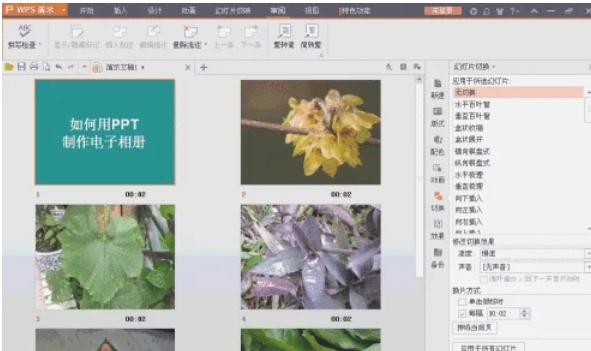
In the PPT editing area, select the first picture. Click the "Switch" option on the menu bar, and then select a favorite switching style in the pop-up switching effect list.
Step 5
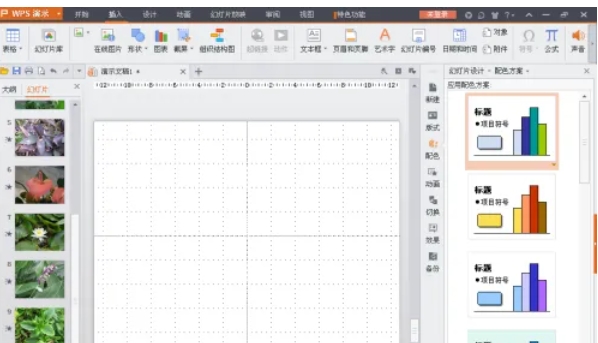
You can set the switching effect for each picture one by one, or you can select the first picture and use the "Apply to All" function to apply the same switching effect to all pictures.

Step 6
On the first page of the PPT, you can insert a cover picture or enter the album's title, author and other information as the cover of the album. On the last page of the PPT, you can insert a picture of thanks or enter words of thanks as the end page of the album.
The above is how the editor of Huajun compiled for you how to create an electronic photo album in WPS Office and how to create an electronic photo album in WPS Office. I hope it can help you!


