NetEase Cloud Music is a feature-rich and user-friendly music player. It does provide many special features, such as personalized recommendations, song synchronization, following favorite stars, etc., which greatly enhance the user experience. Next, let the editor of Huajun explain to you how to change the skin of NetEase Cloud Music and how to change the skin of NetEase Cloud Music!
first step
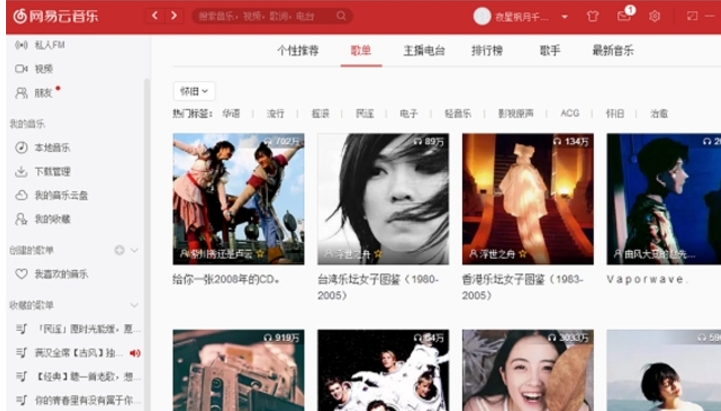
Double-click the NetEase Cloud Music icon on your computer desktop, or find the NetEase Cloud folder in the Start menu and click to open NetEase Cloud Music.
Step 2
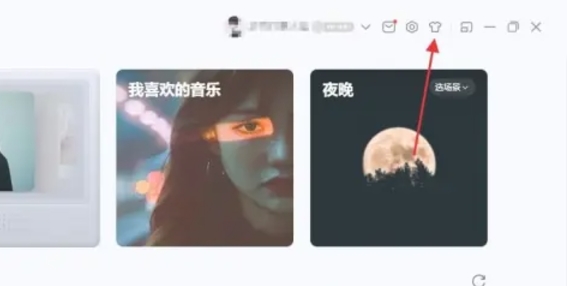
After entering the main interface of NetEase Cloud Music, find and click the "Skin Change" button on the upper right side of the interface.
Step 3
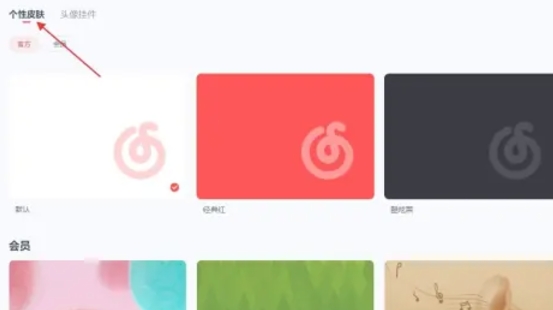
In the pop-up skin-changing interface, browse and select a skin you like. Ordinary users can see a certain number of skin options, while member users can scroll down to view more skins.
Step 4
Click the "OK" or "Use Now" button below the selected skin to complete the skin replacement.

Step 5
After the skin is successfully changed, you can immediately check the new appearance of the NetEase Cloud Music interface to ensure that the skin you choose meets your personal preferences.
The above is how to change the skin of NetEase Cloud Music and the method of changing the skin of NetEase Cloud Music compiled by Huajun editor for you. I hope it can help you!