NetEase Cloud Music is a music product developed by NetEase. Users can create, collect and share playlists according to their own preferences and needs, and easily manage their own music libraries. NetEase Cloud Music provides interactive communication methods such as comments and private messages, where users can find like-minded music lovers and share their music discoveries and feelings. Next, let the editor of Huajun explain to you how to change the cache directory of NetEase Cloud Music and how to change the cache directory of NetEase Cloud Music!
first step
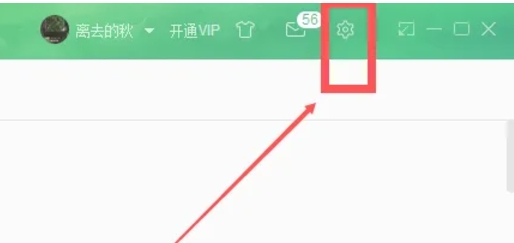
Open the PC version of NetEase Cloud Music and enter the main interface. Find and click the settings icon (usually a gear-shaped icon) in the upper right corner of the main interface to open the settings interface.
Step 2
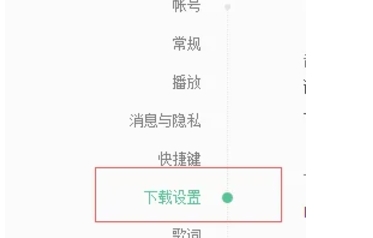
In the settings interface, browse and find the "Download Settings" option. Click this option to enter the detailed page of download settings.
Step 3
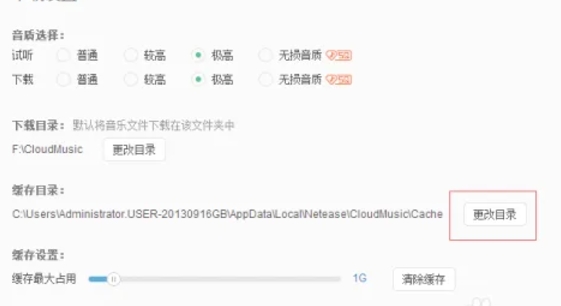
In the download settings page, find the option related to "Cache Directory". Click the "Change Directory" button next to this option. At this point, a file selection window will pop up, allowing you to select a new cache directory.
Step 4
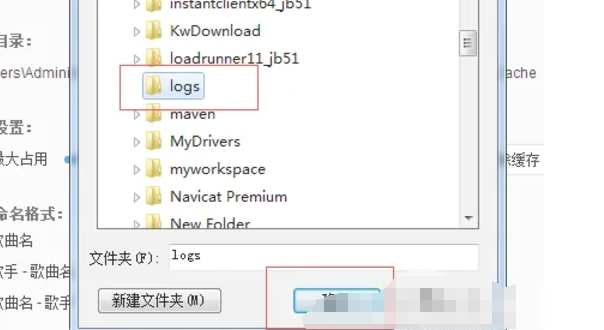
In the file selection window, browse your local folders to find the folder you created earlier to store the cache. Select the folder and click the OK button to confirm your selection.
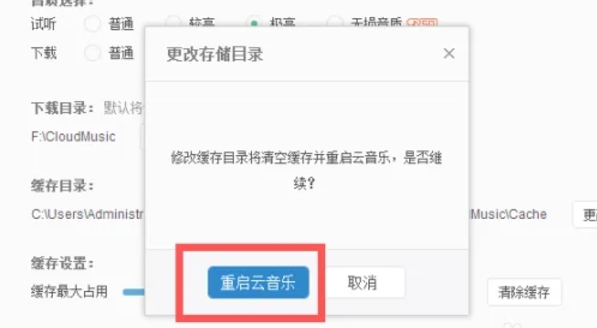
Step 5
After confirming the selection of the new cache directory, NetEase Cloud will prompt you that the setting has been successful. According to the prompts, click the corresponding button to restart NetEase Cloud Music. After restarting, the new cache directory will take effect.
The above is how the editor of Huajun compiled for you how to change the cache directory of NetEase Cloud Music and the method of changing the cache directory of NetEase Cloud Music. I hope it can help you!