Many people don’t know how to save Adobe Premiere Pro CC2018 as a new workspace? The article brought to you today is Adobe Premiere Pro If you still don’t know how to save CC2018 as a new workspace, let’s learn it with the editor.
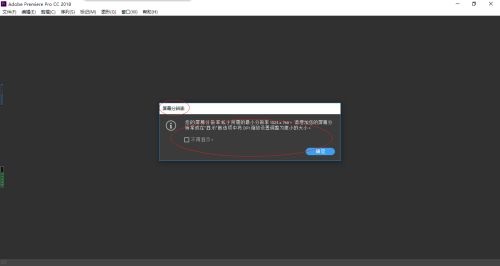
Step 1: Start Adobe Premiere Pro CC 2018 and click the "Screen Resolution → OK" button (as shown in the picture).

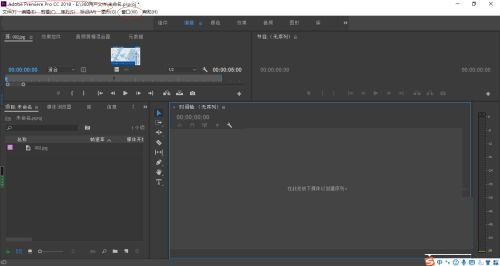
Step 2: The "Start" dialog box will pop up, click the "New Project..." button on the left (as shown in the picture).

Step 3: The "New Project" dialog box will pop up. When the settings are completed, click the "OK" button (as shown in the picture).

Step 4: Call up the main interface of Adobe Premiere Pro CC 2018 and click the "Window" tab in the menu bar (as shown in the picture).
Step 5: The drop-down menu list will pop up, click the right arrow on the right side of the "Workspace" item (as shown in the picture).
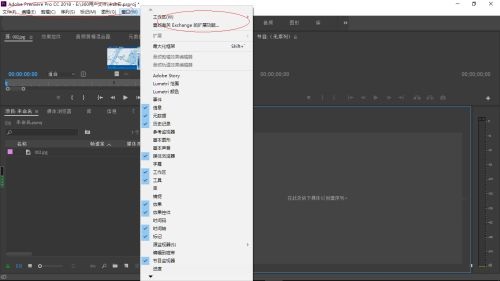
Step 6: A cascading menu list will pop up and select the "Save as new workspace..." item (as shown in the picture).

Step 7: Finally, the operation of saving as a new workspace is completed (as shown in the picture).

The above is the entire content of how to save Adobe Premiere Pro CC2018 as a new workspace brought to you by the editor. I hope it can help you.