How to use Portraiture filter for skin resurfacing? Some friends may not know yet, so today I will share with you the Portraiture filter skin resurfacing tutorial. Friends in need can come and take a look. I hope it can help everyone.
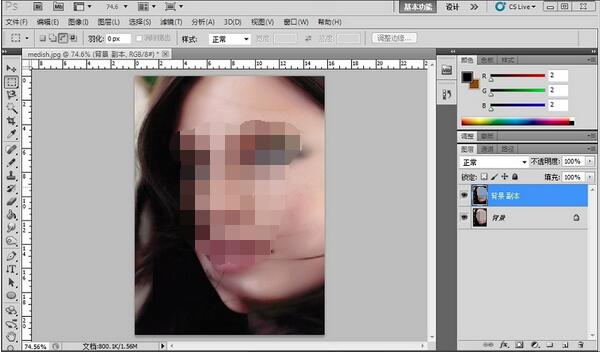
1. First, open the Photoshop software on your computer. After opening the software, click the "File" option at the top, select the "Open" option in the pop-up drop-down menu, and then find the picture you want to open. Press Ctrl+G to copy the layer to get a copy of the image. This operation can protect the original image from being destroyed.
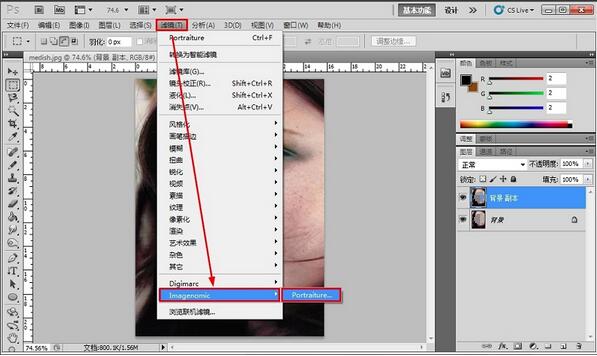
2. Then, click the "Filter" option in the menu bar, select "Imagenomic" in the pop-up drop-down menu, and select "Portraiture" in the secondary menu to open the Portraiture filter.
3. Then, you can enter the Portraiture filter interface. The editor recommends using the default parameters for the first time, and then click the [OK] button.
4. If the effect of the first microdermabrasion is not what you want, you can use the Ctrl+F shortcut key to perform the second microdermabrasion, and then you can modify the details smoothing, skin color mask, hue, saturation, brightness and other options until you get the effect you want.
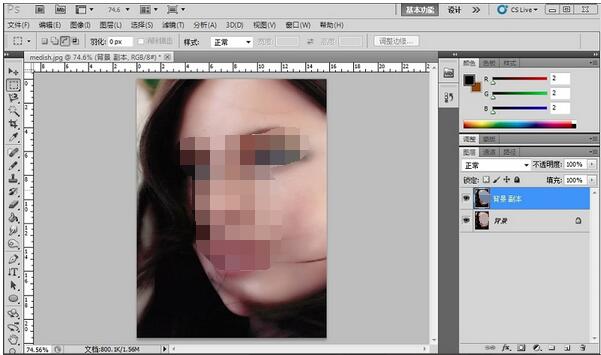
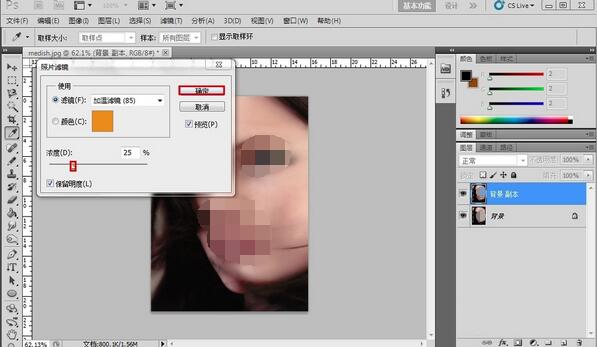
5. After adjusting the microdermabrasion effect, you can adjust the details of the picture. You can use the stain repair tool on the left or other tools to process parts of the picture. If you have over-processed the photo, you can click the "Image" option on the top menu bar, click the "Adjustment" option in the secondary menu that pops up, and select the "Photo Filter" option in the secondary menu.
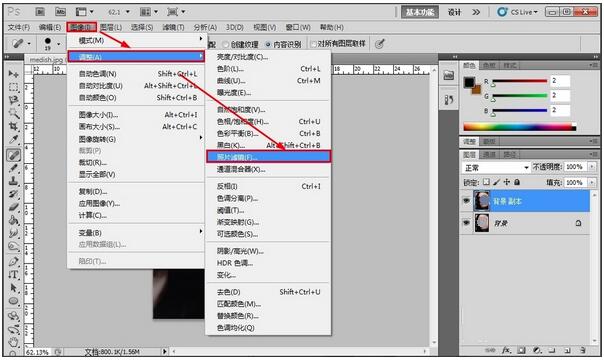
6. Then in the photo filter dialog box that pops up, select the filter effect and color you want to use, then adjust the density, and click [OK] after the modification is completed.
The above is the Portraiture filter skin resurfacing tutorial shared by the editor. Friends who don’t know how to do it should hurry up and learn it.


