Some friends don’t know how to make installation packages when using NSIS. Today, the editor will share the method of making installation packages with NSIS. Friends in need can learn it with the editor.
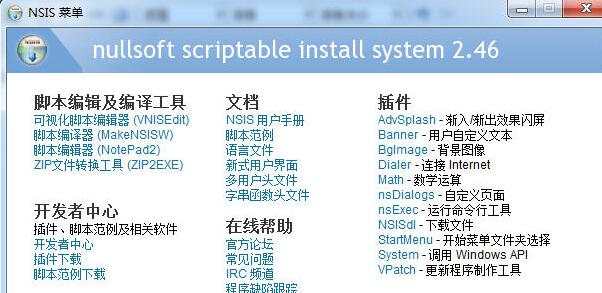
Start the main interface of the NSIS program, select the "Visual Script Editor (VNISEdit)" menu, and start making your own installation package
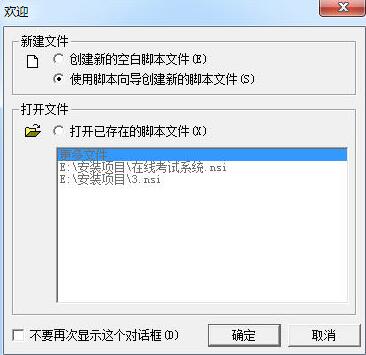
Select "Use Script Wizard to create a new script file" and OK
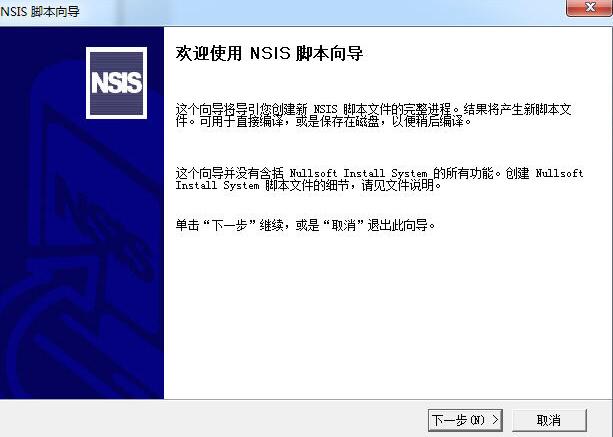
Progress Script Wizard, Next Step
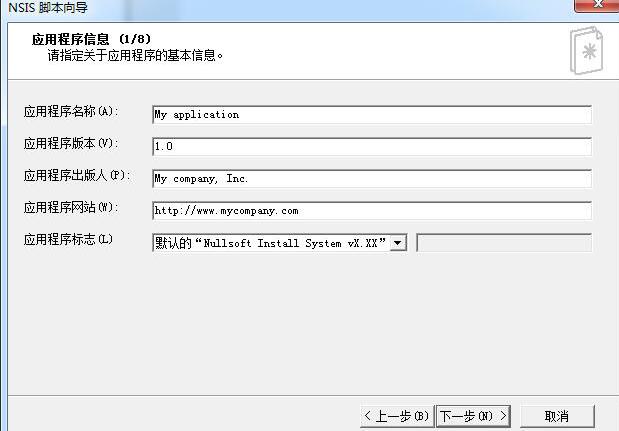
Fill in some basic information about the application here, next step
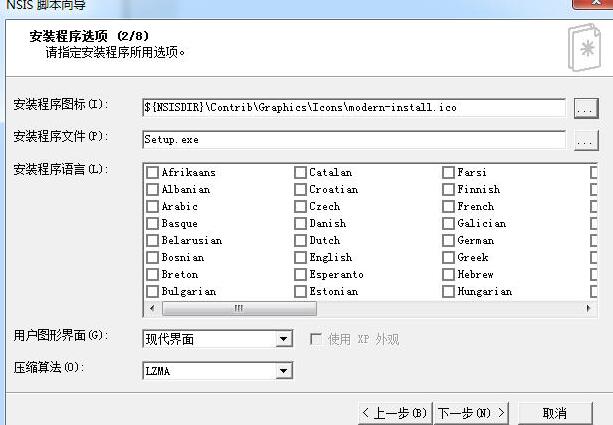
Here you can choose the icon of the installation package, the generated file name, the program language, etc. You can use the default ones and do not need to modify them.
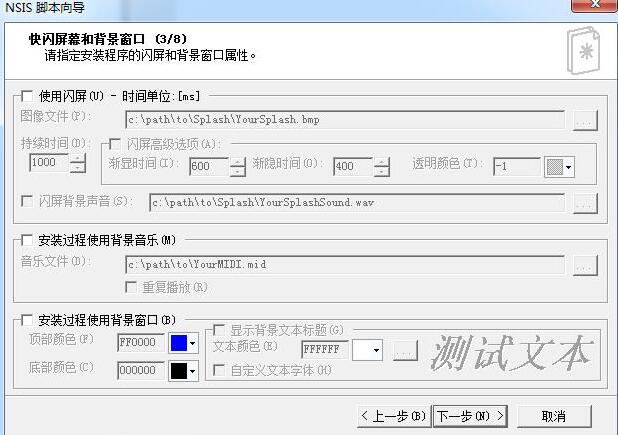
Select some effects, the installation program does not need to be so fancy, just go to the next step.
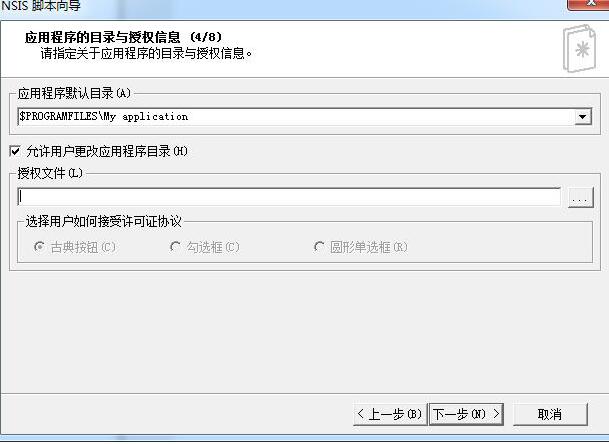
Specify the default directory. If there is an authorization file, specify it. If not, leave it empty. Next step
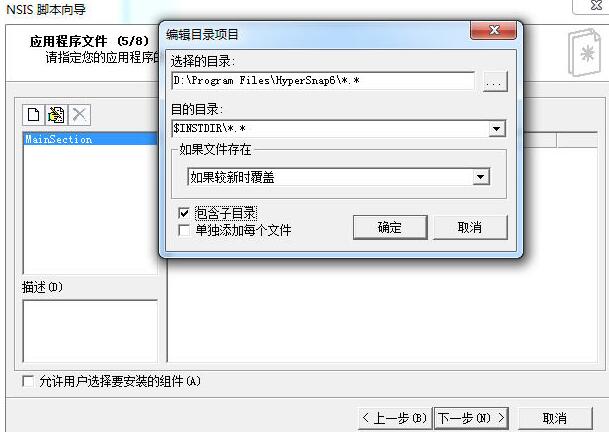
Select the files to be packaged and directly add all the contents of the directory to be packaged. Pay attention to the two *.* and check "Include subdirectories". Do not check "Add each file separately". All files will be packaged during compilation. Next step
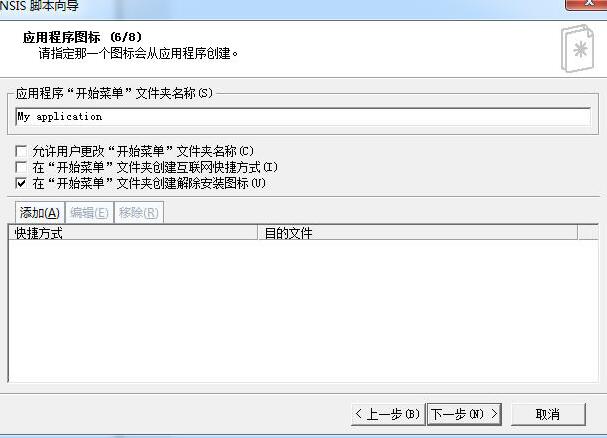
Some settings for shortcuts, next step
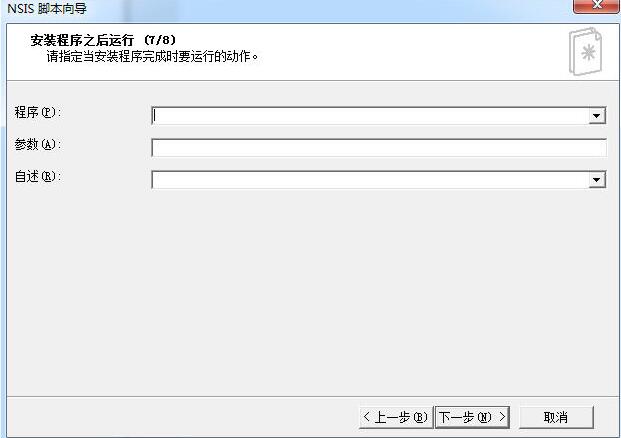
Set what to run after the installer, next step
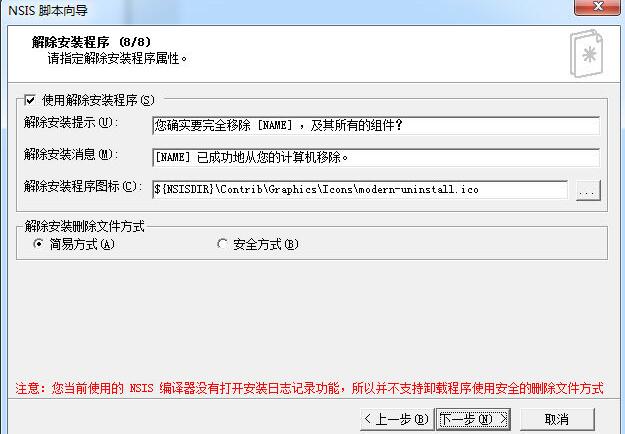
Uninstall information settings, next step
Complete the wizard, check "Save script" and "Convert file path to relative path", complete

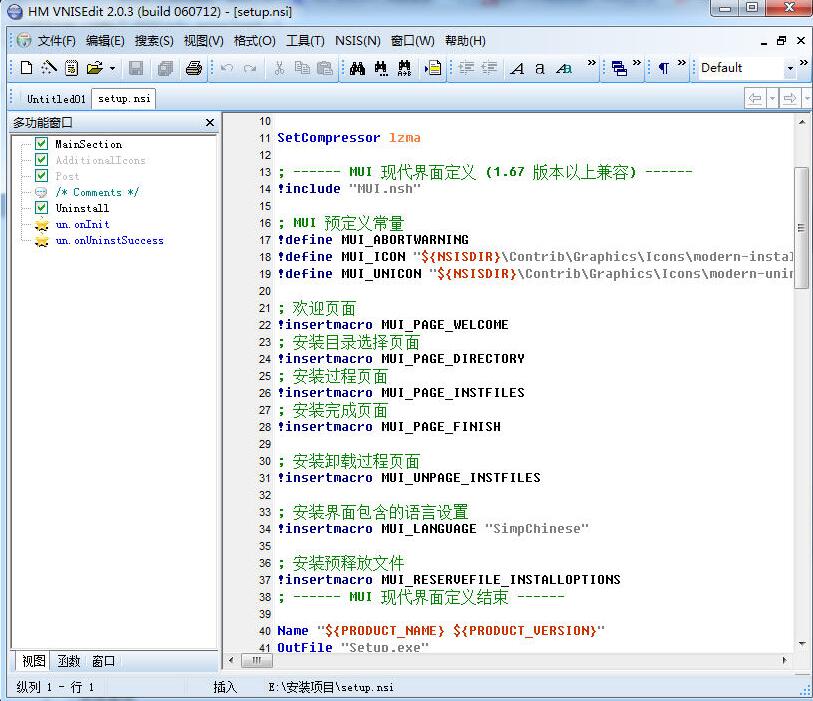
At this point you can see the script generated through the wizard, and you can continue to modify the script here.
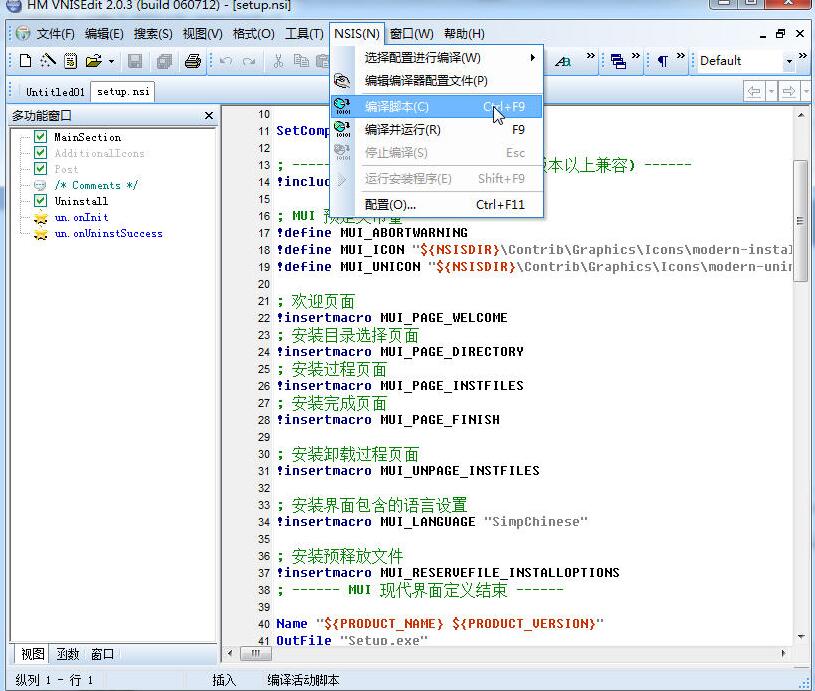
After modifying the script, click the menu "NSIS"-"Compile and Run". After successful compilation, an exe file will be generated, and the installation package is completed!
The above explains the operation process of NSIS making installation packages. I hope friends in need can learn from it.