How to set the shortcut keys for the screenshot tool of 360 Software Assistant? This article explains the method of setting the shortcut keys of the 360 Software Assistant screenshot tool. Friends who need to learn can follow the editor and take a look at the following. I hope it can help everyone.
On the premise of opening the 360 Software Assistant, click the Software Assistant icon on the lower left side of the computer.

As shown in the picture, click on the icon to expand the list in the 360 software assistant interface.

In the list of options, select Settings.
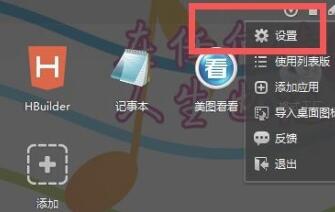
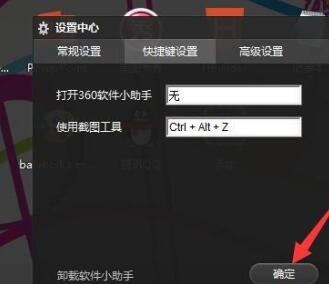
As shown in the picture, in the Settings Center, click Shortcut Key Settings.
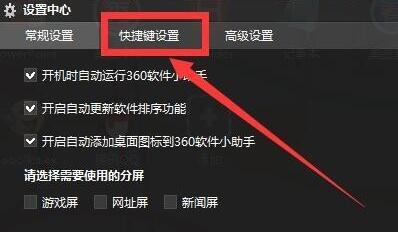
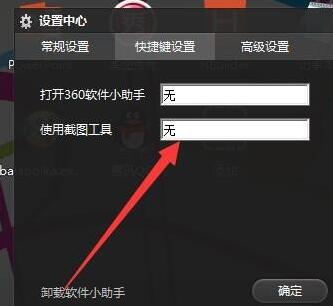
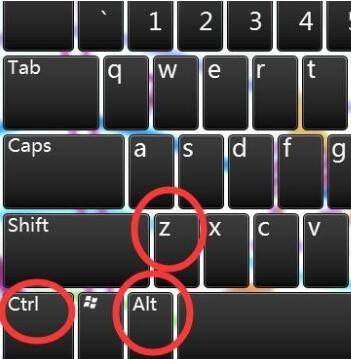
By default, there are no shortcut keys. Click the screenshot tool with the mouse and press the three keys ctrl+alt+z on the keyboard (the plus sign does not need to be pressed)
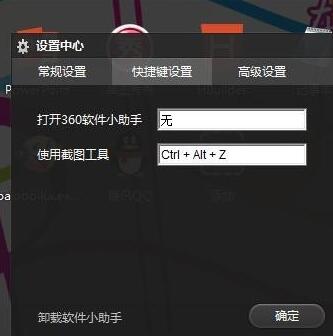
Finally click OK to make your settings take effect. In this way, when using the screenshot tool in the future, you can directly press the ctrl+alt+z shortcut key to call it up.
Come and learn how to set shortcut keys for the screenshot tool of 360 Software Assistant. It will definitely help everyone.


