Don’t know how to use project2019 software yet? There must be some novice friends who are still unclear. Today I will share the steps for using the project2019 software. Friends in need can take a look. Hope it helps everyone!
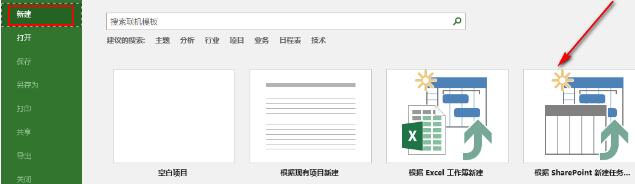
1. Open project2019, click the [New] button, and then select a template, which provides theme, analysis, industry, project, business and other templates.
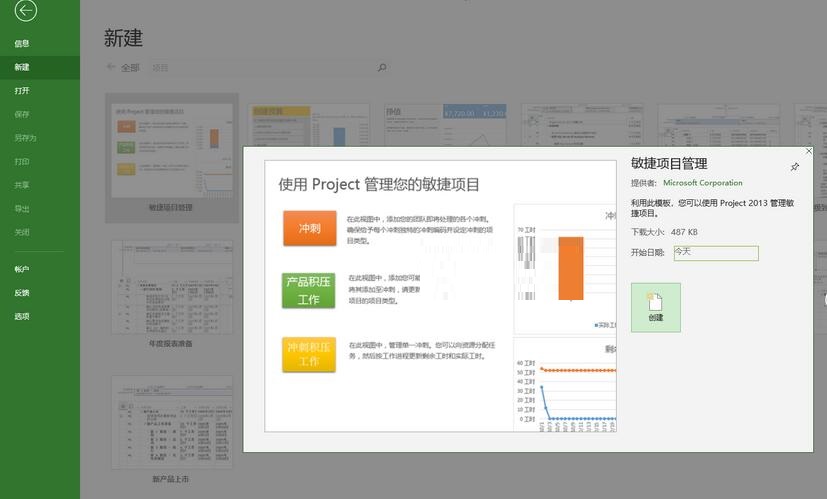
2. When the pop-up prompt confirms the new creation, click the [Create] button to create.
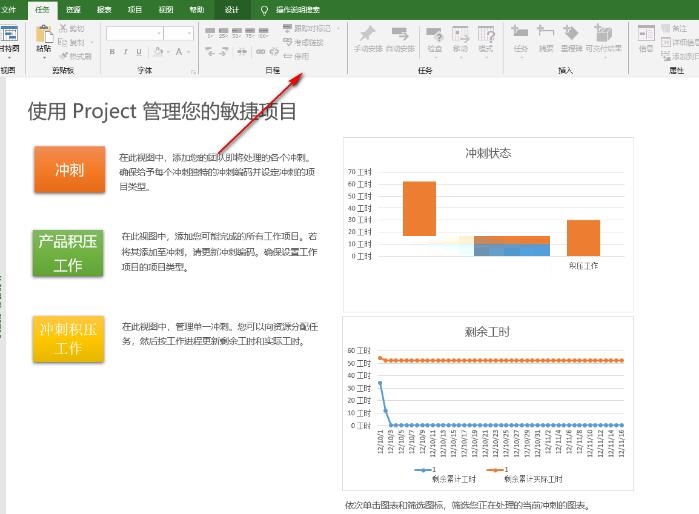
3. Immediately, enter the corresponding project analysis interface, as shown in the figure.

4. Under the task menu bar, users are provided with views, clipboards, fonts, schedules, and tasks. Insert other functional modules.
5. The resource menu bar has multiple functions such as work group planner, work allocation, and adding resources.

6. Reports provide a variety of report functions to assist users in analysis and summary.

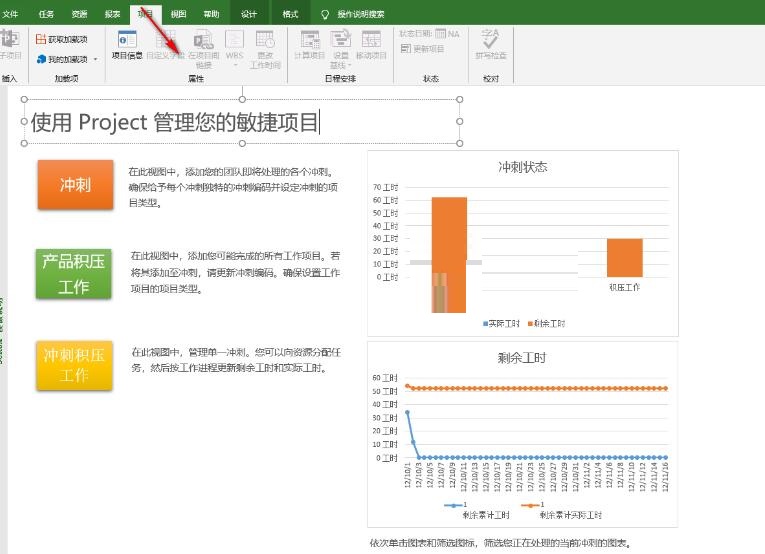
7. Projects provide functions such as add-ins, schedules, status, and proofreading.
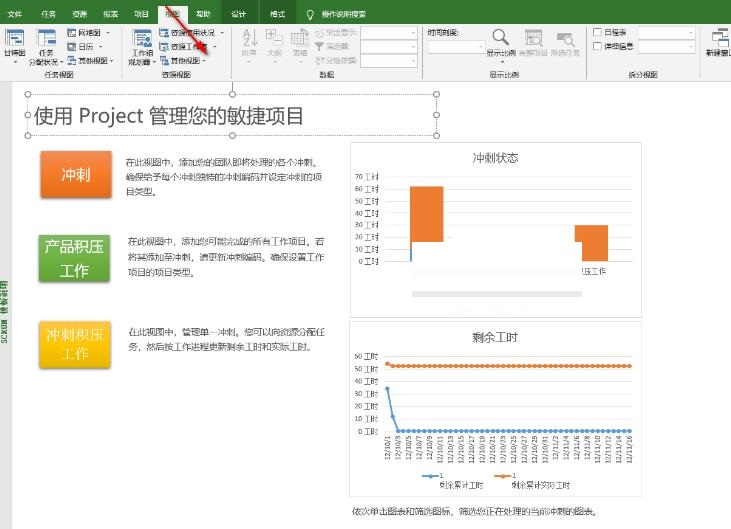
8. View, supporting task view, resource view, data, display ratio and other views.
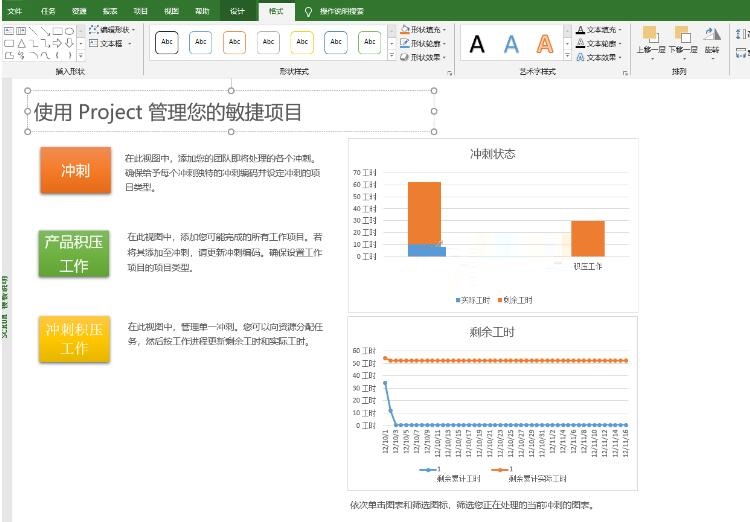
9. Design. In the design interface, users can customize design themes, tables, reports, pages, etc. according to their needs.

10. Format, users can customize formatting effects such as fonts, text, shapes, etc.
Friends who don’t know how to use the project2019 software yet, don’t miss this article brought by the editor.