Installation:
1. Can be installed under Windows 2000, Windows XP, Windows Visita, Windows 7, and Windows 8 systems.
2. Pay attention to choosing a protected hard drive during installation.
3. After entering the system, the hotkey to call out the software is ctrl+AIt+shift+F6. You can also hold down shift and double-click the task icon to open it. After opening, you can set a password. The default password is empty.

Freeze Point Restoration Wizard
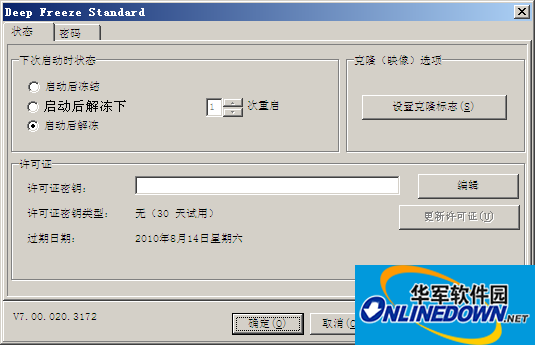
4. There are three options in the main interface:
⑴The first one is the protection state, that is, the protected hard disk is restored every time it is started.
⑵The second is a free option. For example, the system is being protected. We choose the second option. The default is 1. This 1 means that the machine is in an unprotected state after it is restarted. When the machine is restarted again, it will automatically switch to the protected state. Then the operations we do after the restart will be automatically protected when the machine is restarted for the second time.
⑶The third one is the non-restore state. After restarting, a red
Delete:
1. Press ctrl+AIt+shift+F6 to call out the interface. If you have not modified it, the password is empty and enter the software setting interface.
2. Select the third option, which means giving up protection and restarting the computer.
3. After restarting, the Freezing Point icon shows a red x, indicating that Freezing Point no longer protects the hard drive.
4. Run the Freezing Point original program, and the delete option will appear. Click Next to delete...
The above is the tutorial for using Freezing Point Restore Wizard, including installation and deletion. During installation, pay attention to selecting the hard drive to be protected. If you want to delete the Freezing Point Restore Wizard, you can change the hotkey, enter the software settings interface, and select the third option to give up protection. Freezing Point will not protect the hard drive.


